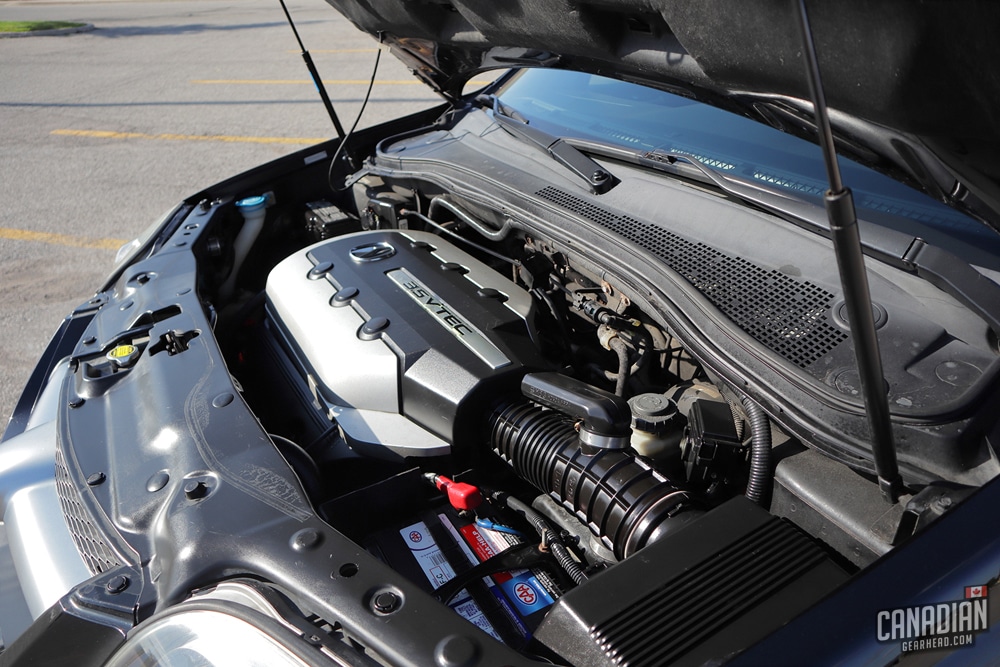
On the majority of modern cars, it is completely safe to spray the engine bay with water. Today’s vehicles have covered air boxes and weather-proof wiring connectors throughout the engine bay.
Avoid spraying things like the alternator, intake, or sensors with high-pressure water though.
Table of Contents
Which engines are at higher risk of developing problems after getting wet

The type of vehicle you’re working on will determine how you need to approach the job. The good news is that nearly all modern vehicles have weatherproof engine bays.
Believe it or not, most engine bays are not completely sealed off from the elements. Water, dirt, and grime can sneak through the grille, hood, or gaps between body panels.
Automakers do their best to keep things out of the engine bay by lining the hood with weather stripping but in reality, water still gets in.
If your engine bay was completely sealed off, you wouldn’t need to clean it in the first place, would you? That dirt is coming from somewhere.
So what types of vehicles do you need to exercise caution with?
Classic cars
Old cars are a different story for 2 reasons.
First, weatherproof engines weren’t a very big priority back then. They might be able to withstand some water but nothing like a modern car.
How do you know for sure if it can handle being soaked? You don’t really. Taking that gamble can result in some pretty expensive repairs.
Second, things break down as they age. A wiring connector that might have been weatherproof in the 1970s might not be anymore. Decades of high temperatures can take their toll on things like this.
Plastic gets brittle and cracks – sometimes in places you can’t see. It’s best to minimize how much you spray the engine bay of a classic car.
Modified cars
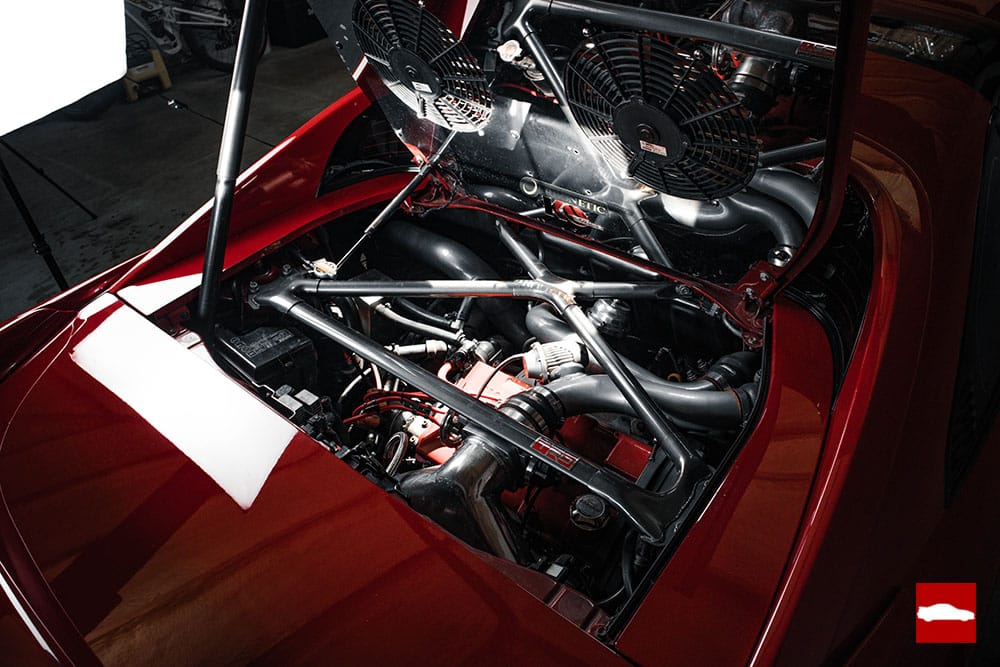
Aftermarket companies might not be as concerned with making things weatherproof as the original manufacturer of the car. Things like cold air intakes with exposed air filters and aftermarket wiring harnesses can become major problems if they’re soaked with water.
You also don’t know if the person who installed everything had all of the different weather conditions in mind when they put it all together.
Automakers spend a ton of time and money testing their vehicles in all types of climates and conditions long before new cars are released to the public. Aftermarket companies don’t always put that same effort into testing.
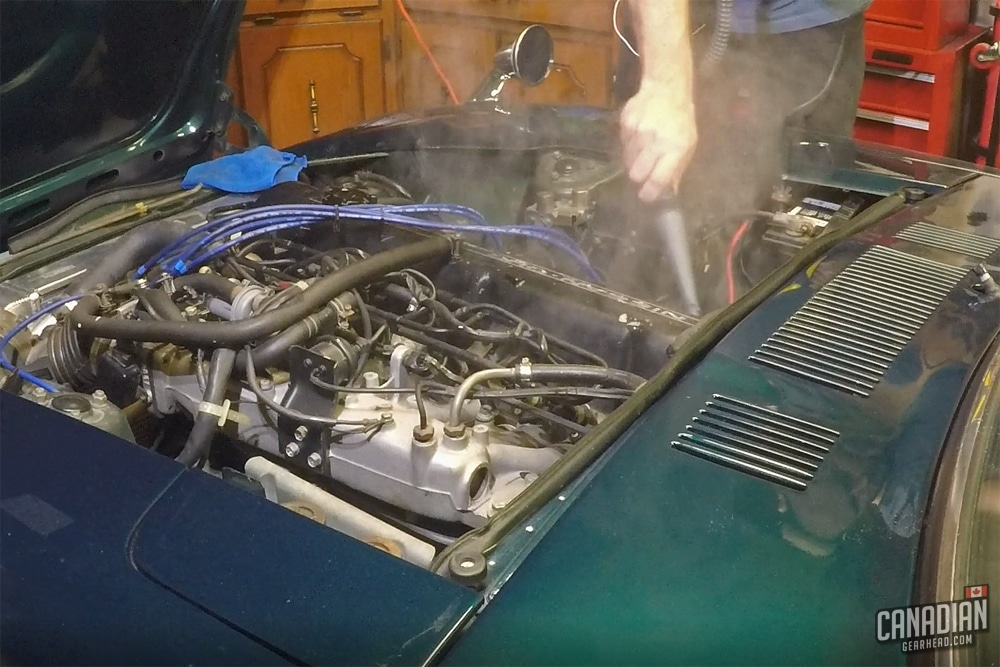
Can I pressure wash my engine bay?
In this video, I demonstrate how to safely pressure wash the engine bay of my Tacoma without any negative effects:
On modern cars, you shouldn’t have any problem. A pressure washer isn’t required though. A garden hose is typically more than enough to get an engine bay clean.
Pro tip:
If you do use a pressure washer, make sure the pressure isn’t excessive and you stay far enough back from the engine. Don’t spray 2000 psi of water an inch away from your alternator.
Products for engine bay detailing
I have some good news for you. You don’t need to go out and buy specific tools and products just to clean your engine bay. The cleaners and tools that you use on the rest of your vehicle will work just fine.
Cleaner/degreaser
The cleaner you use depends on how dirty your engine bay is.
Light dust
If your engine bay is mostly covered with plastic and only has a light layer of dust on it, you can stick with a rinseless wash like Optimum No Rinse or a detail spray. A 30 second wipe down might be all you need to do.
Moderate dirt
For a typical daily driver, you’ll need to step up to something stronger. Personally, I tend to reach for something stronger like Meguiar’s Super Degreaser. A product like this is strong enough to cut through most dirt and grime without the risk of harming any rubber or plastic in your engine bay.
Heavy oil and grease
If you’re dealing with an extremely dirty situation (like cleaning up after an oil or fluid leak) you might need to step up to one of those spray-on engine degreasers. These are much stronger and as a result, you’ll need to be a bit more careful with them.
Brushes
The same brushes you use on your wheels and tires happen to also work great on your engine. No need to buy separate ones just for this.
Air drying
Any type of compressed air that you would use to dry off your car will work fine for your engine. This could be a nozzle on an air compressor, a leaf blower, or a fancy dedicated car dryer.
Dressing
A water-based dressing that you would use on rubber and vinyl on your interior or your tires will work great on the plastic panels and hoses in your engine bay.
What to cover when cleaning an engine
Some people do nothing more than open the hood and pound the engine bay with their pressure washer. I’ve never had a problem doing that myself. That doesn’t mean that you won’t though.
Adding the extra safety of covering a few components up and/or avoiding them entirely is usually a good idea.
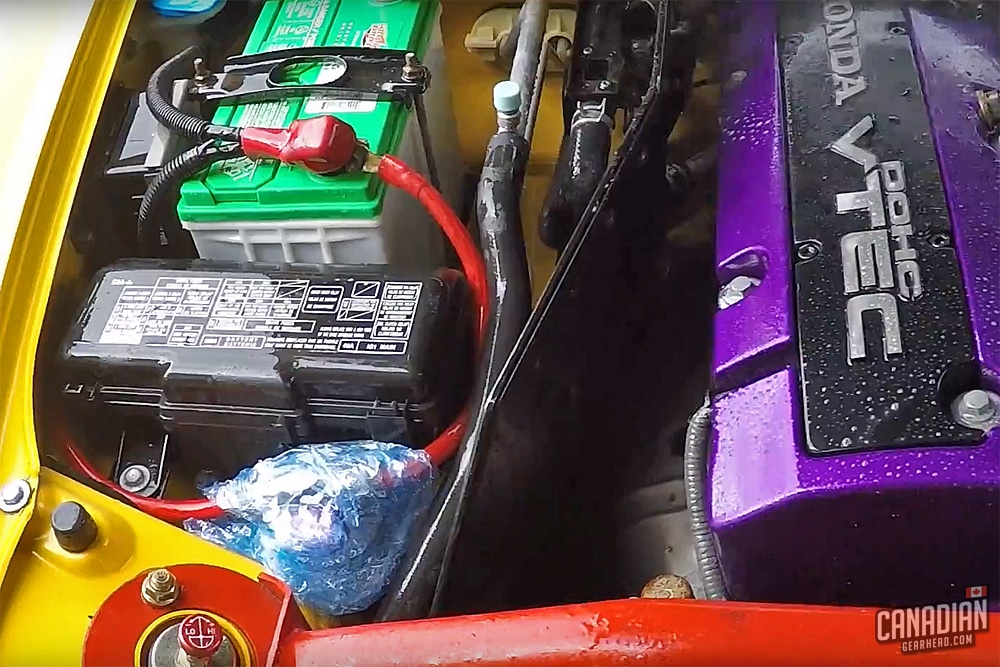
Cover an exposed air filter
If your vehicle has an exposed filter, this feeds directly into the engine. Water in the engine means hydro-locking. Hydro-locking means bent connecting rods. Bent connecting rods means the engine needs to be rebuilt or replaced. That’s bad.
Unless it’s in a sealed factory air box, cover up any exposed air filters with plastic. Even then, you’ll want to avoid spraying directly at them just to be safe.
Avoid spraying directly at the alternator
If you’re concerned with getting your alternator wet, feel free to cover it up with plastic as well. Will it be the end of the world if it gets a little wet? Probably not. But you want to avoid getting any water inside it if you can.
Avoid spraying any belts directly
I don’t know if you’ve ever heard a worn out belt when it gets wet from rain/snow or on a damp morning (hint: SQUEEEEEAAL) but if you have, you’ll know why I’d rather keep this area as dry as possible.
Remember, water and cleaners act as lubricants. That belt needs to bite onto the pulleys to do its job. If it slips, it squeals.
How to clean an engine bay
This process is really quite simple. People tend to overcomplicate it and make it into a scarier situation than it needs to be.
If you’ve determined that your engine bay is safe to get wet and you’ve taken the proper precautions, you’ve already got a head start.
Pre-rinse
Using a garden hose with the nozzle on a shower setting is perfect for cleaning your engine bay. This is pretty close to the same pressure as a gentle rain so you’ve got nothing to worry about.
Spray down the entire engine bay as well as any surrounding panels (like the front fenders). This way in the event that you get overspray from your cleaner on the painted surface (and you probably will) it’s less likely to dry and cause any staining.
Break it down into sections
Map out your plan of attack. Trying to tackle the entire engine bay all at once can allow your cleaners to dry on the surface. You want to avoid that if you can.
Start from the top down to avoid having to redo any previous areas you’ve worked on. I like to split it up like this: inside of the hood, left side, center, right side, then finish with the front rad support area.
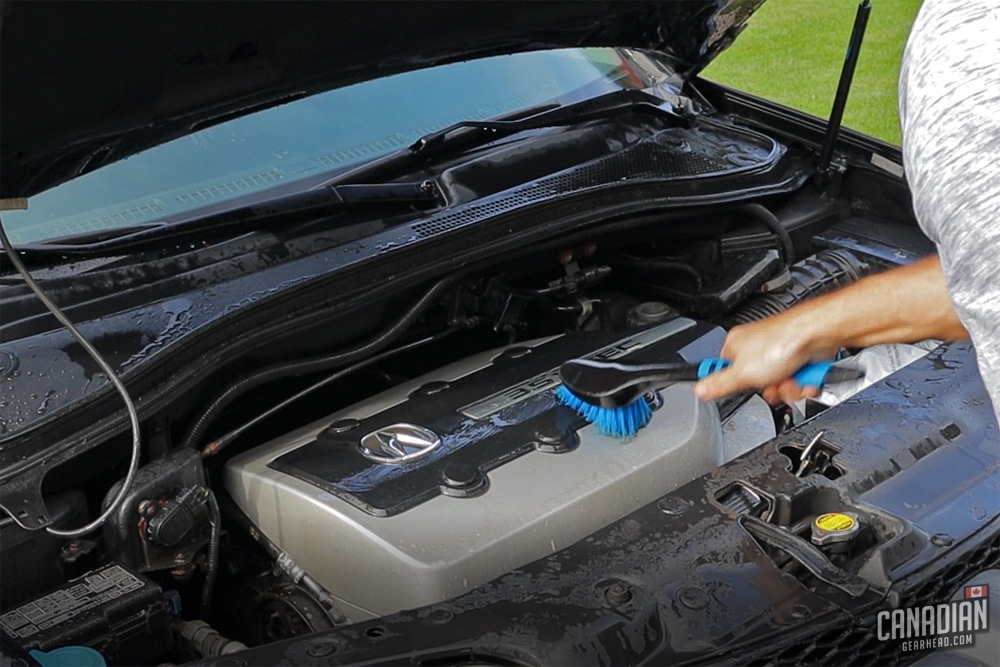
Spray your cleaner and get to work
Depending on how intricate your engine bay is and how dirty it is, this might be time-consuming. But it isn’t difficult.
Spray your cleaner on and keep your wheel cleaning bucket close by with all of your brushes in it. Swap between different brushes for whichever one will do the best job at the time and you’ll find that time goes by faster than you imagined.
Focus on the areas on the top of the engine as these are the most noticeable when you pop the hood. Getting way down the sides of the engine isn’t as important because you’ll likely never see it.
Final rinse
One more final rinse to get rid of any cleaners and you’ll now have a clean engine bay. Make sure to spray the surrounding panels down again to make sure nothing dries on them too.
Dry it off
I like to treat this as a 2 step process. First, I use compressed air (usually a leaf blower) to get rid of 90% of the standing water throughout the engine bay. Once I’ve dried it thoroughly, I start the engine and let it warm up to operating temperature.
This does a few things: the vibrations shake any stuck water loose, it helps any remaining water evaporate, and most importantly it gives you peace of mind knowing your engine is still running fine.
Dress and protect it
Applying some kind of dressing to your engine is like the final cherry on top. This gives all the black plastic and rubber a rich, clean appearance.
How you apply it will depend on the product you choose. Some work best when sprayed on wet and allowed to dry on their own, while others might work better on a dry surface and buffed off after a few minutes.
Remember, you’re looking for a natural finish. Nobody likes the sleazy “used car salesman” look in an engine bay anymore. The idea is to make it look new, not make it look excessively shiny.
Can I wash my engine while it’s hot?
No! There’s no need to take that risk. Spraying cool water on a hot engine makes for quite a harsh temperature change that some materials might not enjoy.
Your cleaners will also flash much quicker on a hot surface. Add to that the chance of you burning yourself on a hot component and there’s just no incentive to work on a hot engine. Let it cool down.
How to clean an engine bay without water
So what happens if your vehicle falls under the “try not to get it soaked” category? It doesn’t mean that you need to leave it dirty. Luckily, there are alternative options.
Steam cleaning
This is probably the best solution. It offers plenty of cleaning power without the need to get the engine excessively wet. The downside is that you might not own a steam cleaner and they can be on the expensive side.
Spray n wipe
If all else fails, you’ll have to stick with spraying your cleaner onto the engine and wiping it up with a towel. You can also use a spray bottle with water to help clean up any leftover residue.
Will this get your engine clean? Yes. Will cleaning your engine bay inch by inch take a long time and hurt your fingers? More than likely. But desperate times call for desperate measures.
Spraying your engine with water – Final thoughts
Getting your car’s engine bay wet doesn’t have to be scary. Most manufacturers have factored in far worse things than a light sprinkle from a garden hose into the reliability of your car.
Be smart, use common sense, and don’t take any chances that you aren’t comfortable with. If you aren’t sure whether to get a component wet, cover it up or avoid it. You can always come back later on and wipe it by hand.

Tim is the creator of Canadian Gearhead. His experience with auto detailing and working for Toyota shows through all of the articles posted here. He runs the Canadian Gearhead site and YouTube channel full-time now and currently owns a 2007 4runner, 2006 Tacoma, and 1991 MR2. Read more about Tim:


Leave a Reply