Most car enthusiasts know that a proper paint correction job is expensive. But just how much does it cost, and how does the price break down?
The cost of paint correction varies greatly based on the condition of the paint and the skill level of the person doing it. On the low end, a car needing a basic single-step correction might cost around $500. The price can climb astronomically for a more restorative job to upwards of $2,500.
Here’s an important fact: a large part of the price of a paint correction is the labor involved. A professional’s expenses to do the job really aren’t that high. So it really comes down to how much their time is worth to them, and how much value they put on their experience and skillset.
Most detailers will charge $50-$100 an hour. When your car is being worked on for multiple days, it becomes easy to see how quickly the price can go up. Before you get upset at how this compares to your own hourly wages, keep in mind that they aren’t pocketing every dollar.
They have expenses just like any other business owner. They need to pay for things like products and equipment, shop space or travel costs for their vehicle, insurance, advertising, and employees. A good detailer knows what their cost per car is and will base their pricing on that.
DIY paint correction cost
Let’s start with the cheapest option for having your car polished – doing it yourself. In general, these expenses will be similar for any detailer you might hire to do it for you so this will give you an idea of how the pricing stacks up.
| Product | Cost (USD) |
|---|---|
| Polisher | $75-$465 |
| Polishing Pads x5 | $60 – $110 |
| Compound and Polish | $35-$85 |
| Protection | $20-$100 |
| Microfiber Towels | $25 |
| Lighting | $90-$240 |
| Total | $305-$1,025 |
You’ll likely already own the products needed to wash, decontaminate, and prep your car for polishing. If not, they’ll need to be added in to the overall cost of the project. Here are some of the products that are needed for a paint correction whether you’re doing it yourself or hiring a pro:
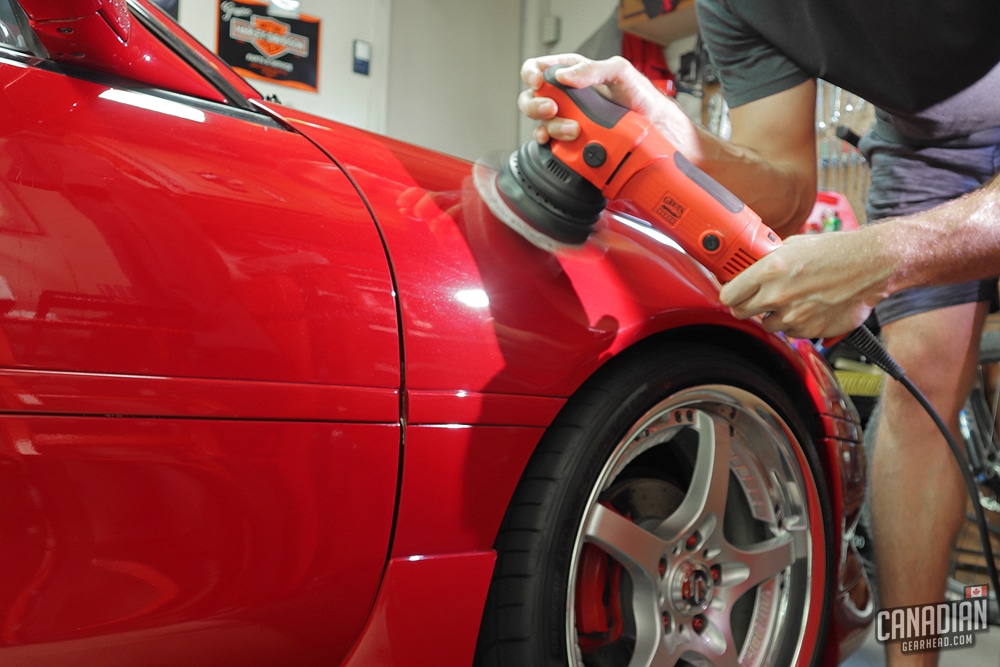
Dual Action Polisher
I specify a DA polisher here because it isn’t recommended for a beginner to start off with using a rotary polisher. Using a rotary requires a certain amount of skill that can only be learned over time – you don’t want to jump right to working on your pride and joy by figuring it out as you go.
A dual action polisher will cost you anywhere from $75 for one from Harbor Freight to $465 for a Rupes LHR 21. There are many options available within that price range so it’s important to find one that suits you.
It’s ok to stick with one polisher and a 5″ pad for your first paint correction but you have to understand that you won’t be able to reach all of the tighter areas of your car. In order to polish every section of your car’s paint job, you’ll need multiple polishers in different sizes.
To do a thorough job the way a pro would require machines that allow you to use 3″ and 1″ pads. At this point, the cost can add up quickly.
Polishing pads
While it’s possible to polish an entire car while only using 1 pad, it isn’t practical. You’ll have to stop after every panel or so to clean and dry it – which can kill your productivity. The solution is to have at least 4-6 of the pads you’ve chosen to use on your car.
Not sure which pad will work best for your situation? That typically comes from trial and error. Sometimes you have to buy a few different pads and test them out to know which one to go with. There are many different options made from foam, wool, and microfiber. Keep in mind you’ll also have to buy the right ones for each size of machine.
A popular safe option for a mild paint correction is the Rupes yellow polishing pad – these are around $12 each. If your car requires a 2 step correction, you’ll also need to buy a set of more aggressive pads like the Meguiar’s microfiber ones which cost around $10 each.
Compounds and polishes
You’ll need a compound and a polish if you’re planning on doing a 2 step correction. Knowing which product to use can require trial and error just like your pad choice, but you have more flexibility here to make whatever you have work.
A 32oz bottle of high quality compound like Meguiar’s M110 will cost you nearly $50. Even though you won’t need to use anywhere near the entire bottle, that’s the only size they’re sold in. The finishing polish that’s intended to be used after is M210 and a bottle of that will cost around $35.
Paint protection
After your paint has been corrected, it’ll need to be protected with a wax, sealant, or ceramic coating. These can range from a $20 bottle of Chemical Guys Butter Wet Wax to $100 for a ceramic coating from Gtechniq.
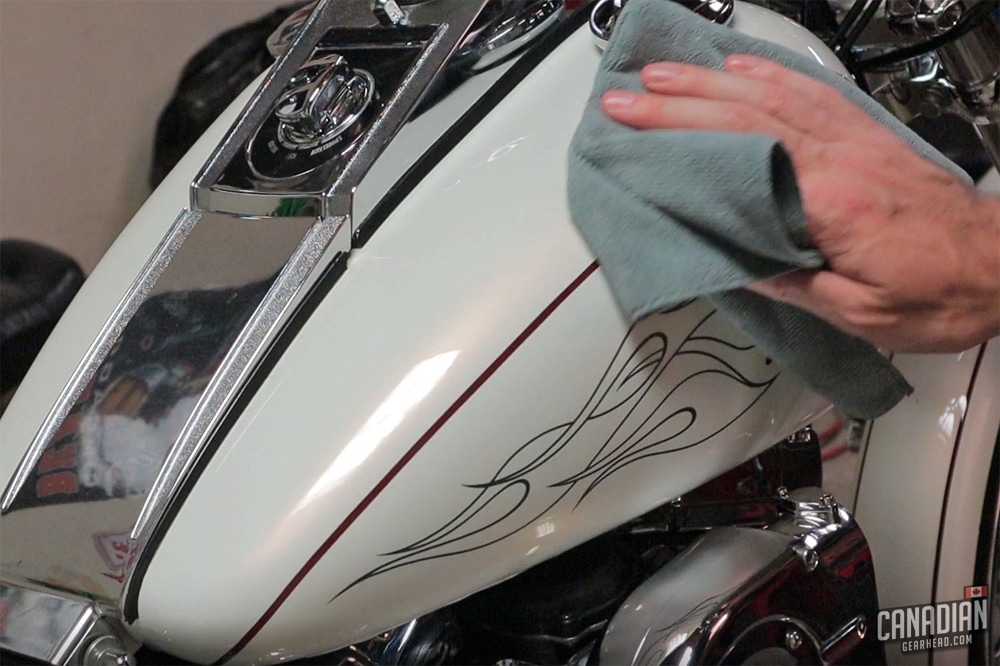
Microfiber towels
Microfiber towels are something you can’t cheap out on when doing a paint correction. The last thing you want to do after spending hours on perfecting every scratch in your paint is put new ones in by wiping it with a cheap towel.
Much like polishing pads, you’ll need a few of these too. The Rag Company Creature towel is a popular option that will cost around $25 for a pack of 10.
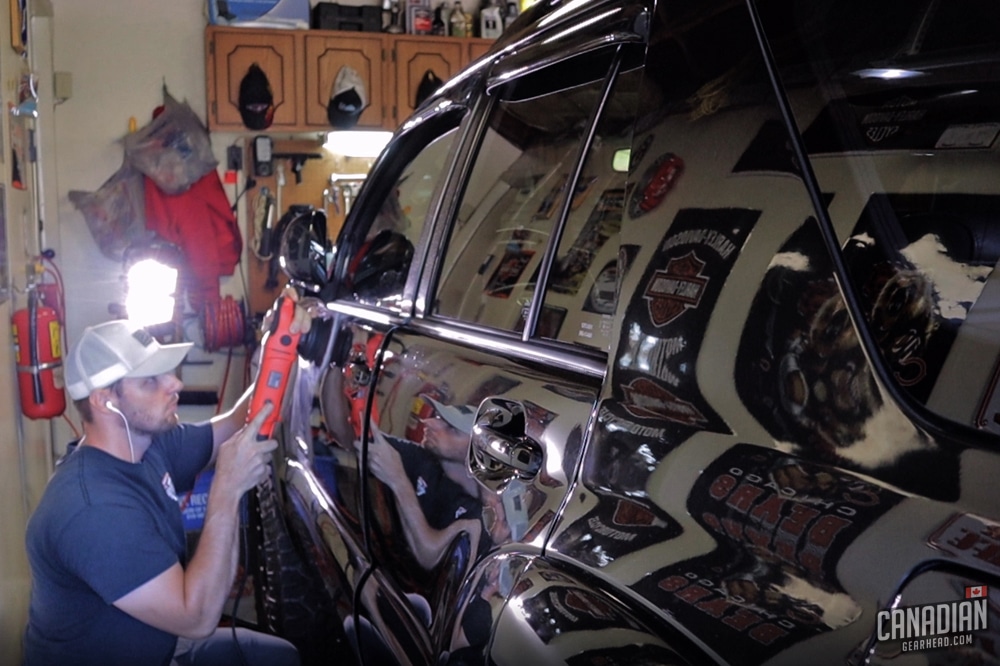
Lighting
You can’t fix what you can’t see and this is one of the most common mistakes that I see novice detailers make. The ambient daylight or flashlight on your cell phone are not enough to properly spot swirl marks and scratches. You’ll need some type of high powered spotlight that will mimic the sun in order to accurately examine your paint.
A regular LED work light can do a decent job at $90 or you might want to upgrade to a high quality handheld light like the Scangrip Colormatch for $150. It’s always nice to have more than one source of lighting though so combining a work light on a stand and a handheld light for inspection is a good idea.
When you add all of those costs up, you begin to get an idea of why paint correction can be expensive. Keep in mind this is strictly the product costs so far – we haven’t added in the detailer’s labor which again, takes up the majority of the price.
The price of a paint correction with an average detailer
Due to the growing popularity and awareness of paint correction, it seems that every detailer offers these services regardless of their skill or experience. You need to consider that when choosing who you want to work on your car, and how much you should pay.
This will be where you find the cheaper pricing. They’ll often charge you less than $500 because they’re going to buzz your paint down in a couple of hours. If you don’t have a critical eye, this might be an acceptable option for you. Just know that they aren’t going to chase every single scratch or leave behind a flawless mirror finish.
These $200-$500 jobs tend to be from detailers that spend most of their time doing things like maintenance washes and interior cleaning. I’m sorry to say it, but they probably won’t do a very good job (although you might still be happy with it).
Anyone can get a car to a 70%-80% result. Getting closer to perfection from that point is where the real experts come in.
Cost of hiring a paint correction expert
If you want the job done right, these are the people to go to. It won’t be cheap though. These people are the best of the best. They actually specialize in paint correction (legitimately too, not just claim it in their Instagram bio!). They have honed their skills through years of experience and training.
These people are often able to offer a far better result in less time than a run-of-the-mill detailer. They can work quickly and effectively by knowing when and how to use things like rotary polishers and sanding strategically.
To give you an idea of the amount of knowledge these guys and gals possess, some of them will offer training courses that cost over $2,000. These are the detailers that other detailers learn from. Which means that if you want your car to look as close to perfect as possible, they’re the ones you need to hire.
You might be pleasantly surprised with their quote though – it’s possible that they’ll be able to charge you less than you’d expect because they can work so quickly. That makes the choice between hiring them and an average detailer even easier. It can be hard to estimate what their pricing might be. It could be as cheap as $500 or thousands of dollars for an award-winning show car.
Final word
The price of a paint correction can depend on things like your location, size and condition of your car, detailer’s experience, and the level of results you’re looking for.
The only way to get a truly accurate quote is for you to have them examine your car in person. There just isn’t any way to guess without seeing it. Remember, every car owner thinks their paint is “not too bad“. It’s better to let the detailer decide what condition it’s in and go from there.
Related content
You’ve heard so much about it from other car enthusiasts and some of them make it sound like it’s better than a fresh paint job. What does paint correction actually mean?
Maybe you’ve already paid to have a paint correction done but your swirl marks are returning already. Are they new ones that are being created or are these the same ones from before? 5 Reasons Why Swirl Marks Keep Coming Back After Paint Correction.
Tim is the creator of Canadian Gearhead. His experience with auto detailing and working for Toyota shows through all of the articles posted here. He runs the Canadian Gearhead site and YouTube channel full-time now and currently owns a 2007 4runner, 2006 Tacoma, and 1991 MR2. Read more about Tim:
Leave a Reply