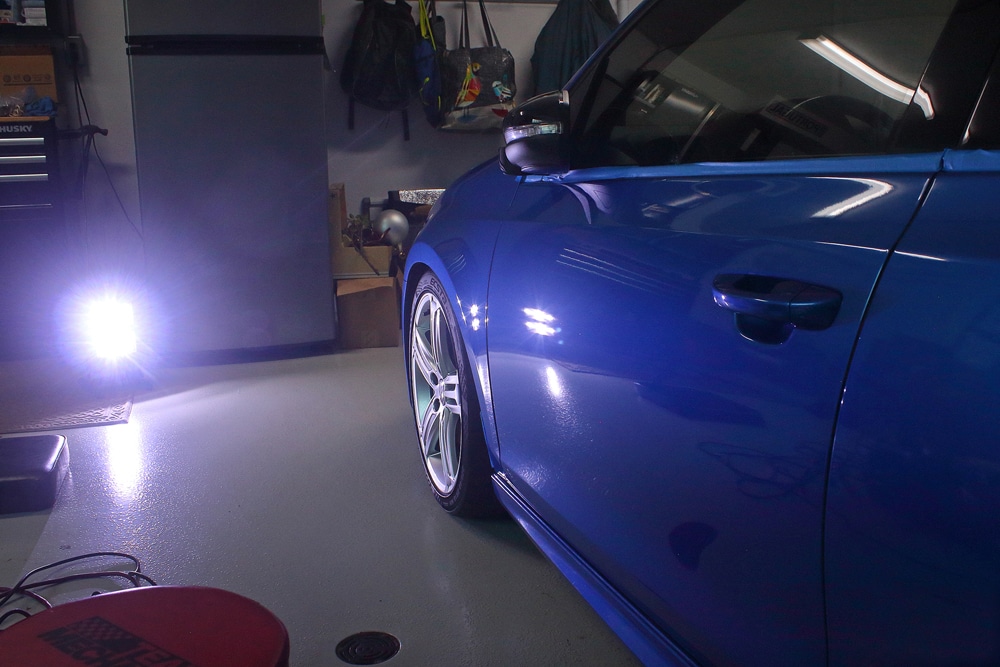
If you’re the type of car owner that loves DIY detailing, you already know how long and tedious the process can be. It takes a lot of effort, some skill, and most importantly, time. Reading any of the usual self-help style finance books will reveal that most of those “gurus” don’t measure wealth in dollars. They believe the true measure of wealth is the amount of time you can spend doing whatever you want. Why do I bring that up in a blog for car guys?
Because it reminds us that there are only 24 hours in a day. The calendar doesn’t care who you are, how much money you have, or what your personal circumstances are. 24 hours. That’s all ya get. Most people spend the majority of that working. Then we have all the other obligations we have with family and friends. Throw a couple hobbies in there. Don’t forget to sleep (and drink your 8 glasses of water a day, sheesh)!
There really isn’t much time left over to spend on detailing for the average Joe. We’ve got to make every bit count.
Table of Contents

So today, I’m going to share 12 of my favorite detailing shortcuts with you. These don’t require any fancy products or equipment. Just some real-world tips that I use myself to save time, and simplify my detailing process. Implementing a few of these ideas into your own routine might just mean you’ll make it to Lil’ Jimmy’s baseball game after all!
1. Simplify your detailing products
Sure, some people like to collect as many cool products as they can. There’s nothing wrong with that at all. But do you need 50 different bottles on your shelf to get the job done properly and efficiently? Absolutely not.
Simplifying the products you use is the first step to detailing more efficiently. For example, a rinseless wash like Optimum No Rinse can also be used for other purposes. A window cleaner and detail spray are just 2 of them. For more, check out my other post, Off-Label Uses For Optimum No Rinse.
Another great way to keep things simple is to find a good all-purpose cleaner and dilute it down for different uses. You can use this for interior cleaning, engine bay cleaning, stripping old wax and sealant off paint, and sometimes even on your wheels!
A high-quality spray wax can also go a long way when used as a drying aid, interior protectant, and quick detailer. Check out some of my other off-label uses for spray wax here.
A good rinseless wash, all-purpose cleaner, and spray wax can really free up a ton of space on your detailing product shelf.
2. Perform tasks in an efficient order
When time is of the essence, having to re-do any work is a killer. Take a second to come up with your plan of attack, and organize the steps into an efficient order. This is one of my favorite detailing shortcuts – work smart, not hard.
Save your windows for after the interior cleaning is done. Why is that? Because you’re bound to get overspray from cleaners, fingerprints, or brush marks on the glass adjacent to the panel you’re working on. I can’t count how many times I’ve reached over the gauges on my MR2 to clean the dash, only to leave a huge, greasy elbow print right in the middle of my windshield! Learn from my mistakes. Save the windows for the final step.
Side note: on the topic of interior detailing, you’ll also want to make sure you work from the top down. Otherwise, your cleaner of choice will be dripping down onto the surface you’ve already cleaned. This might only take a couple seconds to touch up, but it adds up when it happens a bunch of times.
There are other things you’ll want to do in the right order as well. Clean your wheels first before you wash the rest of your car. Otherwise, the water on your paint can dry and leave water spots behind while you work on the wheels. It’s also a good idea to detail your engine bay before you wash the rest of your car. The reason for that is the high risk of any cleaners getting sprayed onto the surrounding area like your fenders and front bumper.
Before you detail your engine bay, spray those surrounding areas down with water first, and keep them wet. That way, any cleaners or degreasers that spill onto the paint will instantly be diluted with water, making them less strong and much easier to rinse off.
3. Blow your car dry first
Some vehicles have a magical way of holding onto what seems like gallons and gallons of water after you wash them. Window trim, door moldings, gas caps, and lights tend to be the main culprits when it comes to holding water. If you choose to only towel dry your car, that water is going to drip out as soon as you start driving, and leave you with water marks all over the place.
You can follow up with a detail spray for that reason, but this is all about efficiency. You can avoid the problem entirely by using a leaf blower or compressed air to blow the water out of these areas before you dry the rest with your towel. I actually prefer to dry the entire vehicle off with the blower, then touch up a few spots quickly with a towel. This also helps to avoid swirl marks.
4. Brush heavily soiled carpet before vacuuming
Often, dirt will get crushed deep into the carpet fibers and using a vacuum alone can take forever to get it out. Using a stiff bristled brush will loosen up the packed in dirt, and stand up the matted down fibers. Now it’ll be loose enough for your vacuum to suck the rest up easily.
*Depending on the situation, you might want to do a quick pass with your vacuum first to remove any loose dirt.*
This detailing shortcut works especially well on the carpet that some newer, lower end vehicles are equipped with. To take it a step further, scrub with the brush in one hand while you hold the vacuum head in the other. Using these two together will do a much better job than just the vacuum alone.
5. Use compressed air to blow your interior out before vacuuming
This is a trick that I’ve learned works really well on extra dirty interiors. A vacuum is certainly still effective in this case, but sometimes it’s easier to push rather than pull. What I mean by that, is it can be difficult to reach under a seat or in a tight area with a vacuum, and even if you can, it’s hard to see what you’re working on.
Blowing the interior out with compressed air can be a huge time saver. First, open up all the doors because the name of the game here is to blow everything out of the car rather than just moving it all to a new spot inside.
Before you start blowing, make sure you pick up any loose wrappers, papers, or other larger objects that you don’t want to be scattered all over the driveway. Then proceed to blow out all the areas you can’t reach as well with a vacuum, like under the seats, the cupholders, the vents etc. Doing this before you vacuum will net you great results in half the time.
6. Use a rubber glove or squeegee to remove pet hair quickly
Pet hair is a detailer’s nemesis. We’ve all had to work on vehicles that seem to have a never ending source of pet hair. It’s on the seats. It’s on the carpet. Even the trunk is full (What? Who keeps their dog in the trunk!?). Pet hair can find its way anywhere, and when given the chance to build up, it’s an absolute pain to clean up.
You can spend all day trying to suck it up with a vacuum, but it probably won’t get you very far. The trick to removing pet hair efficiently is using rubber. You can buy a specific pet hair brush with rubber bristles, but there are other options that will work as well.
A rubber squeegee like the one you use to wipe out your shower will make quick work of pet hair removal if it’s in a wide, flat space like the trunk carpet. Believe it or not, scrubbing with a rubber glove on your hand works great too! You can use any of these tools alongside your vacuum to suck up any clumps you pull up.
7. Use your wash soap for your clay bar
Sometimes, preparing your car to polish it can take almost as long as the actual polishing. It doesn’t have to be that way. You can actually use your leftover soap as a clay lubricant if you want to. Simply wring out your wash mitt over the panel you plan to work on, and you’ll feel the clay glide over the surface just like it does with a specific clay lubricant.
While this is perfectly safe for the vehicle, there is always the chance that it will break down the clay bar prematurely. I’ve never had that happen myself though.
If your normal wash process looks like this: rinse, soap, rinse, dry, clay lube, clay bar, wipe remaining lube dry
It would now look like this: rinse, soap, rinse, soap, clay bar, dry (if you’re working indoors, you can probably even skip the 2nd “rinse” step)
Some people might be concerned with the clay causing marring without a fancy lubricant. Well, guess what, it’s going to mar the surface regardless. How bad it does will depend on how soft or hard your paint is. This is why I usually recommend at least a quick polish after using a clay bar.
I also believe most people are using clay bars too often. Find out why in this post.
8. Switch to an All-In-One polish instead of a paint correction
We all love that freshly polished look. Sometimes, we just can’t dedicate the 8+ hours for a proper paint correction. Rather than just living with dull paint, we have another option that will hold us over until we have the time for a more thorough correction.
All-In-One polishes have become very popular among professionals and enthusiasts alike and are one of the greatest detailing shortcuts out there. They allow you to remove light scratches from the paint and leave behind a layer of wax or sealant all in one single step. These products won’t remove deeper scratches, but if all you’re after is a deep, glossy look – this is the route to take.
Still unclear of which option is for you? I break down the differences between All-In-One products and a One Step paint correction in this post.
9. Spend more time polishing the gloss points during a paint correction
This is a secret that many pro’s have been using yet never talk about. When dealing with a daily driven vehicle, or one that won’t be on display under heavy lighting, you don’t necessarily need to spend the time chasing every scratch on the entire car.
Focusing on the “gloss points”, or the areas where the sun and street lights hit will allow you to spend your time where it’s needed the most. The hood, roof, trunk lid and upper half of the sides are where we see the sun’s reflection the most. Spend your time on perfecting these areas.
The bottom of your doors doesn’t matter quite as much. Unless you’re laying on the ground, you’ll never see the sun or street lights’ reflection on this area. The front bumper of most daily driven vehicles will likely be peppered with rock chips and scuffs from steep driveways. Again, you’ll never have light reflecting off this, so why waste the time?
Using this detailing shortcut will make your paint look as though the entire vehicle is a 10/10 in most real-world lighting conditions. It also means you can get nearly the same end result (especially to the untrained eye) after 10 hours of polishing vs. 24 hours. That right there is a massive time saver.
10. Switch between multiple polishing pads rather than cleaning them
If you’re trying to do a paint correction within a certain time frame, I recommend having 6-10 pads on hand. Once a pad gets used up, you can quickly switch it out to a clean one and continue on. Stopping to clean the same pad over and over (even with one of those expensive pad washers which I think are a total waste of money) will slow your progress. Working your way through a group of clean pads will allow you to get the job done, then worry about cleaning the pads later when you have time.
11. Apply a wax or sealant by machine
Waxing or applying a sealant to a large vehicle can take a while. The good news is that larger vehicles like pickup trucks tend to also have wide, flat panels. If you’re in a time crunch, using a soft finishing pad on your dual action polisher will allow you to zip through this step in roughly 10 minutes or less. Of course, you’ll still be buffing the excess off by hand, but every bit of time savings helps.
One thing to watch out for when doing this is any contamination that may have fallen onto the paint. You don’t want to hit that with your polisher and end up scratching the entire paint job. So give it a quick wipe down first to make sure the surface is bare, and always keep an eye out for any potential hazards while you wax/seal.
12. If it ain’t broke, don’t fix it!
It’s easy to fall into a regular routine when detailing our vehicles. Call it muscle memory or a habit, but we tend to just do it without thinking about it. Detailing an area that doesn’t need to be detailed is the biggest waste of time. If your interior just has a light layer of dust on it, leave the cleaner and brushes on the shelf. A quick wipe with a damp microfiber towel will do the trick just fine.
Does your engine bay still look great from the last time you detailed it? Again, give it a quick wipe down and move onto an area that needs attention. Does your paint still feel smooth and free of contaminants? Skip the clay bar and move on. Odds are, your headliner shouldn’t need much attention either.
More work isn’t always better. Sometimes more work just means more work. If something is already as good as it’s going to get, you have nothing to gain by doing a bunch of extra scrubbing. I’m sure if you look hard enough, you’ll be able to find other areas that you haven’t worked on yet. Focus your attention on that, and your vehicle will continue to look better and better as time goes on.
Prevention goes a long way
The best case scenario is that you don’t need to spend much time detailing your vehicle because it never gets to the point of needing it. Preventative maintenance is the key to not having to spend hours on detailing. If you give your interior a light wipe down regularly, you shouldn’t ever need to do a deep cleaning because you stayed on top of it.
Avoid scratching your paint so that you don’t need to worry about finding time for a multi-step paint correction. Keeping up on the details of your vehicle will save you from having to perform the harder tasks, and help it to look its best at all times.
Hopefully, this list of detailing shortcuts will help you get from point A to B in your detailing routine quicker and easier. If you found it helpful, let me know! Follow me on Facebook, Instagram, Twitter, or leave a comment below.

Tim is the creator of Canadian Gearhead. His experience with auto detailing and working for Toyota shows through all of the articles posted here. He runs the Canadian Gearhead site and YouTube channel full-time now and currently owns a 2007 4runner, 2006 Tacoma, and 1991 MR2. Read more about Tim:
Leave a Reply