Have you decided to sell your car yourself? The very first thing you’ll need to do is recondition it the same way a used car dealership would. That’s where most of their profit comes from, and it’s money that should be in your pocket.
In this article, I’m going to share every step to get your old car looking like someone’s new car. I’ve done this process many times and I’ll be including some secret tips that will help to get you better results and improve your efficiency. I wouldn’t want you to waste any extra time or money on this!
Prepping your car for sale
The first thing you’re going to want to do is to stop looking at your car like it’s yours. Try to see it through the eyes of a potential buyer or future owner. They’re going to be scrutinizing every little flaw and it’s up to you to get your car in the best shape possible.
Before we get to the detailing work, make sure to fix any damage or mechanical problems first. Every problem a buyer can find with your car is a reason to offer less money for it. Fix everything you can to get it as close to “like new” as possible.
Keep in mind there is a point of diminishing returns here. You aren’t going to give a $1,000 car a brand new show quality paint job or rebuild the engine. Try to keep a balance when deciding what to fix and what to leave. Will the cost of fixing a problem increase the value of the car by at least that much? That’s worth pursuing.
Once any obvious problems have been tended to, it’s time to begin detailing. We’re going to be splitting it up into 2 phases: interior and exterior. In the interest of efficiency, we’ll begin with the interior and work our way outside. Washing the exterior last will decrease the likelihood of tracking water, dirt, and grime into your freshly cleaned interior so it’s best to start this way.
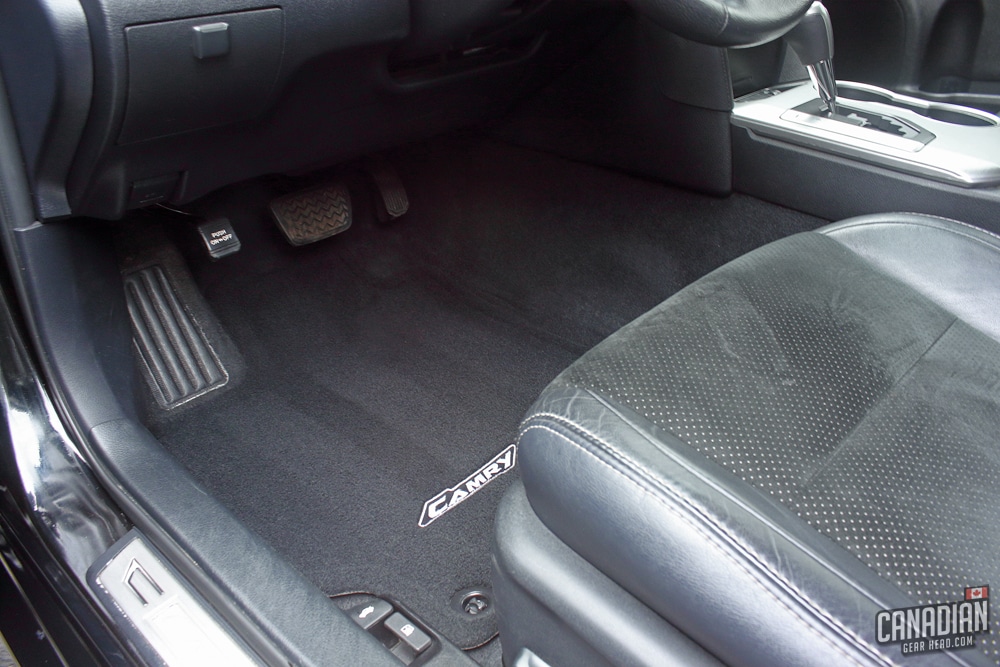
Detailing your interior for sale
I try to keep it pretty simple when it comes to interior cleaning products. I find I can usually do the entire job with just:
This is more about spending the time to focus on every crack and crevice and less about buying a ton of fancy products.
Remove all of your personal belongings
One of the easiest ways to make your car more desirable for potential buyers is to remove all of your personal belongings. The gym bag, receipts, and empty coffee cups all have to go. No amount of cleaning is going to remove that funky smell if the half-full McDonald’s bag is still stashed under your seat. This step is simple – remove everything. Don’t think, just pack!
Once you’ve removed all of the clutter, you’ll be able to see what areas need the most attention. Your car will already look a thousand times better just by doing this. Don’t worry, you can always throw the basic necessities back in while you continue to drive it. It’s a good idea to organize everything before putting it back in so that you can quickly remove it when showing it to a potential buyer.
“Air Purge” if it’s especially dirty (optional)
If you have access to compressed air, this is an extra step that can make your life a lot easier. You know all of those tiny areas that you can’t fit the head of your vacuum in and you wonder how you’re going to reach? Here’s a trick: blow the dirt out rather than try to suck it out.
Open up all the doors to get your interior as wide open as possible. Grab the air line from your compressor and spray all of the tight sections (like under your seats).
You could argue that this will only shoot the dirt onto other parts of your interior and you might be right – but chances are, they’ll be easier to reach and you’ll get it all with your vacuum afterward. You might also get lucky and most of it will simply fly out the open doors.
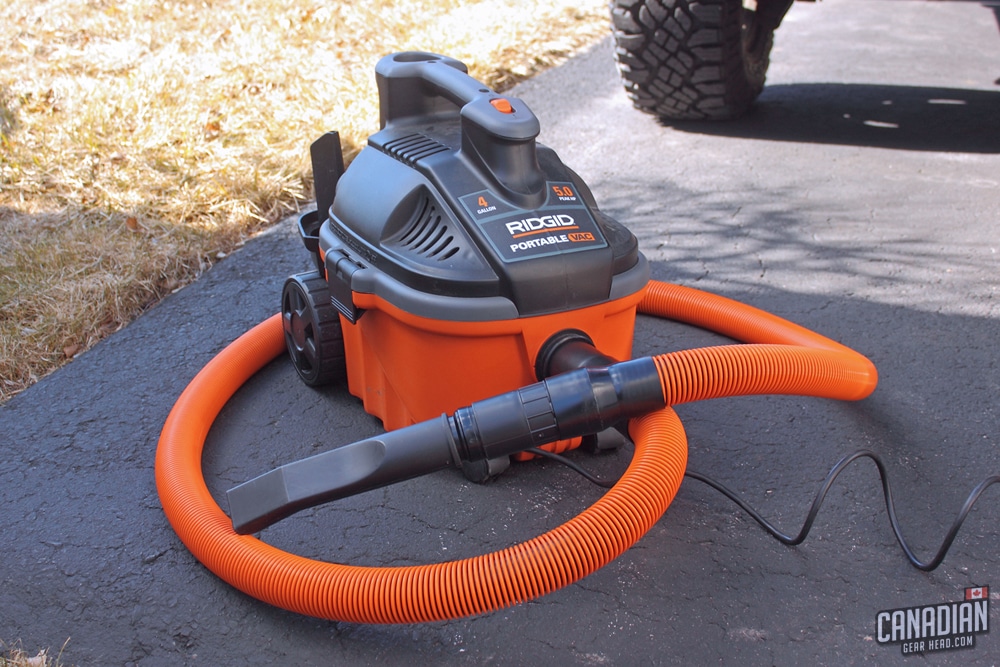
Initial vacuum
Now it’s time for the first round of vacuuming. Yes, the first round! This is when the majority of the work will be done. Make sure to use a crevice attachment to be able to reach down beside and under the seats, cupholders, and door pockets.
It’s important to do the vacuuming before you start scrubbing with any kind of cleaner. The more you can pick up now, the less scrubbing and wiping you’ll have to do later. Also, this decreases the chances of all the dirt turning to mud when it gets wet – you’ll want to avoid that headache.
Even though you’ll be vacuuming again, you still want to get this done as well as you can. The 2nd pass will just be a quick touch up so take your time to suck up all the crud that’s been in there for months.
Inspect your headliner
One of the most common areas people neglect when detailing the interior is the headliner. People are usually more focused on looking down and around them, not looking up. At this point though, you’ll want to look up.
If there are any stains present, you’ll want to take care of them now. Just like how we’re working from the inside out, you also want to work from the top down (for obvious reasons).
If there are marks in your headliner that you’d like to clean, spray your interior cleaner directly on a microfiber towel and scrub. Don’t spray the headliner itself – the wetter it gets, the higher the chance is of the glue delaminating and the headliner falling down. Instead, do multiple damp passes rather than one soaking wet one.
If your headliner isn’t dirty, skip this step. You don’t want to do this just to go through the motions. Again, the goal is to keep it as dry as possible. If it doesn’t need to be cleaned, keep it 100% dry!
While you’re looking up, go ahead and clean the rearview mirror and sun visors. Those are also missed often.
Clean the dash, controls, doors, and interior panels
This is essentially the heart of interior detailing. Once your personal belongings have been removed, this is going to be the most noticeable step you do for your interior.
Your plan of attack will depend on how dirty your car is. If you’re the type of person that stays on top of this, you’ll likely just have a layer of dust to remove and a few possible dirtier spots here and there. In that case, spraying your interior cleaner or detailer on a microfiber towel and wiping everything down should be all it takes to get it ready for sale.
If you’ve neglected the inside of your vehicle though, you’re going to need to put more effort into this. Along with your interior cleaner and towels, you might need some brushes to be able to build up a good lather on these panels – that will help to pull the dirt and grime up and away. You might even need to step up to a degreaser or a non-abrasive scrub pad to tackle the heavier stuff.
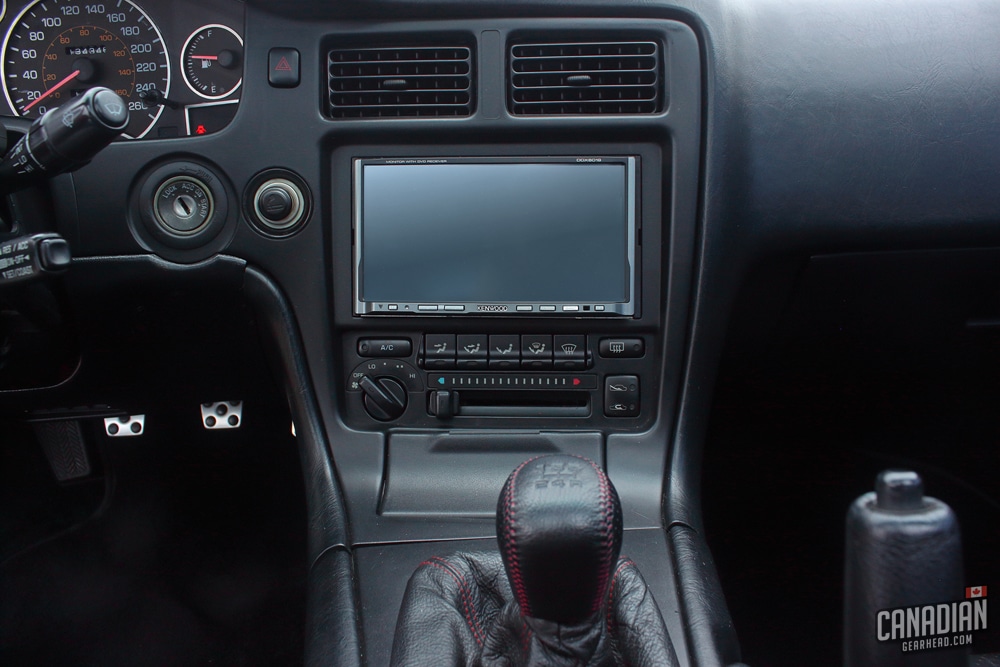
Cleaning your interior can be a daunting task and it might seem a bit overwhelming at first. A great way to get started is to simply sit in the driver’s seat and take a look around you.
Think of every surface that you touch while you drive – the steering wheel, armrest, turn signal, radio, HVAC controls, and pedals. Those will be the dirtiest places that are most likely to have a buildup of sweat, dead skin, lotion, and makeup (gross, I know). These are hands down the most important areas to clean.
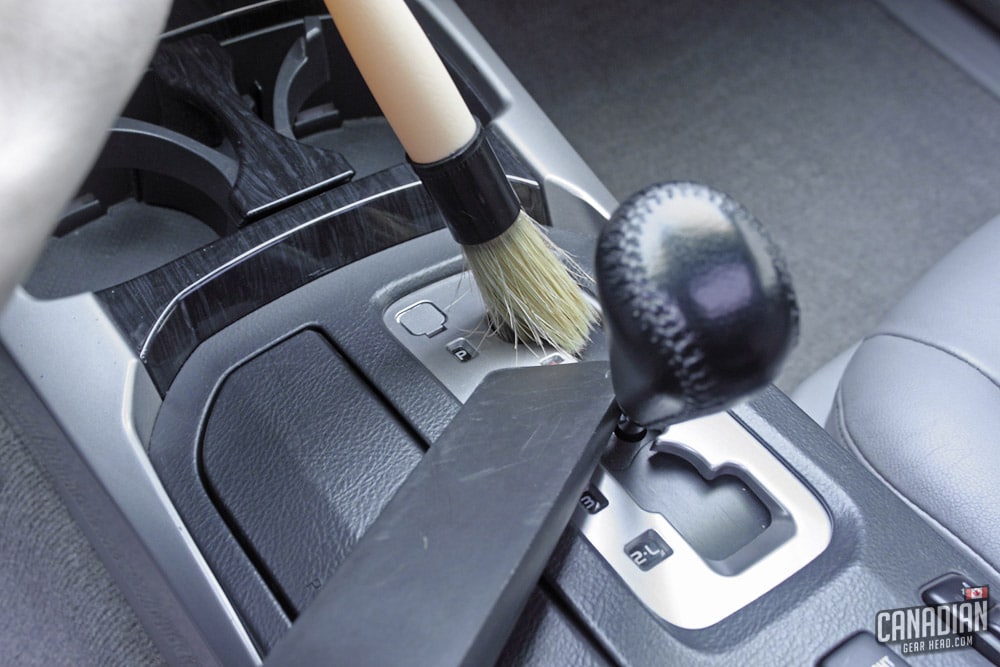
Make sure to get into the slots of the vents as well as the knobs and dials. Clean inside the glove box and center console. For cars with automatic transmissions, shifting between the gears and cleaning the crack of the gear shift is a nice touch – but be safe and make sure the car is turned off and the parking brake is on.
Do your best to break this task down into sections and only focus on one section at a time. Once you feel like you’ve touched on every part of a given area, move on to the next. How do you eat an elephant? One bite at a time. Before you know it, your interior will be clean!
Clean the seats
With all of the surrounding areas nice and clean, it’s time to focus on your seats. Make sure they were included in your initial vacuuming step. That’s the easiest way to get all the crumbs out from the seams of the seats.
Whether you have cloth or leather seats really won’t change your strategy much. You might need to scrub cloth more to get stains out but you’ll likely be using the same products regardless – your interior cleaner, a brush, and some towels.

Be very careful if your seats show signs of wear and tear. Try to avoid getting these areas too wet because the cleaner can work its way into the foam of the seat and wear them out even more. It’s best to spray your brush or towel directly in this case.
It’s usually easier to recline your seats and move the headrests up. This allows you to reach all of the areas of the seat rather than just the ones you can easily see. Don’t forget the sides and back too.
Clean the carpet
The final step in working from the top down is to shampoo the carpet. Just like everything else, the starting condition of your car will decide how much effort you’ll need to put into this.
Most of the time, you can simply spray and scrub. Your interior cleaner will work fine on carpet and fabric and it can be effective when combined with a stiff-bristled brush. Take your time to spray, scrub, and wipe it dry with a towel. Try not to get it any wetter than necessary as that will just mean it’ll take longer to dry.
If your carpet is in tougher condition, you might find it helpful to use a carpet extractor like a Bissell Little Green Machine. You can still tackle it by hand but it’ll take a lot longer and tire your shoulders out. You can also use this on your cloth seats if they’re being stubborn. A machine like this will come in handy around the house too.
Protect the interior surfaces
After all that work you put into cleaning your interior, you’re going to want to dress and protect it. This will leave a nice, natural sheen and make it easier to maintain and keep clean going forward.
There are products out there that can be used on all of these surfaces, or you can use more specific ones. I prefer to use separate products that do each job best.
Final vacuum
It’s quite possible that you’ve tracked in some fresh dirt while you’ve been in and out of the car to do all of this cleaning. The scrubbing motion with brushes and towels might have also loosened up more dirt so it’s usually a good idea to follow up with one more quick pass with the vacuum.
You’ve already done all of the actual cleaning at the beginning so this is just a matter of touching up any spots that need one more hit.
Interior summary
There are a couple of common themes when detailing your interior for sale.
- Look closely and try your best to find every surface that needs to be cleaned.
- Don’t get anything too wet. If something seems like it’s already clean enough, skip that step and move on.
It’s important to pay attention to how much each job will affect the sale of your car. There’s no point in spending a ton of time on a section that isn’t very dirty to begin with. Feel free to skip any steps that aren’t necessary for your specific car.
Speaking of money, you should also keep in mind the cost of any products you’re purchasing to do this job. You don’t need to worry about long term protection for a vehicle that will soon belong to somebody else. The main objective here is to boost the value by making the interior clean and fresh.
Bonus tip: give your interior a quick spray with some type of new car scent. I like to use this one from Chemical Guys to add the smell of fresh leather. Little things like that can add up and really get a buyer’s attention!
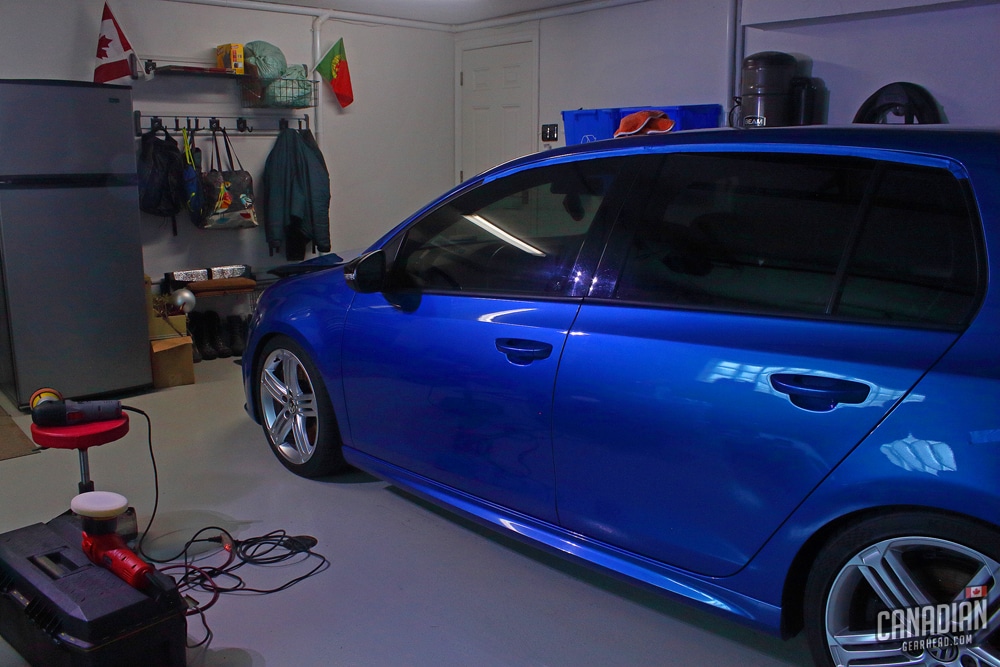
Detailing your exterior for sale
With the inside of your car looking and smelling much better, it’s time to turn your attention to the exterior. It’s no secret that potential buyers are more likely to notice your car if it’s clean and shiny. Taking the time to give it a thorough hand wash and polish up the paint will set your car apart from the other ones on the market.
Just like your interior, you won’t need a ton of products to clean your exterior either:
Remember: if it isn’t going to add value to the car, don’t waste your time and money!
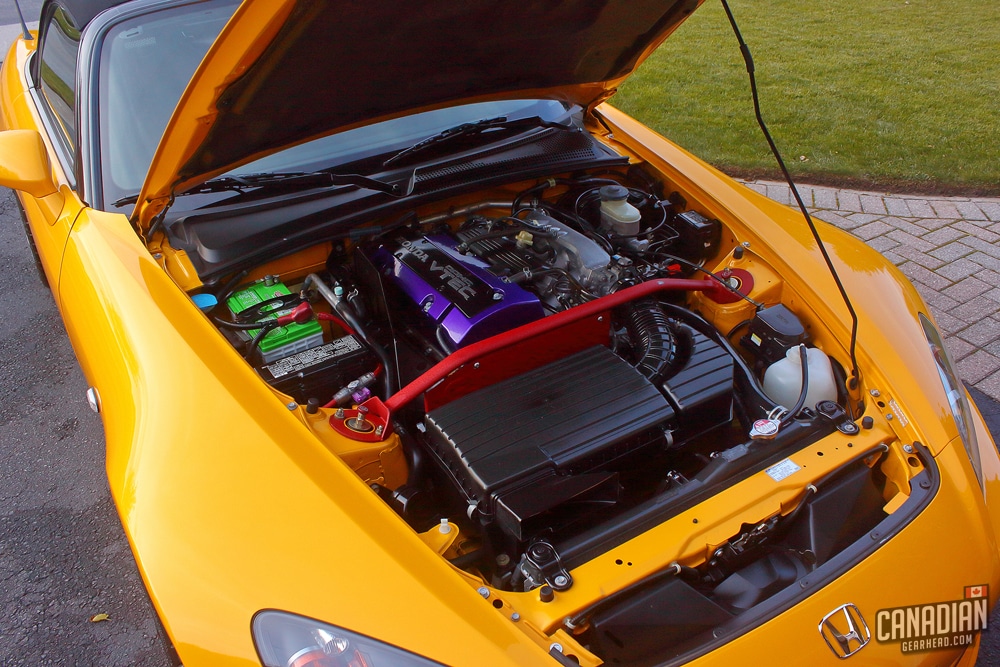
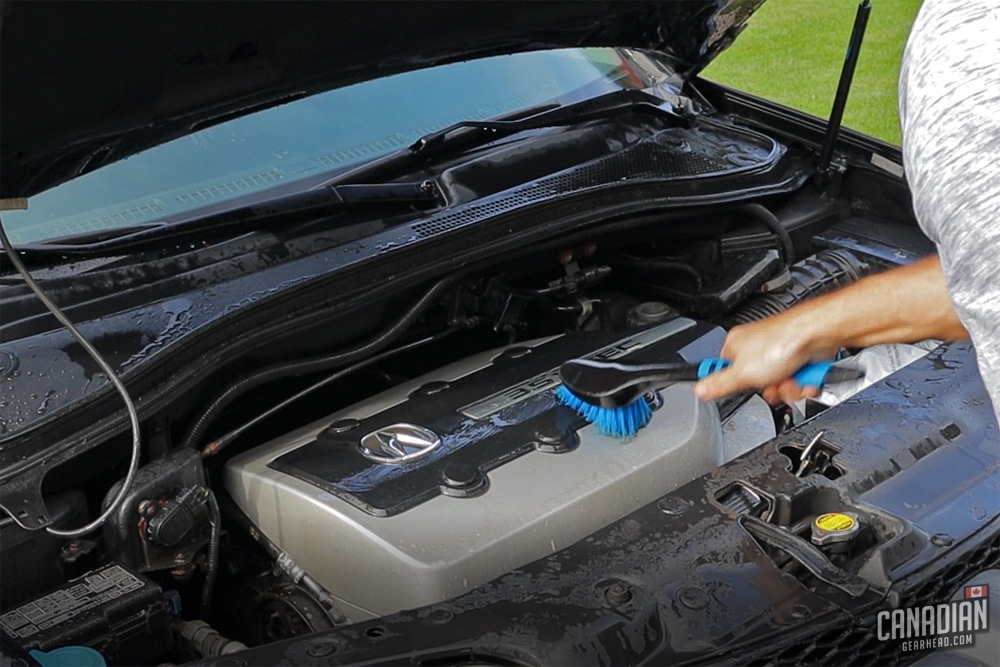
Wash the engine bay
This is a really easy way to make your car stand out from the crowd. Most people will never think to pop their hood and take a look yet nearly every potential buyer will. Chances are, they won’t even know what they’re looking at or for.
Seeing a nicely cleaned and dressed engine bay will certainly catch their attention and show them that your car has been taken care of.
Start by covering any electrical components that you’re concerned about getting wet. The alternator is a big one and some people choose to cover or wrap up the battery, air filter, and any questionable wiring. For the most part, you can simply avoid spraying these things directly and not run into any issues.
You have to use common sense when you’re spraying pressurized water at your engine. It would be a very bad idea to hold a pressure washer just inches away from your car’s electronics. A light spray with a garden hose on a shower setting won’t cause any problems unless you’re working on a vintage car or one that has been extensively modified.
Start by rinsing any loose dirt off of the engine and inside the hood. Also, spray the surrounding exterior panels like the fenders and bumper. That will minimize the risk of any overspray from a cleaner or degreaser drying up and staining the paint.
Sometimes it’s best to break the engine bay up into smaller sections to work on just like you did with your interior. Rinse, spray your cleaner on, scrub with a brush, and rinse again. Once that section is clean, move on to the next area.
It isn’t necessary to remove every bit of dirt. Focus mainly on the top section of the engine. That’s what people will have their eyes on. Potential buyers won’t be digging down deep with a mirror to check every square inch. Remember that you’re trying to sell a car, not win a car show.
Once your engine bay is clean, it’s best to blow dry all of the standing water. This will keep it from pooling up and seeping into places you don’t want it over time. Don’t have a fancy car dryer or an air compressor? No problem. Hit it with your leaf blower. I’m not kidding, a leaf blower works perfectly for the job!
The final step to cleaning your engine bay is to apply some kind of dressing. I like to use the same stuff I use on my tires or an aerosol product like Stoner Trim Shine. Spray down the whole engine bay and let it dry on its own.
You can come back later and buff it to perfection if you wish. It’s important to do this step before you wash the rest of the car though so you don’t get dressing all over your paint.

Clean the wheel wells
Sure, clean wheels and shiny tires are great. But if the inner wheel well is visible and it isn’t clean too, your car isn’t going to get the same attention. You can clean the inside of your fenders the same way you would your engine bay.
If your car is fairly low and/or has larger wheels that fill the wheel wells, this step might not be needed. On the other hand, most SUVs and trucks have large, wide open fenders that expose the suspension. You’ll want to take the time to get those looking great on vehicles like those.
The easiest rule to follow is: if you can see it, you need to clean it.
Give the wheels a proper cleaning
Touch-free car washes might do a decent job of removing most of the dirt and grime from your paint, but if that’s the only washing your car has seen it’s very likely that your wheels are looking a little neglected.
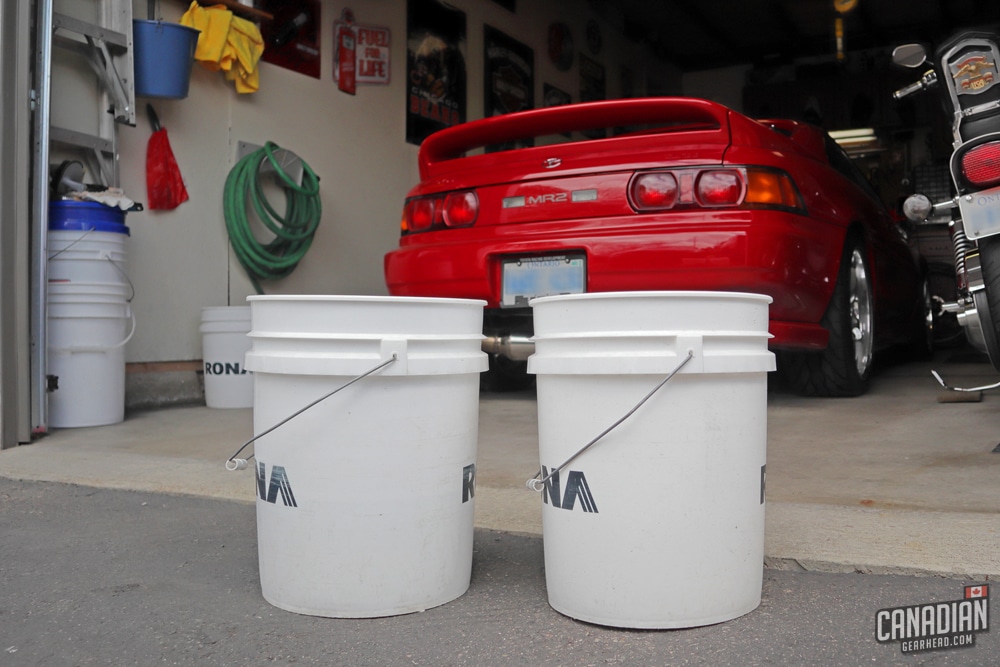
Clean wheels and tires are another great way to make your car stand out. Grab a few brushes, a bottle of wheel cleaner, and fill a (completely separate!) bucket with soap. Spray the cleaner on and scrub the whole wheel inside and out with the brushes. If they’re in bad shape, this might take a few attempts.
It’s also a good idea to scrub the tires with an all purpose cleaner or degreaser. This will freshen up the rubber and remove any old, worn out tire shine that might be sticking around.
Restore your headlights
Unless your car is still fairly new or has glass headlights, there’s a good chance that they’re starting to look a little weathered. Restoring faded, yellow headlights can transform the look of your car.
The reason I recommend doing this now before washing the car is because of the mess that’s left behind after wet sanding. It’s much more efficient to give your headlights a quick wipe to clean them, then restore them before washing the car. That way you don’t end up washing your front end twice.
If your headlights are still in good shape, you’ll want to skip this step. There’s no point in sanding down the protective coating if it’s still actively doing its job.
Wash your car
If your car is used to only going through car washes, this is the time to pamper it with a spa day. The fact is, no matter how good the automated car washes might be, they’ll never be able to do as good of a job as a good old hand wash.
You’ve already done the wheels and wheel wells so now you can focus on the rest of the car. If your paint is in good condition, make sure to use a safe wash technique like the 2 bucket method.
If your car is really dirty, feel free to use a stronger soap or even pre-rinse it with an all purpose cleaner. This will likely strip any wax or sealant but that’s ok – you’ll be applying a fresh layer of protection soon anyways.
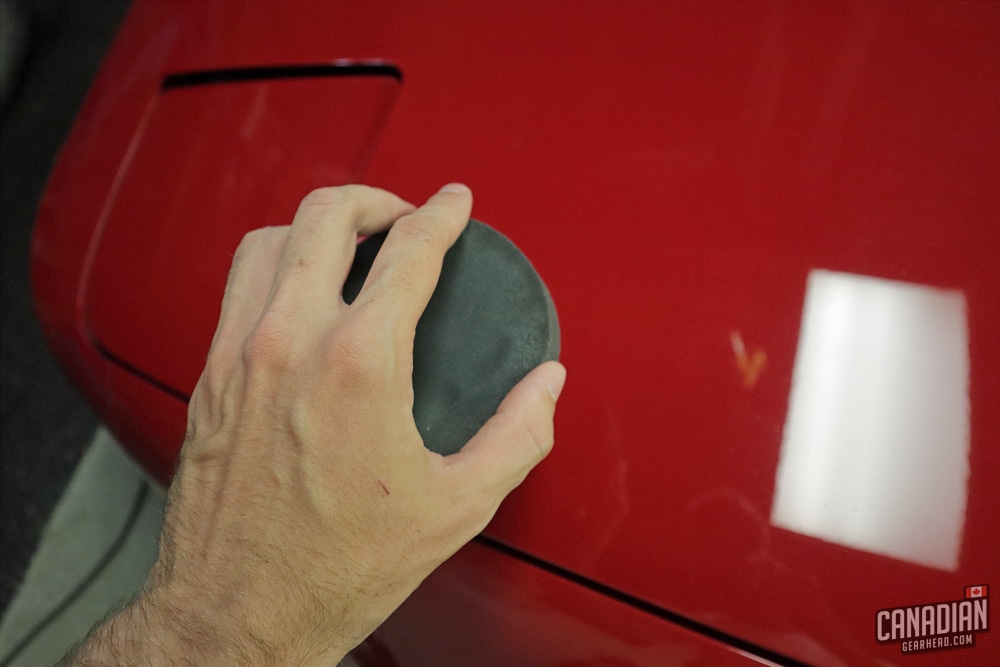
Decontaminate the paint
Potential buyers love clean, smooth feeling paint. If yours feels rough like sandpaper, don’t worry – this is an easy fix. You’ll need to use a clay bar and a little elbow grease. This should only take you about an hour if you’re working properly.
You can also use an iron and fallout remover as well, just make sure to give the car at least a final rinse to make sure nothing is left behind.
Dry the car
Now that your car is nice and clean, it’s time to dry it off. Remember when you used the leaf blower to dry off the engine bay? You can use it again on the rest of the car! You’ll still have to dry it off normally with a towel at first unless it still has a good coat of wax or sealant.
The compressed air really helps to blow out any water that’s trapped behind trim, lights, and panel gaps. You’ll want the car to be completely dry for the next step.
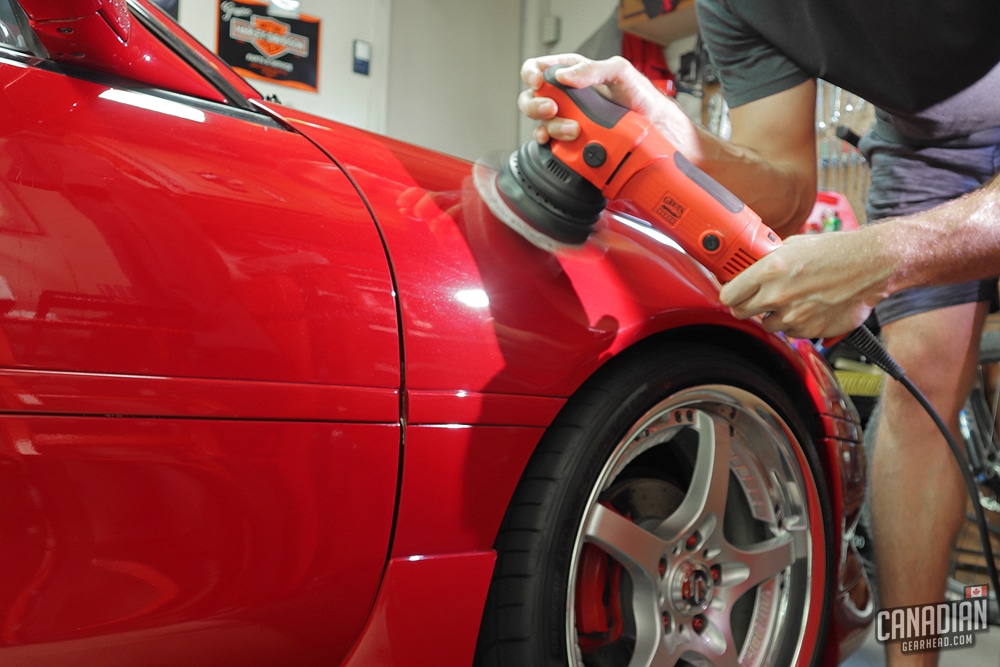
Polish the paint
Getting the most shine out of your paint will only attract more attention to your car. This is absolutely worth the effort but you’ll need to decide how far you’re willing to take it.
While nearly every car can benefit from some sort of paint correction, you won’t necessarily increase the value enough to warrant it. You can still put as much time and money into as you like though.
A higher priced vehicle with badly swirled paint would be an example where it’s worth going in depth into a paint correction. For most everyday cars though, a quick pass with an all in one polish like 3D Speed is enough to turn some serious heads. It can be done quickly and easily too.
A dual action polisher is super helpful for any kind of polishing whether you’re doing a multi-step paint correction or a quick all in one polish. With that said, you can use the latter by hand or use some sort of cleaner wax. Your shoulders will hate you but your car will shine.
Protect the paint
Now that your paint is nicely polished, you’re going to want to protect it in order to make it last as long as possible and make it easier to maintain while you have the car for sale. For most people, a coat of wax or sealant will do the trick just fine.
If you have a higher end car, you might want to consider applying a ceramic coating. These products are all the rage in the detailing industry currently and the right buyer might see that as an added value.
If you’ve restored your headlights, don’t forget to protect them as well. Most ceramic coatings work well on headlights so if you have a bottle kicking around, feel free to use that. If not, there are products available specifically to protect your headlights. Whatever you do, don’t leave them bare – your results will disappear within weeks if you do.
If you used an all in one polish in the previous step, you don’t need to worry about protecting your paint at this point since it’s already done. Those products certainly save you a bunch of time.
Finishing touches
At this point, you’re on the home stretch. The hard work is completed and all that’s left to do is take care of a few final details.
Clean your windows
The excitement of having a clean, shiny car can wear off quickly if your windows are full of smudges and streaks. Take the time to clean them both inside and out – you’ll be glad you did.
Dress the wheel wells
The inside of your fenders should be nice and clean from the previous step. All that’s missing is the little extra sheen you’ll get by applying a dressing. You can use the same product you used on your engine bay, just be careful not to spray any on the surrounding paint.
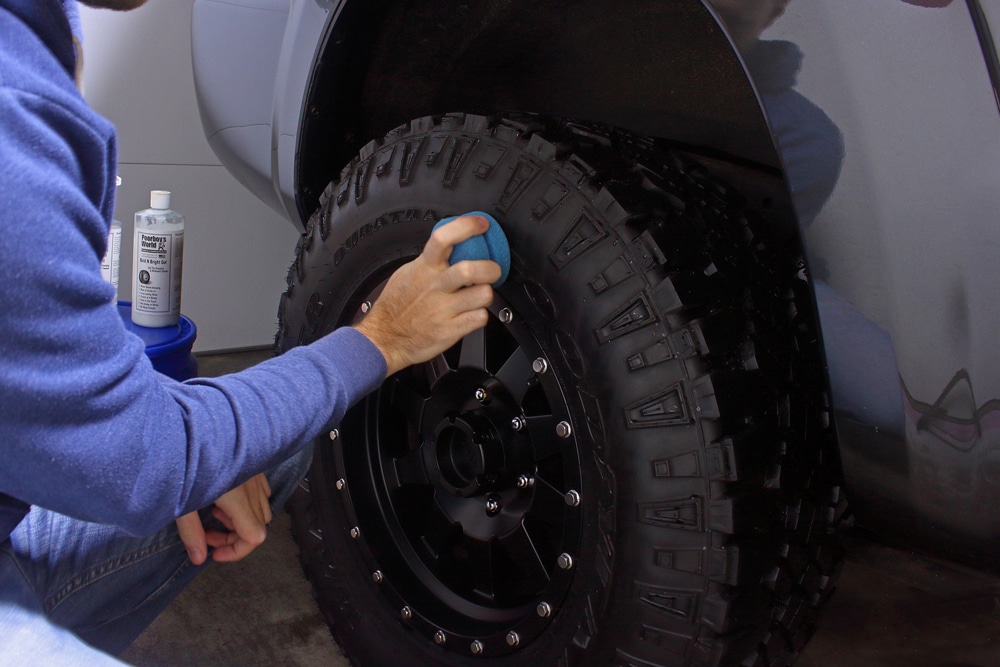
Dress the tires
A little tire shine goes a long way when trying to sell a car. Your dressing of choice will last longer thanks to the time you took to clean the rubber earlier.
Don’t go too crazy with this and make sure to avoid really greasy products. The goal here is to make your tires look clean and black. Making them overly shiny is a thing of the past.
While you’re working on each wheel, grab a quick detailer and wipe any water spots or overspray from your tire shine.
Inspect the paint
It’s a good idea to double check your work. If possible, do this in different lighting (pull the car out of the garage and into the sunshine). Inspect the paint for any water spots or leftover wax that you missed when buffing it. If you used a ceramic coating, check for high spots.
Polish chrome exhaust tips
Not every car has shiny chrome exhaust tips but if yours does, they need to be polished. Taking a few minutes to use a product like Meguiar’s Chrome Polish can help your exhaust to look right at home beside your freshly polished paint.
Take a quick drive around the block
No amount of wiping or blowing will get our car 100% dry. There are always places for water to hide and getting the wheels spinning and the wind blowing should reveal them. This will also clean up any rust on your brake rotors that might have appeared after washing the car.
A quick drive around the block will do the trick. Go around the car with a towel and a quick detailer if you see any new water spots have been revealed. Once you’re happy with the way your car looks, you’re done!
Final wrap up
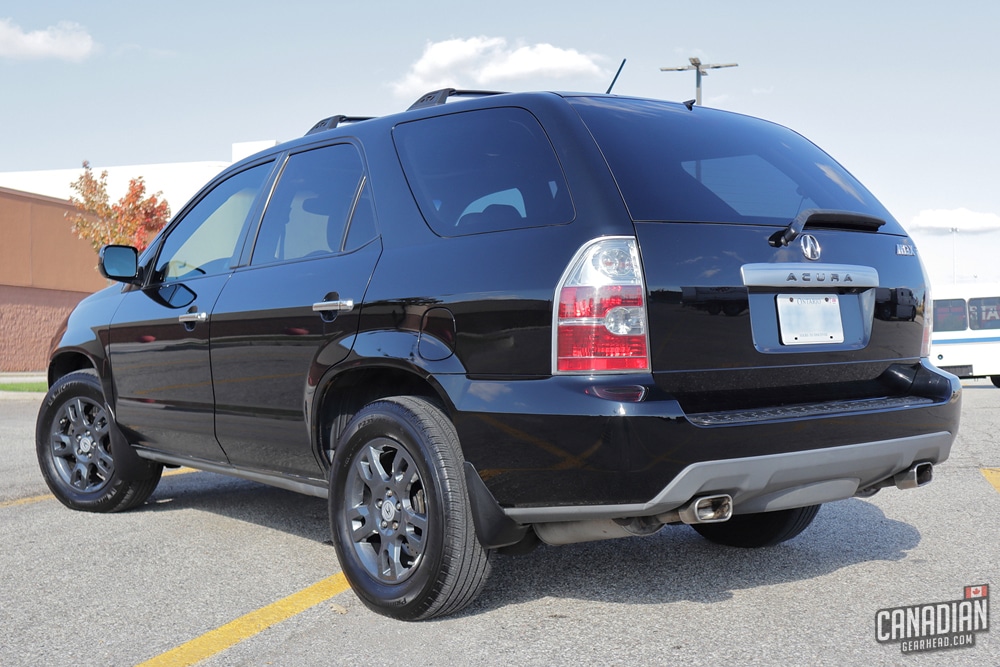
If you’ve followed the steps in this guide, your car should be looking better than it has in a very long time. The interior is fresh, the exterior is shiny, and it likely looks a few years younger.
It might have been hard work but this is what will boost the value of your car the most. Now it’ll get more attention from more serious buyers. That could mean a higher selling price, less time on the market, or both!
Next, learn how to photograph your car properly so it looks just as good in your for sale ad as it does in real life!

Tim is the creator of Canadian Gearhead. His experience with auto detailing and working for Toyota shows through all of the articles posted here. He runs the Canadian Gearhead site and YouTube channel full-time now and currently owns a 2007 4runner, 2006 Tacoma, and 1991 MR2. Read more about Tim:

Leave a Reply