Cars and photography are two hobbies that go together like peanut butter and jelly. They say that if you can’t walk away from your car without looking back at it, you’ve purchased the right one. To take that a step further, I say that if you can’t stop taking photos of it, you didn’t just buy the right one – you’re crazy about it.
The photography industry can be both confusing and intimidating if it isn’t something you’re really into though. I don’t consider myself a professional photographer by any means, but I’ve learned a few techniques over the years. Today I’m going to share everything I know in this car photography tutorial.
I don’t claim to know everything there is to know about photography, but I know enough to get some cool shots. For most of us car guys, that’s all we’re after. If you decide that this is something you’d like to pursue further, I’d recommend digging into the free guides on Speedhunters, the helpful articles on ImprovePhotography, or even taking an online course.
Photography is definitely something you can get hooked on and there is a ton of info to learn out there. We’re going to stick with the basics for this crash course though.
Scout some photo locations
Long before you get your camera out, you’ll need to find a location to shoot your photos. This can be a really fun part of the process. Keep an eye out during your daily travels for areas that catch your attention.
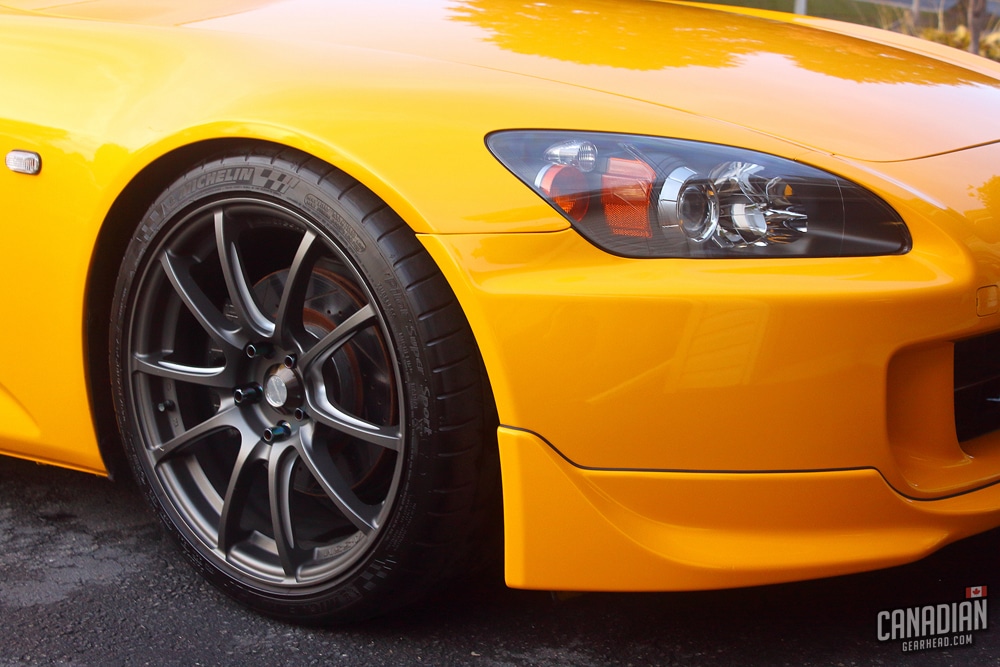
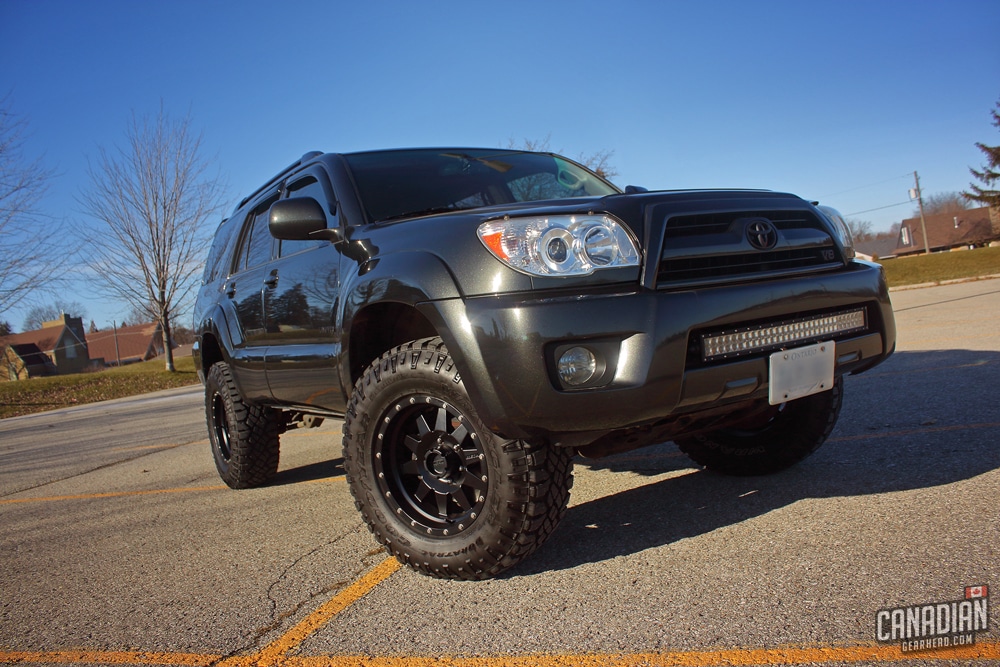
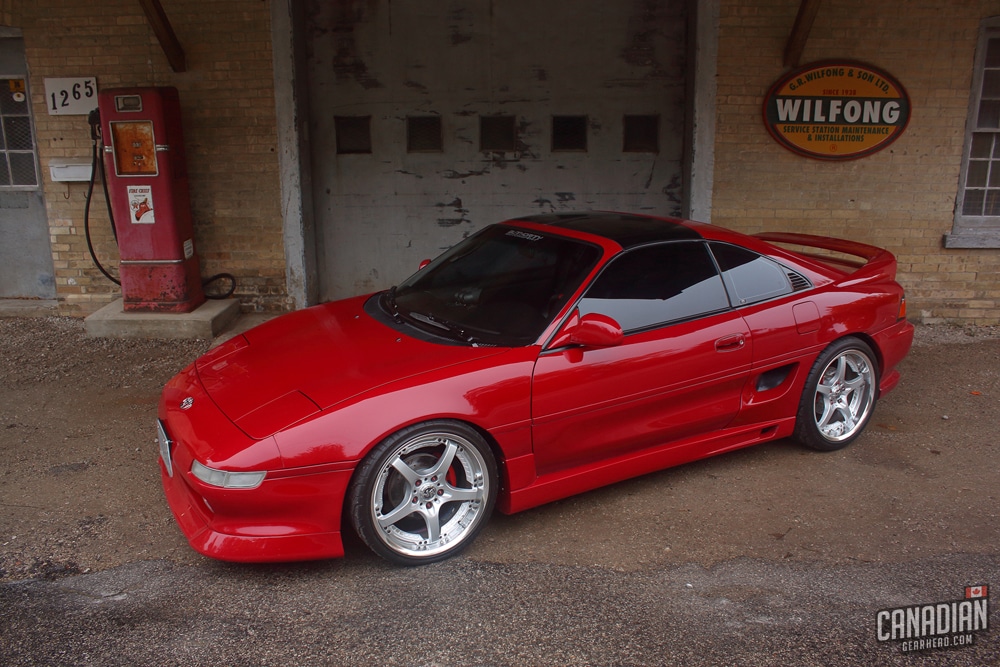
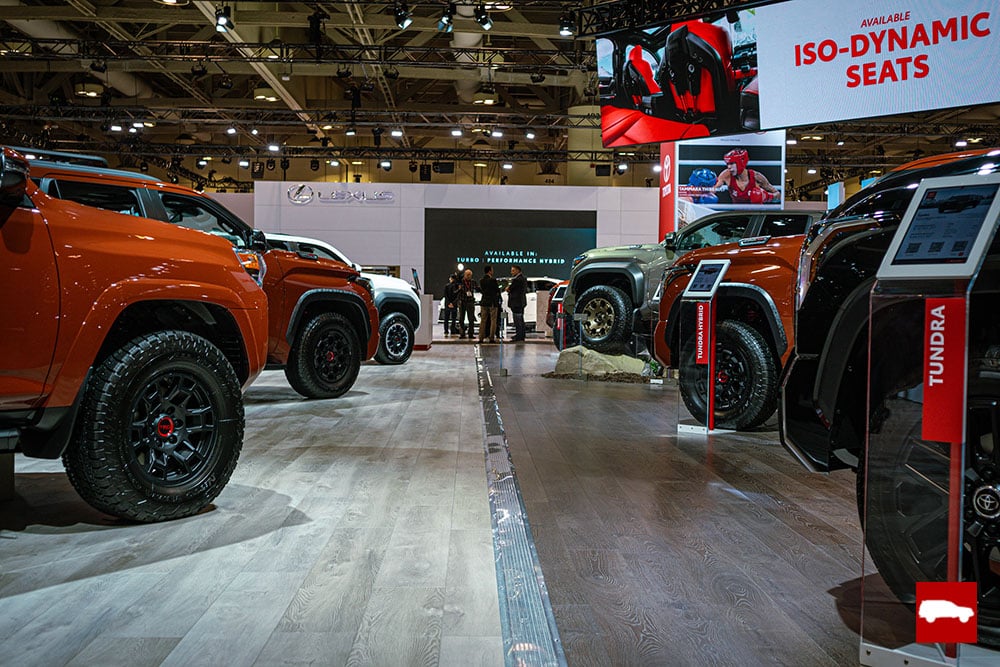
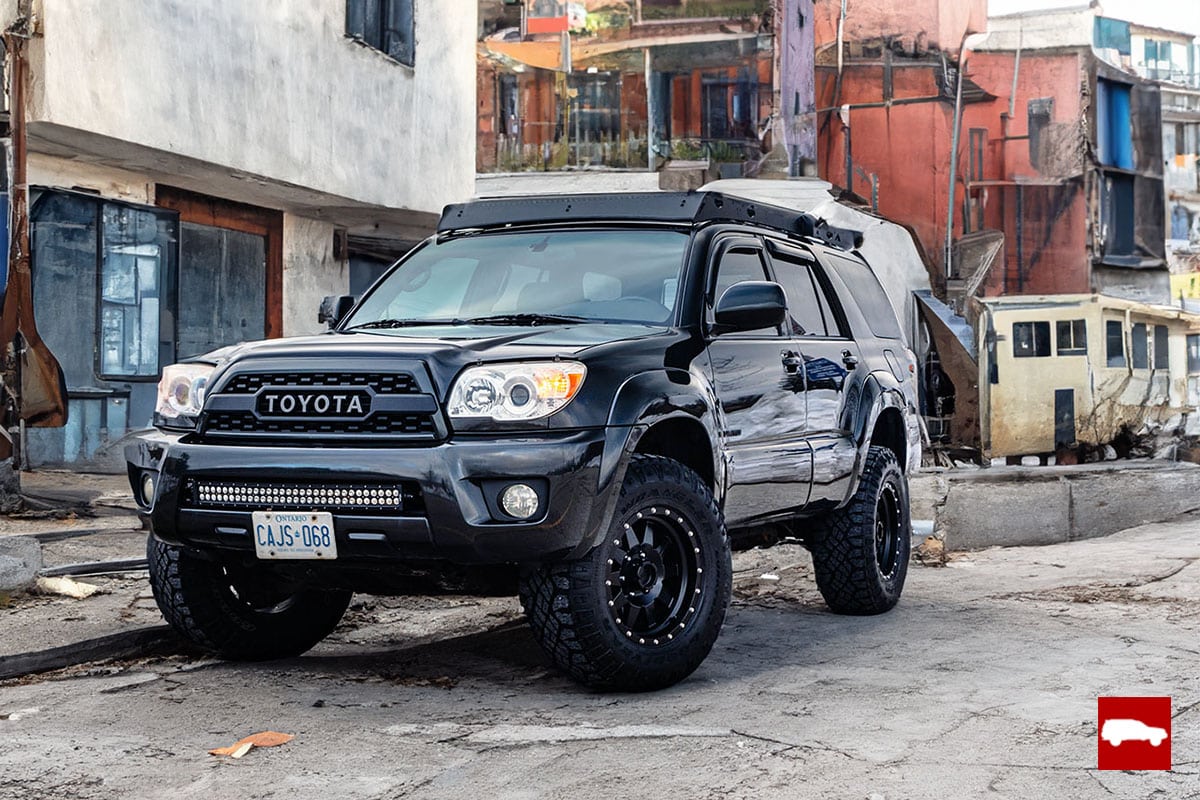
Try to find locations that either suit your vehicle or contrast it completely. That might mean shooting a really nice car in a junkyard atmosphere or shooting an off-road vehicle out in the dirt where it belongs. This also works with color as well. Choose a backdrop that either compliments the color of your car or really makes it stand out.

Either direction you go with this will allow you to get some awesome shots. Try to avoid mundane locations like your driveway or a busy parking lot. Keep it creative.
It’s also important to pay attention to your surroundings, wherever you end up. Things like weird reflections or trees/posts sticking out of the roof of the car can really take away from an otherwise great photo. A lot of this can be fixed with editing, but that can also be time-consuming.
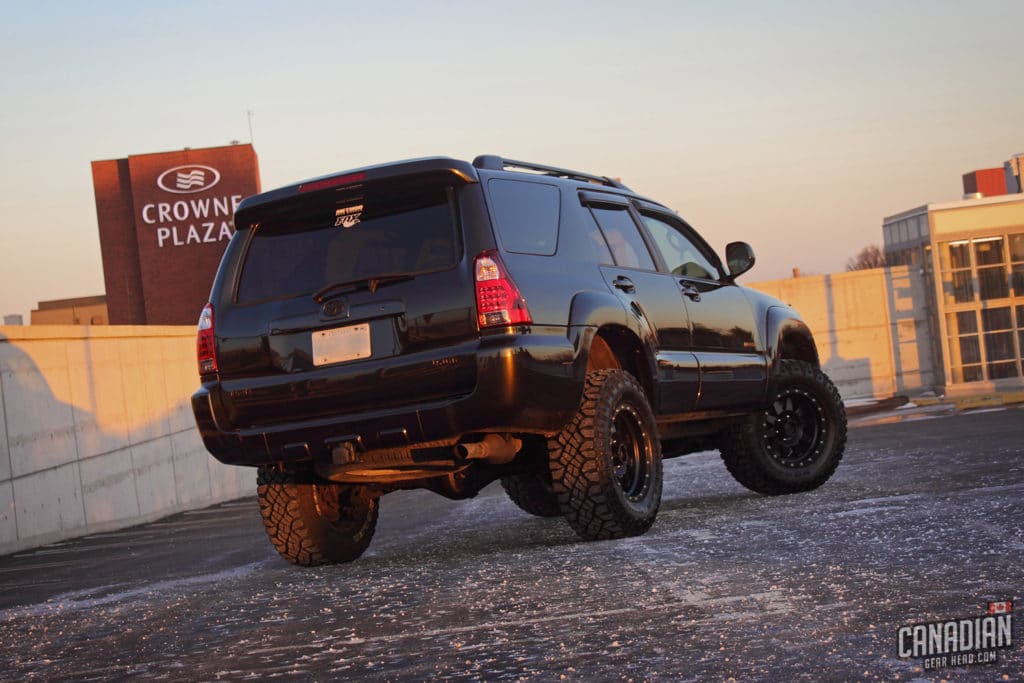
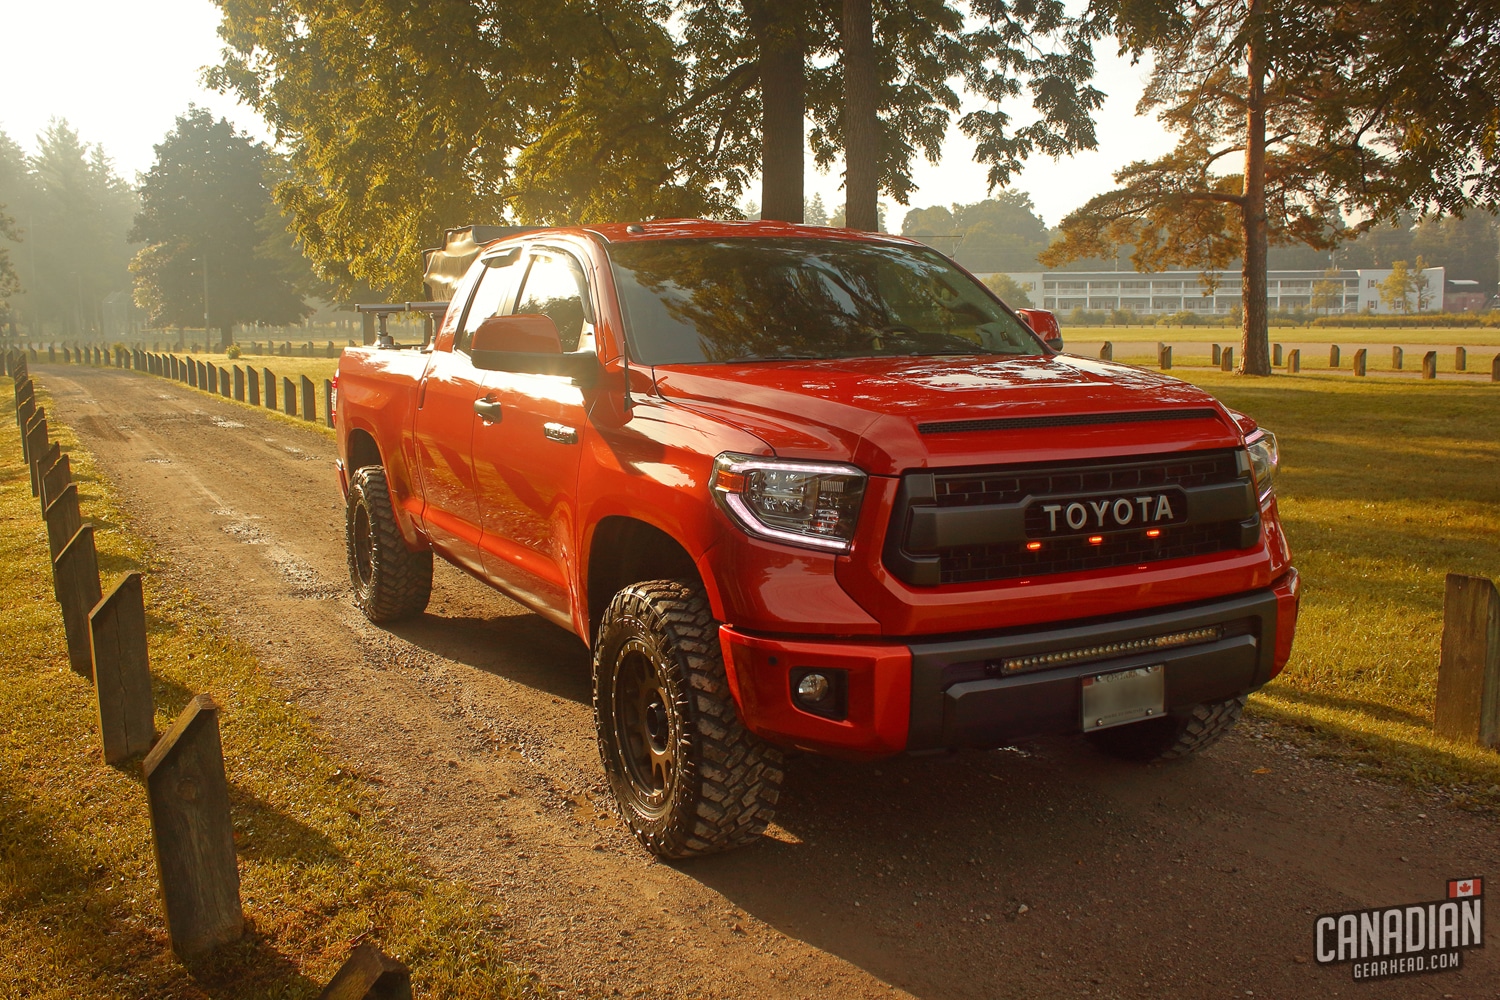
Consider the time of day you’ll be shooting as well. Keep an eye on where the shadows are and make sure you come back with your car and camera at the right time. It’s a good idea to avoid the middle of the day, especially if it’s sunny.
Sunrise and sunsets are very popular times to shoot because of the warm lighting they provide. Sometimes a cloudy day will offer the least amount of contrast and shadows if that’s what you’re looking for. Night shots can be really fun to play with too.

Get your car cleaned up
Another thing you’ll want to take care of beforehand is detailing your car. The good news is that you don’t have to go crazy with chasing perfection here. Cars almost always look better on camera than they do in real life. A few water spots or some minor scratches will likely go unnoticed. Just make sure your car is clean in general.
You’d be surprised at how much of a difference tire shine can make. If you’re taking this seriously, a fresh coat of carnauba wax can really make your paint glow in photos too.
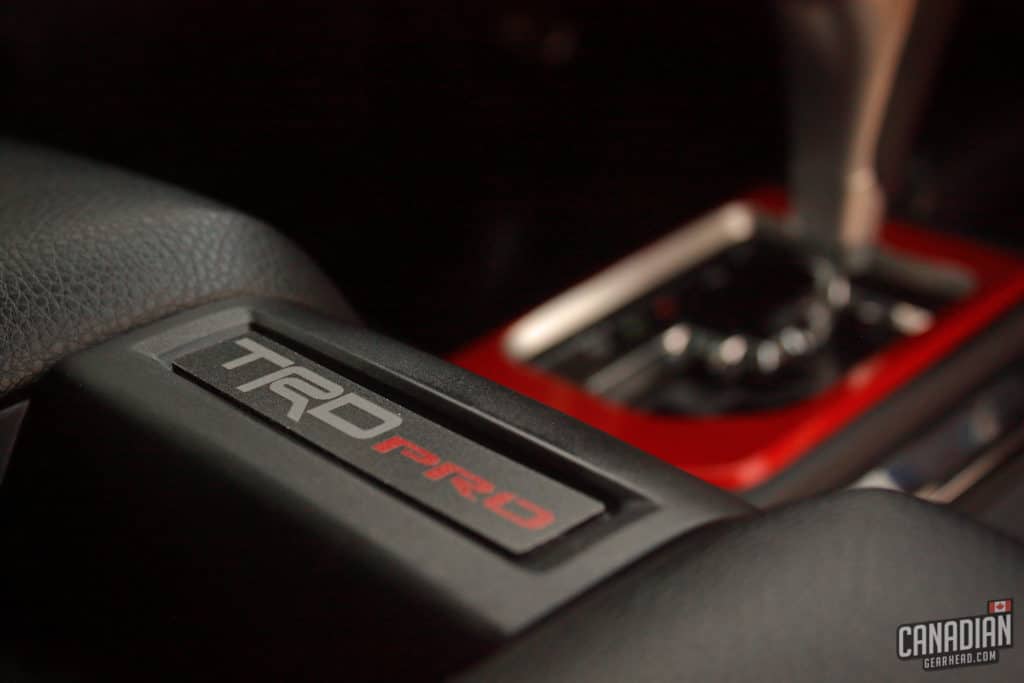
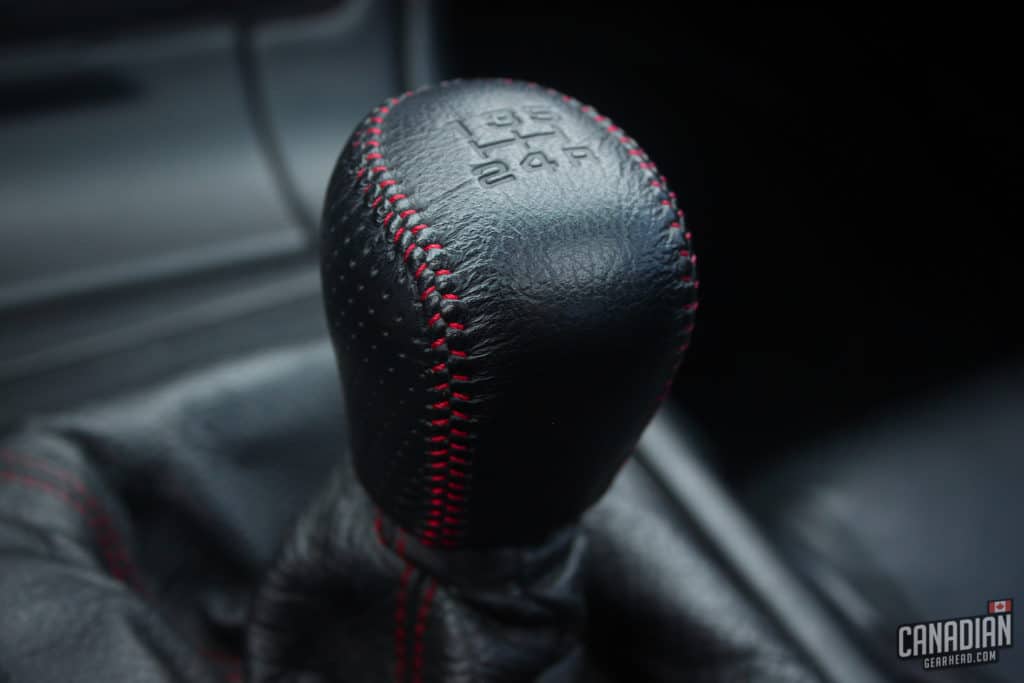
How much effort you need to put into detailing your car beforehand will depend on the type of photos you plan to shoot. The more intricate details you want to show, the more time you’ll need to spend getting everything cleaned up.
If you’ll just be standing back a few feet and taking shots of the entire car, you can get away with a quick wash. Closeup shots showing the details of your engine will require you to spend some time getting your engine bay dialed in.
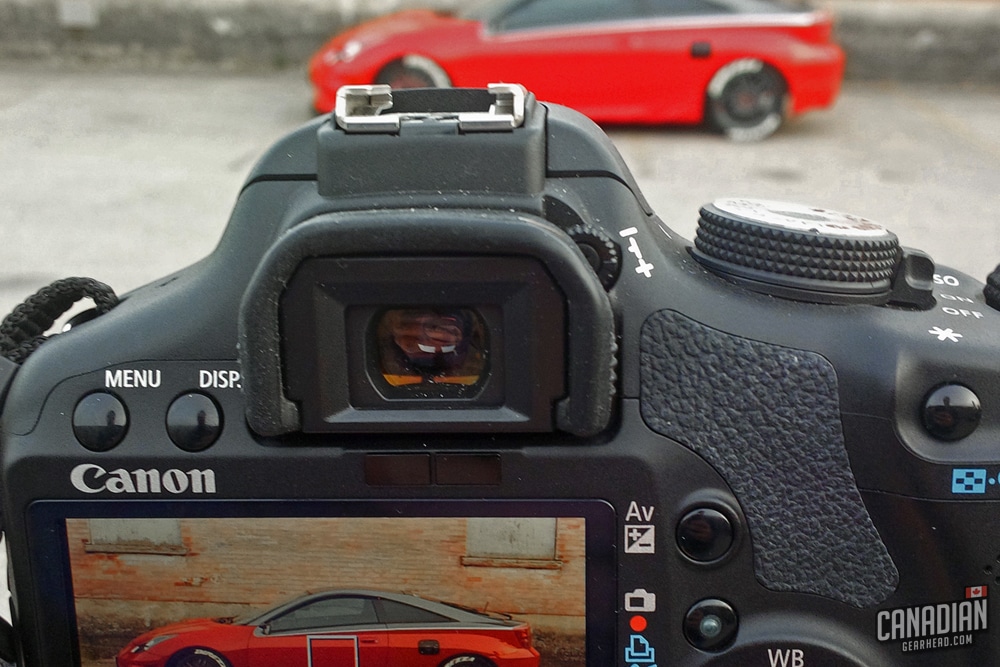
What kind of camera should you use?
You don’t need to go out and spend thousands of dollars on a high-end camera to get the perfect photo of your car. You’ll want to use a decent one though. Camera technology on modern smartphones has come a long way, but they still don’t offer the detail and adjustability of a real camera.
I recently reviewed the Canon M50 and explained why I believe it’s the best camera for car photography in this post.
Other equipment to consider
A circular polarizing filter is really helpful when shooting cars. Our cars are shiny and reflective which makes dealing with reflections a bit of a hassle at times. A polarizing filter allows you to adjust the way your car’s paint and windows appear in your photo and can often be the difference between a great shot and a mediocre one.
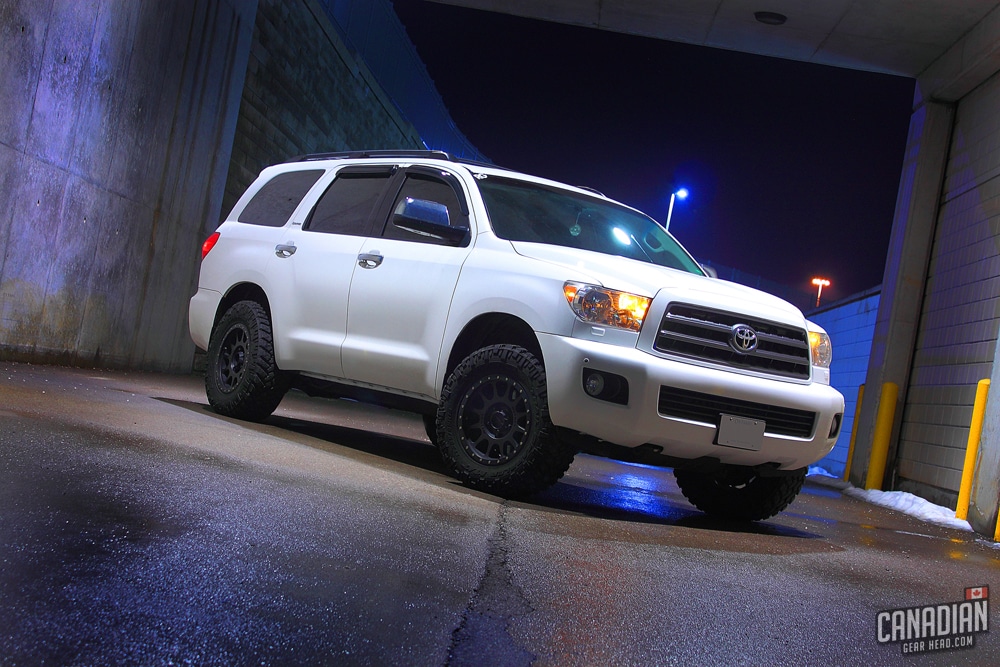
If you’re planning on shooting at night, you’ll need a tripod for sure. Using a tripod allows you to slow your camera’s shutter speed down to take photos in low light. Doing this without one will result in very blurry photos. An inexpensive tripod will do the job just fine and if you’re in a jam, using a ledge or rock as an alternative can save your bacon. Whatever it takes to keep the camera still.
Experimenting with different lenses can open up a whole new world of possibilities if you’re willing to invest some money into this project. They aren’t cheap though.
Composition
Now that you’re at a cool location with a clean car and a camera in your hand, it’s time to visualize your shot. Many photographers will tell you that composition is everything, and I tend to agree. There are certain rules regarding composition like the rule of thirds, but I think it’s more important to go with whatever looks right to you.
The best advice I can give you on this one is to take as many different types of shots as you can. Get close to the car. Stand far back and zoom in. Focus on your favorite details. Include as much or as little of the background as you want. Keep the car centered in your shot, or don’t – you’re the boss.
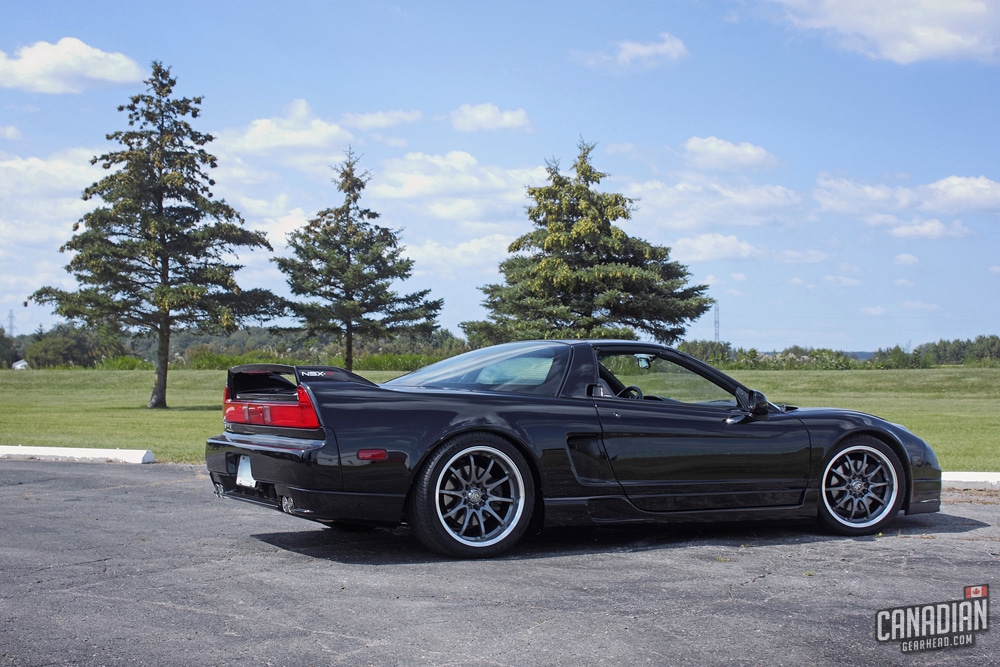
A big part of the composition of a photo is the angle of the car. There are a few go-to angles that will almost always look good like 3/4 shots, side profile shots, and straight head-on shots. I recommend starting with all the usual angles you’ve seen online and in magazines.
Once you’ve taken care of the basics, try out as many different perspectives as you can come up with. Get high up and shoot down at your car. Angle the camera in your hands. Shoot up from a low perspective. Get on the ground if you have to. Put trees or tall grass in the foreground. Take advantage of reflections in puddles or windows of buildings.
Have fun and try to think outside of the box. I can’t count how many times I’ve ended up loving a photo that I started out thinking “that’s a dumb idea, but I’ll snap it anyways“.
I’ve found that the trick to digital photography is to shoot first and ask questions later. You aren’t using film, so space isn’t at a premium. Fill that memory card up with as many different shots as possible. It’s better to have way too many photos than not enough.
You can always delete the ones you don’t want later on. Going back and recreating the original circumstances to get more shots is a lot more difficult.
The best car photography settings
Camera settings are one of the most confusing things in the entire industry. I remember thinking I was completely in over my head the moment I switched my camera into manual mode. If you’d rather not take the time to learn about a camera’s settings, it’s ok to keep it in auto mode, or better yet, aperture or shutter priority mode. You can still get some great shots.
For those that want full control of their photos, manual mode is where it’s at. This unlocks your camera’s true potential but requires some basic know-how of what these settings mean. There are 3 main settings to control on your camera. I’m going to break these down as simple as possible:
Shutter speed:
Your camera’s shutter speed controls how light or dark your photo will be. This is measured in seconds or fractions of a second (ie. 1/80). Speeding this up will make your photos darker, but crisp. Slowing it down will do the opposite and risk making the photo blurry. This is why you need to use a tripod when shooting at night with slower shutter speeds. Finding a happy medium is the goal here.
Settings to start out with:
1/125 during daylight and 1 full second at night with a tripod. Take a few test shots and figure out whether you need to speed up from this or slow it down.
Aperture:
The aperture setting will read something like “f7.1”. This controls how much light is allowed into the camera but most importantly it affects the focus. Adjusting your aperture will adjust your shot’s depth of field. A lower number will keep the car in focus but blur the background. A high number will keep the entire photo in focus.
Settings to start out with:
f3.5 for a blurry background and f11 for a completely crisp shot.
ISO:
The last setting you need to worry about is your camera’s ISO. This controls how sensitive the sensor is to light. I know, it’s starting to get complicated. Raising this number will make your photo lighter but the consequence is that it might make it look grainy. On most cameras, you’ll be fine below 800 or so before you start to notice some grain.
Settings to start out with:
It’s often best to keep the ISO as low as possible, so start at 100 and work up.
Photo editing
You’ve got the shot. Now it’s time to perfect anything that might not have been in your control when you took the photo or any mistakes you might have made. Shooting your photos in RAW format rather than JPEG will allow you to make changes to things like the white balance and exposure on your computer.
Think of this as a second chance to fix incorrect settings. The downside to this is that RAW files are pretty large and take up a lot of space.
Many photographers brag about their shots being perfect straight off the camera. If you can do that, great. I can’t. Well not often, anyway. There is almost always something I want to tweak or fix after I’ve seen a photo on a larger screen.
Adjusting colors, brightness, sharpness, removing unwanted objects and blurring license plates are all things that can easily be done with programs like Adobe Photoshop.
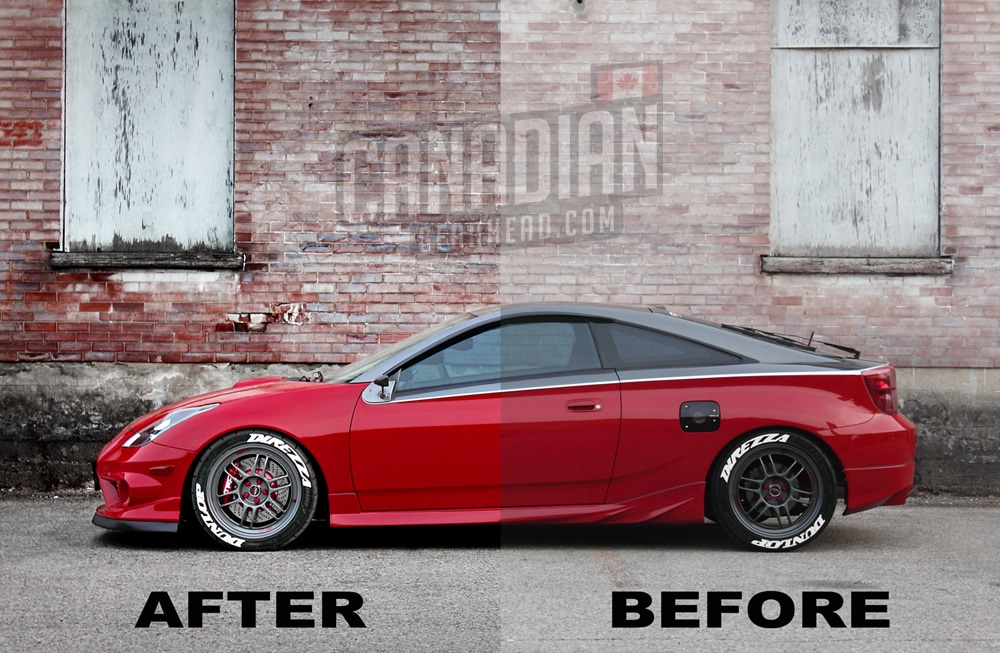
Sometimes it’s fun to dig deeper into post-processing your photos than you normally would. You can easily spend hours just messing around with all of the different changes you can make to a photo until you get it just right. You can even go for an unrealistic appearance if you want. There are lots of great tutorials for using Photoshop out there and I would highly recommend checking them out.
Common car photography myths
You need an expensive camera
Many people believe that the more expensive the camera, the better the photo. That isn’t true. Photography is a lot like car detailing in that the knowledge of the operator is the biggest factor in what kind of result you’ll get.
Buy the best camera you can afford or justify and take the time to really learn how to use it. I promise you’ll be able to take amazing photos of your car with even an entry-level camera. Be creative and learn your settings.
Don’t shoot directly into the sun
This is a rule that I’ve heard all my life. Then I started noticing some absolutely incredible pictures of cars online that were pointed at the sun. Sure, having it behind you will light up all the details of the car you’re shooting. But the hazy, high contrast look you get from shooting directly at it can also make for some really cool photos.
Never break the rules of photography
It’s best to think of any “rule” in photography as more of a suggestion. You don’t have to follow the rule of thirds if you don’t want to. Mess up your exposure. Make your photos grainy with too high of an ISO.
Sometimes these “mistakes” end up creating photos that you’re really proud of. As long as you have space on your memory card, think outside the box and try everything. You’ve got nothing to lose.
What to do with your perfect photo
Now that you have some shots of your car that you love, it’s time to enjoy them. Set one of them as the background on your work computer. Share your photos on social media. One of my favorite things to do is to have photos printed off into posters. This is cheaper to do than you might think and makes for some nice artwork for your office or garage.
Regardless of what you end up doing with photos of your car, get out there and take as many as you can. You can never have too many. I like to stockpile as many as possible before winter so I don’t miss my vehicles as much when they’re hidden in storage.
Most importantly, have fun. If you have any other car photography techniques or tips, make sure to share them in the comments below – I’m always wanting to learn more!
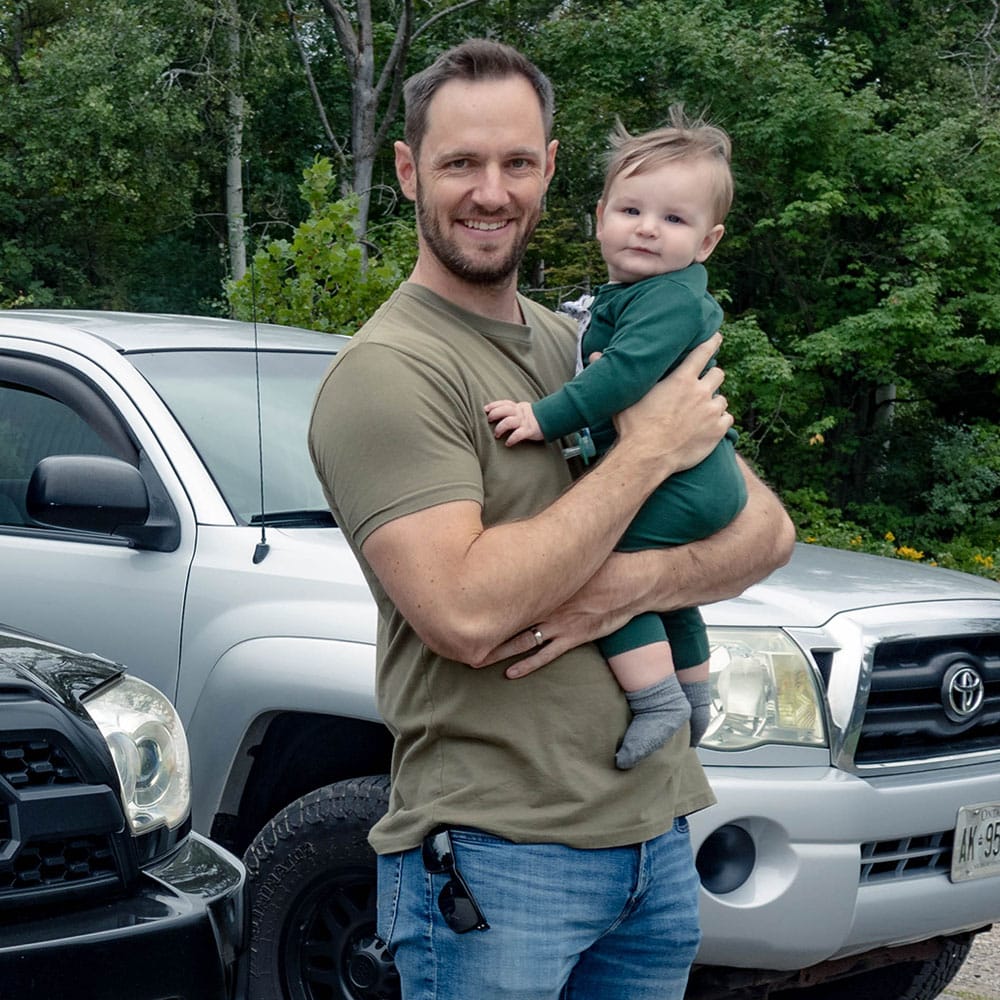
Tim is the creator of Canadian Gearhead. His experience with auto detailing and working for Toyota shows through all of the articles posted here. He runs the Canadian Gearhead site and YouTube channel full-time now and currently owns a 2007 4runner, 2006 Tacoma, and 1991 MR2. Read more about Tim:
Leave a Reply