If you’re anything like me, you’ll find yourself wanting more light on your vehicle than the factory gave you. Cheap LED light bars have exploded into the off-road industry within the last few years. Prices range from $30 up to more than $1,000. So which light bar should you buy? I’ll help you work that out with this cheap LED light bar guide.
Cheap LED light bars have come a long way over the years. You no longer have to spend a ton of money to get a high quality light for your vehicle. Do your research and make sure the light you buy has good reviews and that its specs will meet your needs.
The first thing you need to figure out is how important auxiliary lighting is to you. If you’re a hardcore wheeler that likes to get as far away from civilization as possible, you’re probably going to want to spend the extra money on a top quality product.
For those of us that go off road occasionally and also want some extra lighting out on country roads at night, I’ve found that spending a bunch of money isn’t necessary.
Are Cheap LED Light Bars Worth Buying?
Simply put – if lighting is really important to you, then buy the best LED light bar you can afford. If your life doesn’t depend on it, it’s totally ok to save yourself some money. But there’s a catch…
I’m not going to lie to you and say that all LED light bars are created equal. They’re not. Although you can buy some great lights at a cheaper price, it comes with a sacrifice. It has to. That’s just the way the world (and business) works. You need to decide if you’re willing to sacrifice a bit of performance and longevity in order to save money.
With that said, it seems like a lot of people tend to overthink subjects like this. It’s easy to get caught up in comparing specs and the science behind lighting. But when it comes down to it, we aren’t building a rocket to go to the moon. We’re just making the world in front of our vehicle brighter – that’s it.
Either the job gets done or it doesn’t. Sure, if you park a vehicle with a top of the line light bar next to one with a cheap one, you’ll probably notice a difference. You have to ask yourself though – can you still see a long distance in front of you? Did you still make it through the entire trail without damaging your rig? Has that cheap light functioned properly on your vehicle for 5+ years?
If the answers to those questions is “yes”, then it’s kind of hard to justify spending an extra $800 for one that’s made in ‘Merica.
The LED light bar market is divided up into 4 categories: Expensive, In-between, Cheap, and Really Cheap.
Expensive LED Light Bars:
These are the big boys. Most of these companies are the pioneers of the light bar industry. Light bars from companies like Rigid Industries, Baja Designs, and Vision X are among the highest quality you’ll find. These are made in the USA by companies that stand behind their product.
“In-between” LED Light Bars:
There are companies out there (some very well known) that are buying cheap light bars made in China, putting their name on them and selling them at a price point between cheap and expensive. You’ll want to be careful of these.
These have exactly the same quality and performance as the cheap lights. The fact that an American company is reselling them means nothing. They’ve raised the price just enough to make the consumer think they must be better than the cheap ones. They aren’t. You’re literally throwing a few hundred dollars in the garbage by choosing these lights.
Cheap LED Light Bars:
These lights are a bargain compared to the expensive ones. Too good to be true? Not quite. As I mentioned above, there are some differences. These probably won’t perform as well as the expensive ones. They might not last as long. The differences aren’t huge though.
Really Cheap LED Light Bars:
Don’t get these confused with the Cheap category. These are just junk. There’s no way you’re going to get a good quality light bar for $30. I’m all for saving money, but these are a bit extreme. Many of these will be about as bright as your headlights, will die quickly, or even not function straight out of the box. In my opinion, these aren’t worth the risk.
Now that we know which ones to avoid, we can actually condense these 4 categories down to 2: Expensive and Cheap. The In-between and Really Cheap lights aren’t worth the money. This makes your choice easier already. Either buy the best or buy the quality inexpensive lights.
The Difference Between Cheap and Expensive LED Light Bars
Manufacturing
Expensive light bars are made in America. They also go through testing and quality control before they’re sold. Cheap light bars are almost always made in China. Keep in mind that both cheap and expensive lights typically source some parts from China. You can read more of my thoughts about Good China vs Bad China in my Method Race Wheels Review.
Warranty claims
A lot of the cheap light bars actually come with decent warranties. It’s important to remember that you’re dealing with a Chinese company when you need to make a claim though. It’s probably best to assume that you’ll be shelling out for your own replacement light bar if something goes wrong.
Being on the other side of the world doesn’t give you much of a leg to stand on in terms of litigation, and they know that. So don’t be surprised if your complaints fall on deaf ears.
The American made lights have much better customer support departments. This is what a lot of the extra cost is going towards. You can pick up the phone and talk to a real person at the company.
Theft
Unfortunately, LED light bars tend to be magnets for thieves. In most cases, they’re easy to steal. Sure, you can use anti-theft style mounting hardware, but that really just keeps the honest people honest. If a thief really wants your light bar, they’ll figure out a way to get it.
The sting of having a light bar stolen is a lot worse when you paid big money for it. Having to spend $200 for a new light stinks, but not as much as spending $700! If you live in or frequent sketchy areas of town, that could be a reason to stick with a cheaper light.
There’s always going to be people that feel strongly on either side of this one. This is one of many “cheap vs expensive” topics that are always being discussed in the automotive community. You have to decide what’s important to you, then stick with it. Don’t let people convince you that cheap lights are better than expensive ones or that cheap ones aren’t worth buying. It’s your choice.
In the end, the biggest difference between the two is quality. The thing is, the average user might never notice the difference in the real world. So why spend the money if you’re happy with the cheap ones? If there was only a 10% price difference, I wouldn’t give the cheap lights a 2nd look. But we’re talking about a fraction of the price here. A huge discount.
Yes, any time you buy a cheaper product, you’re taking a gamble. In my case, I liked the odds. I felt that my money was better spent on more important parts of my rig like suspension and tires.
What To Look For When Buying LED Light Bars
If you’ve made the decision to save money when shopping for your light bar, there are a few things you need to look for. The specs are important when it comes to how well your light will perform and how long it’ll last. It’s a good idea to compare these with the specs on the expensive lights, then try to get as close to those as possible.
IP rating:
The IP stands for Ingress Protection. This is basically the light bar’s rating for water and dust resistance.
Let’s use IP68 as an example. The numbers are all that matters. The first number (6) is the rating for dust resistance. Every light bar I’ve seen shares the same rating of 6. The second number (8) is the rating for water resistance. This number can range from low to high.
A low rating would mean the light can withstand having a bit of water sprayed at it for a short time. A high number means it can be fully submerged, or have high pressure water sprayed directly at it for a while. Most light bars are IP67 or IP68. If you find a light that doesn’t advertise this rating at all, keep shopping.
Tip: To avoid issues with condensation, go over all the bolts that hold the lens on and retorque them. I’ve done this to every light I’ve owned over the years, and never had an issue with water getting in. This can even be a problem with expensive lights, so always go over them regardless of what you spent.
Warranty:
Warranties on cheap LED light bars don’t really mean a whole lot. They probably aren’t going to offer much assistance when you make a claim. If a company advertises a longer warranty than others, that could be a sign that they’re more willing to stand behind their product. It could also just be a ploy to stand out from the competition. Either way, it’s worth paying attention to.
Size:
You’ve probably already decided where you want to mount a light bar to your rig. Once you have that measurement figured out, make sure you compare it with the company’s measurement. Most product listings will have an image showing not only the measurements but where they’re measuring from.
Type of LED diodes:
Cree
These are the most popular among LED light bars. Cree is a company that offers many different diodes at different quality levels. You would need to know the actual model name of the diode to know if you’re getting a high or low quality one. Unfortunately, most light bar sellers don’t share that info.
Just remember that “Cree” doesn’t necessarily mean it’s the best quality, but it’s usually pretty good.
Osram
Another good option. These project light well and are usually found on light bars with spot beam patterns.
Phillips
Similar quality to Osram. In my experience, Phillips LEDs tend to put out a bit of a warmer light compared to Cree. This can be helpful in fog and snow.
Epistar
These are lower quality than the others. They put out more of a blue light and don’t project very well. Epistar LEDs are usually found on the really cheap light bars. You’d probably be better off with one of the other 3 options.
Beam pattern:
This is one that you’ll want to pay attention to. You have 3 options: flood, spot, and combined. A flood beam pattern will light up a wide area of the ground in front of you, but won’t project as far off in the distance as a spot.
A spot beam pattern is the exact opposite. Think of your high beams on steroids. Many light bars have a combined beam pattern with floods on each end and spots in the middle. It’s a nice combo if you can’t decide, or need both.
Lumens:
On expensive light bars, this is important. It basically tells you how bright the light is. On cheaper Chinese lights, it doesn’t mean much – most companies lie about it. Keep an eye out for an extreme number in either direction.
Single row vs. dual row:
In general, single row light bars are lower profile and can fit in smaller places. This is more of a preference thing, as both options can be very bright.
Curved vs. straight:
Curved light bars are pretty cool. I don’t see any performance advantages, but if you want your light to sit flush in a bumper opening, they do a better job of following the body lines. This is another thing that comes down to preference.
Mounting brackets:
If you already know where you’re planning to mount your light, the brackets are important. There’s 2 different styles from what I’ve seen: “L” shaped brackets that bolt to each end of the bar, and brackets that slide along one of the grooves across the light. The latter can limit the angle adjustment while the L brackets might take up valuable space (width) that you might not have.
Wiring harness:
Some light bars will come with their own wiring harness or give you the option to buy one. In most cases, they’re all the same thing: decent gauge wiring with a relay and fuse in line, as well as a cheap on/off switch. These are helpful if you want a simple plug n play install. You can also make your own custom wiring harness, but make sure to use a fuse and relay.
Note: In some situations, LED light bars actually make visibility worse. Conditions like snow, fog, and heavy rain require a warmer color light (more yellow). White and blue lights will actually reflect off the flakes or droplets in the air creating a wall. Some companies make snap-on lens covers in yellow and amber for this reason.
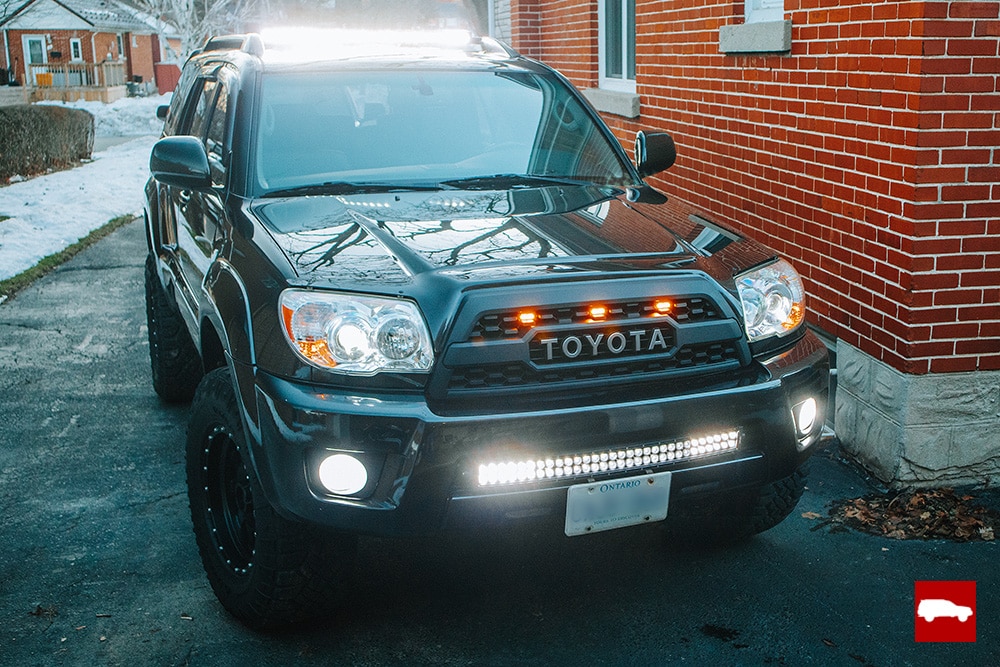
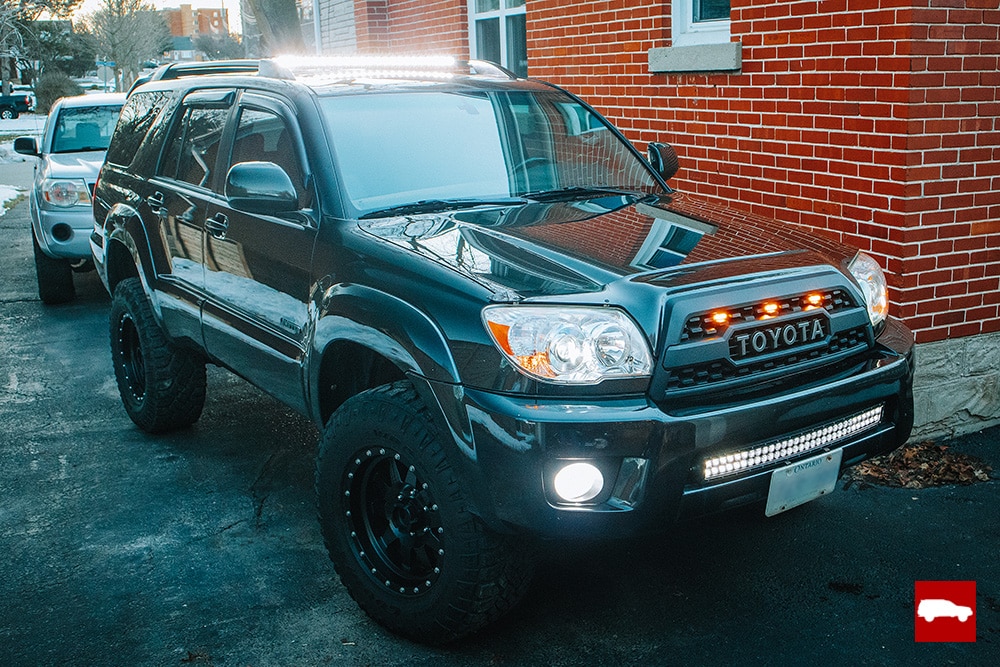
My Low Budget Light Bar Setup
I don’t get to do nearly as much off-roading as I’d like to. I find myself on country roads at night time much more often. I’m not running the Rubicon Trail, racing the Baja 1000, or going on jungle expeditions. For this reason, I was able to justify buying cheaper lights. If they fail, so be it. But so far, they’ve been great.
I wanted to go with more of a stealth mounting solution. Luckily, the friendly folks over on T4R.org have a couple of tutorial threads showing how to make DIY brackets for the bumper opening and roof rack of my Toyota 4runner.
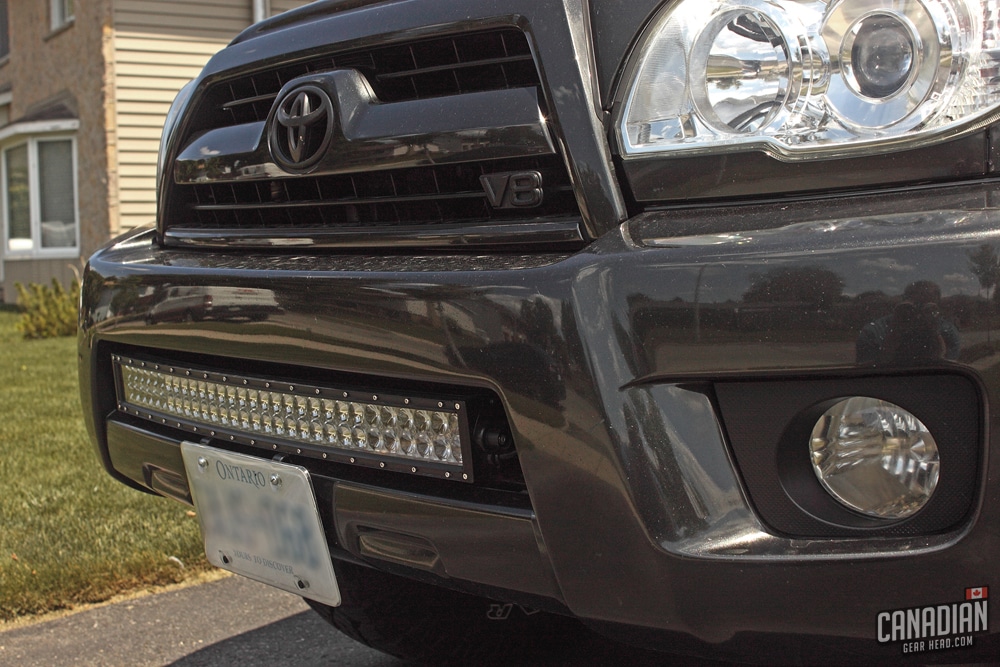
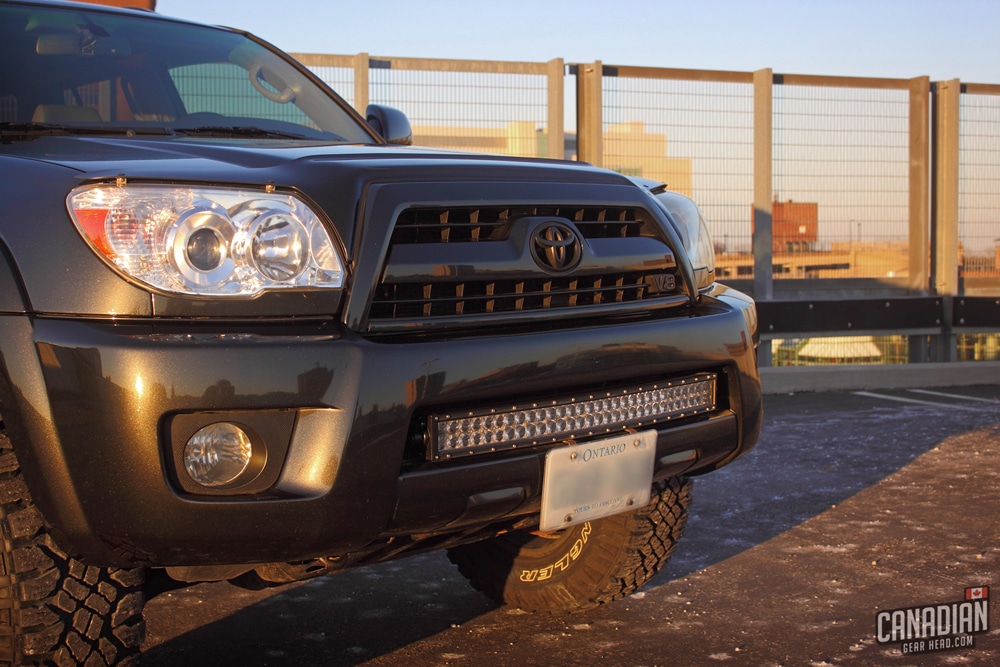
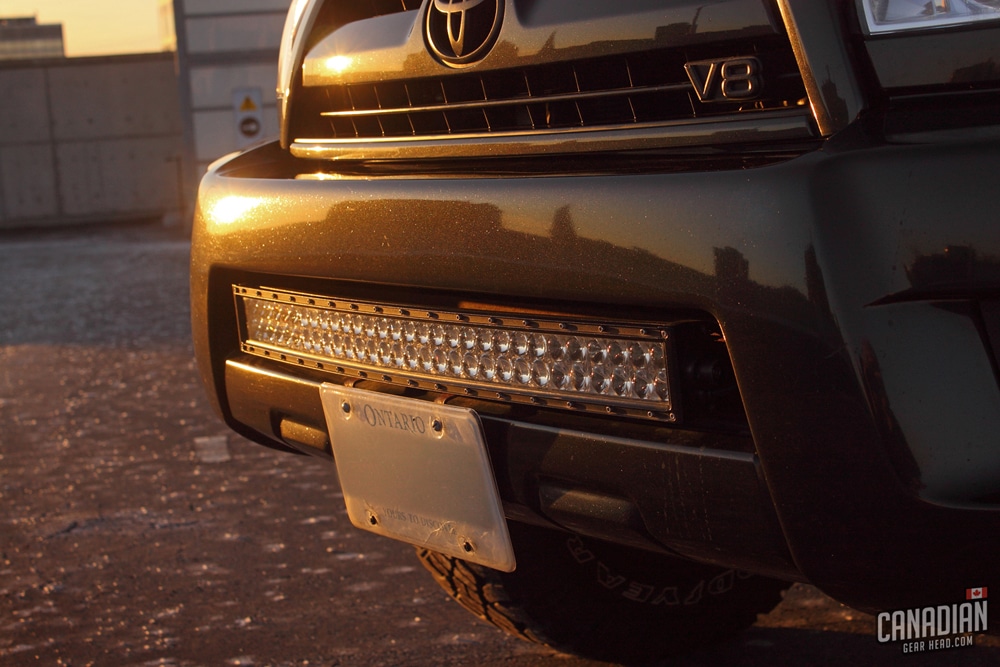
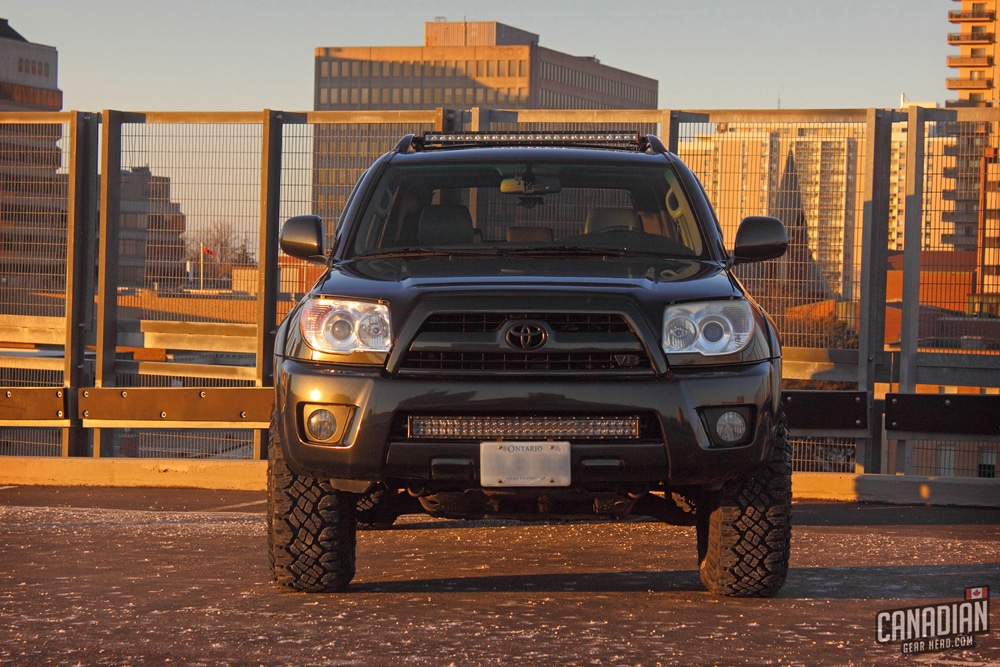
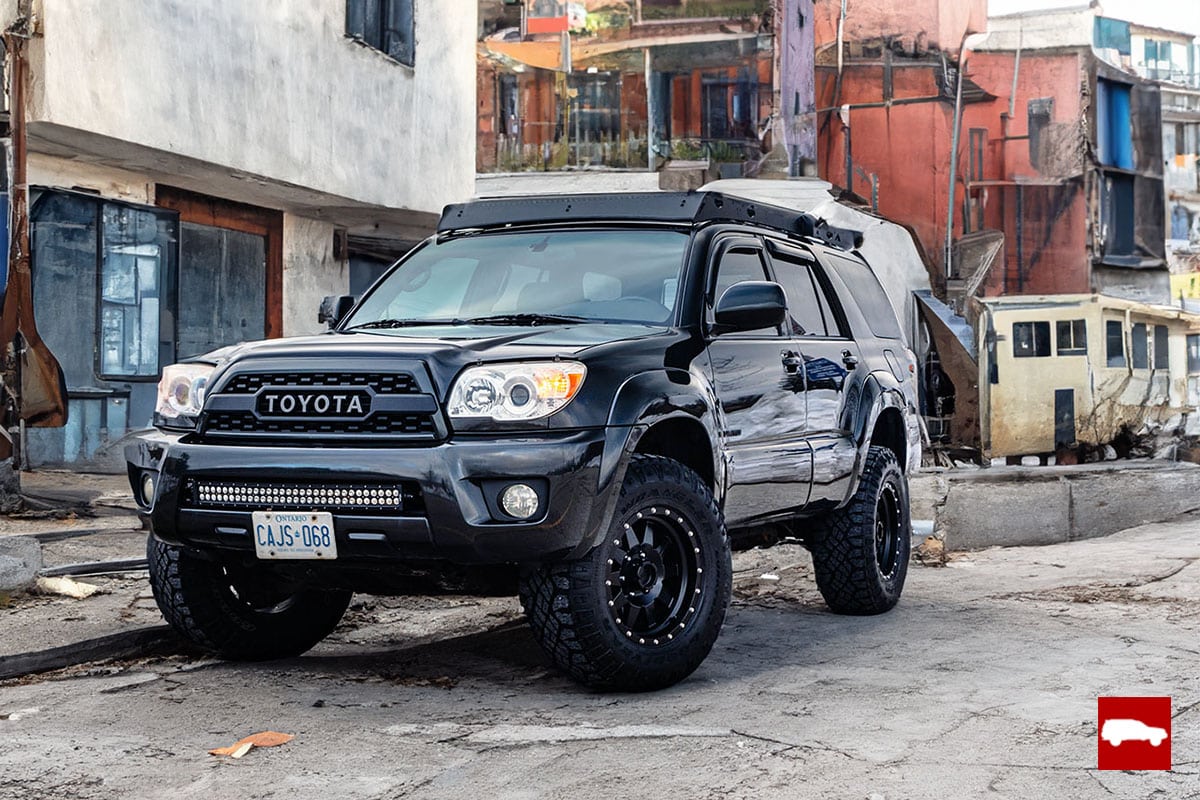
Bumper Mount:
I chose a 32″ curved dual row LED light bar like this one for the grille opening in my bumper. Having this warmer temperature light down low helps to cut through the fog. The curve also follows the body lines of the bumper really well too.
Update: After just short of 5 years, I finally replaced this light bar with a new one from Nilight. The only reason I swapped it out was because the black finish was flaking off on the ends after years of being sand blasted on the front of my 4runner.
It continues to function perfectly fine and with a quick paint job and some polish on the lens, it would have many more years of life left in it!
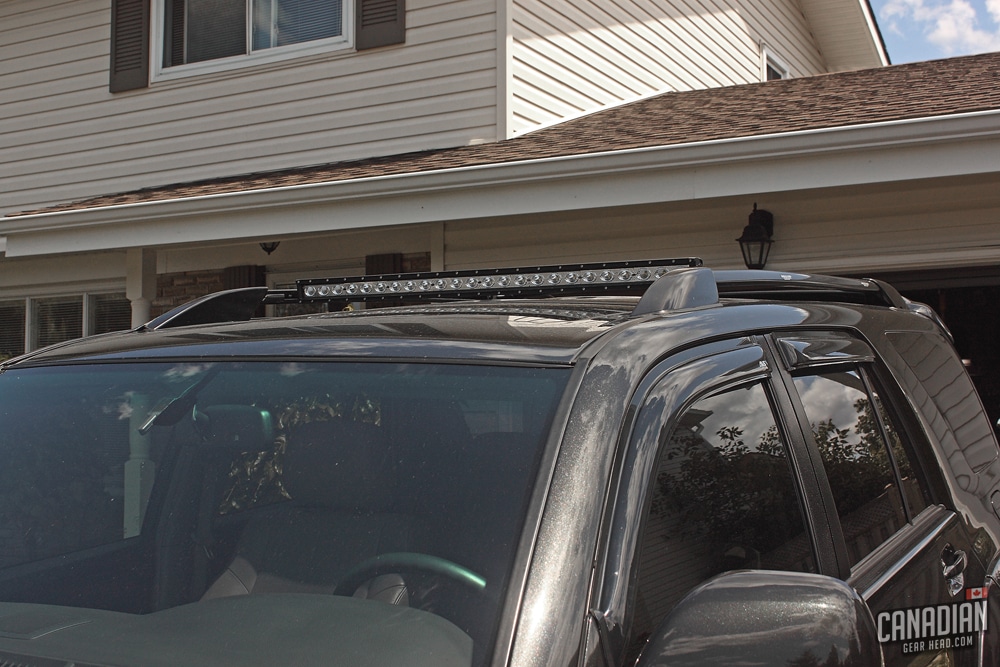
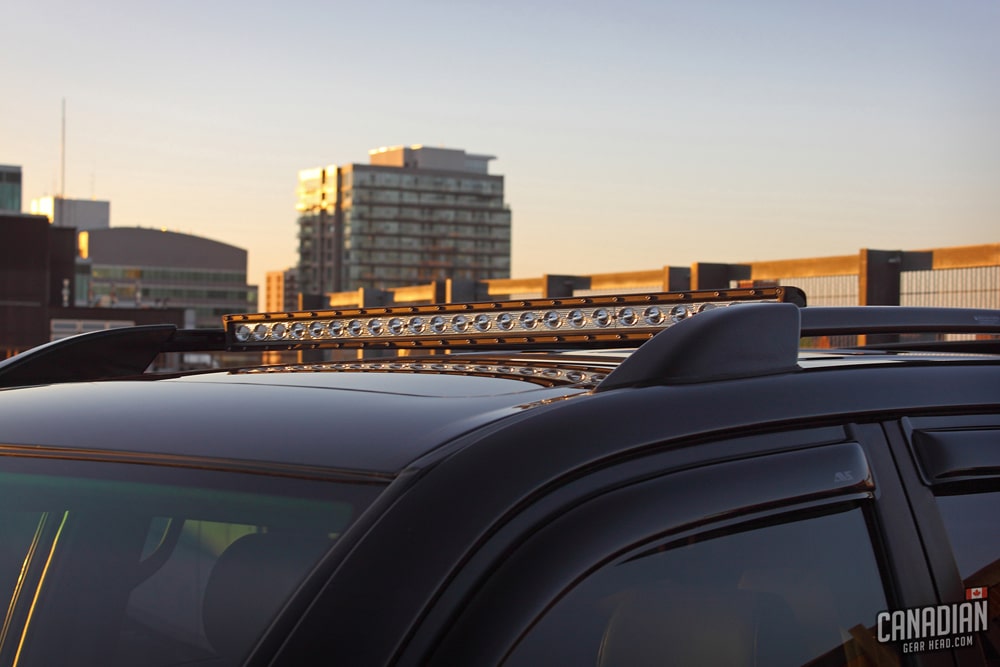
Roof Mount:
For the roof, I went with a 40″ single row Cree LED light bar from Totron. Totron has been known as one of the higher quality Chinese manufacturers for years. I wanted the lowest profile light I could find here for both wind resistance and looks. It worked out well because you can hardly notice it when it’s turned off, and it makes very little wind noise on the highway.
This light does a great job of projecting light far down the road. Despite being mounted further back, it isn’t blocked by the hood or roof at all. The only downside to this location is that it will light up the interior if the sunroof shade is open.
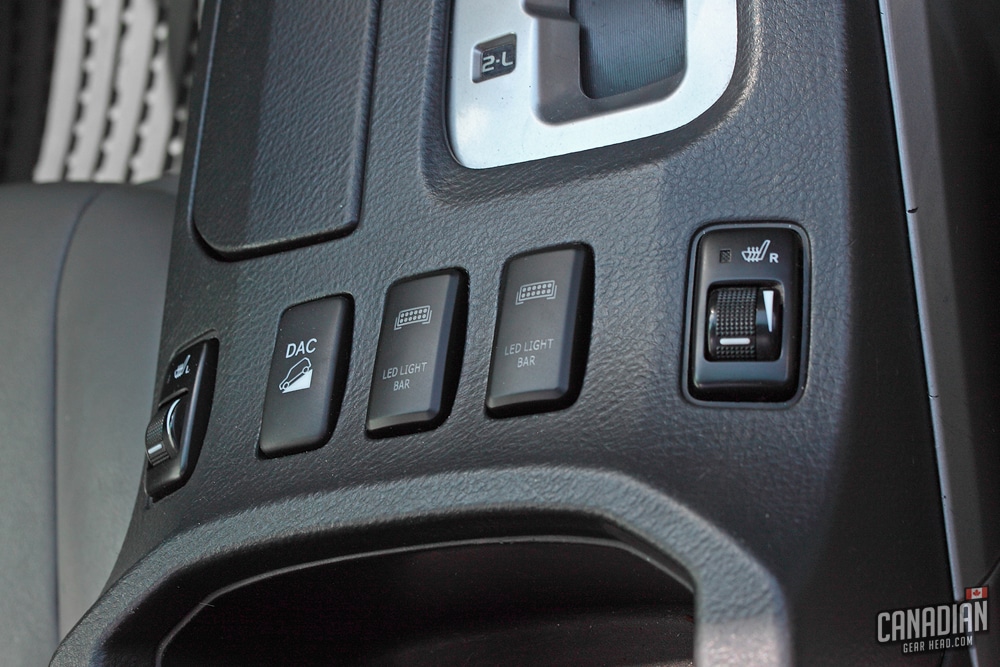
Switches:
The rear air suspension on my 4runner was deleted when I upgraded to Fox suspension, so I was left with 2 non-functional buttons in my center console. This was the perfect location for my light bar switches.
When using these lights on the highway, you need to treat them like your high beams and switch them off long before an oncoming car reaches you. This is a very easy spot to reach for these since the armrest is right in front of them. I found some OEM style buttons from MICTUNING and they fit perfectly.
I was able to put this entire setup together (lights, wiring, switches and materials for DIY brackets) for less than the price of a single 20″ light bar from a high end manufacturer. I’m very pleased with their performance so far.
Conclusion:
The bottom line is that you don’t need to spend a ton of money on your auxiliary lighting if you don’t want to. There’s a lot of high quality LED light bars out there for a great price, you just have to find them. Don’t assume every cheap light bar is the same because they’re not. Pay attention to the specs, but try not to overthink it.
The cheaper lights might not perform exactly the same as the top of the line ones, but they’re still more than enough to turn night into day. Whether you’re trying to make your way through the forest at night or on a long drive out in the middle of nowhere, these low profile lights are a game changer.

Tim is the creator of Canadian Gearhead. His experience with auto detailing and working for Toyota shows through all of the articles posted here. He runs the Canadian Gearhead site and YouTube channel full-time now and currently owns a 2007 4runner, 2006 Tacoma, and 1991 MR2. Read more about Tim:
Leave a Reply