Is your dashboard lit up like a Christmas tree? This fix for check engine and VSC lights is both simple and cheap. It’s important to note that this article pertains to 4th gen (2003-2009) Toyota 4runners with these specific diagnostic codes. This is likely a common issue with many other vehicles as well, but you’ll need to confirm the problem. We’ll get into how to do that shortly.
Table of Contents
Another note: if your Check Engine light is NOT illuminated, please head over to this article about VSC, Trac, and ABS lights.
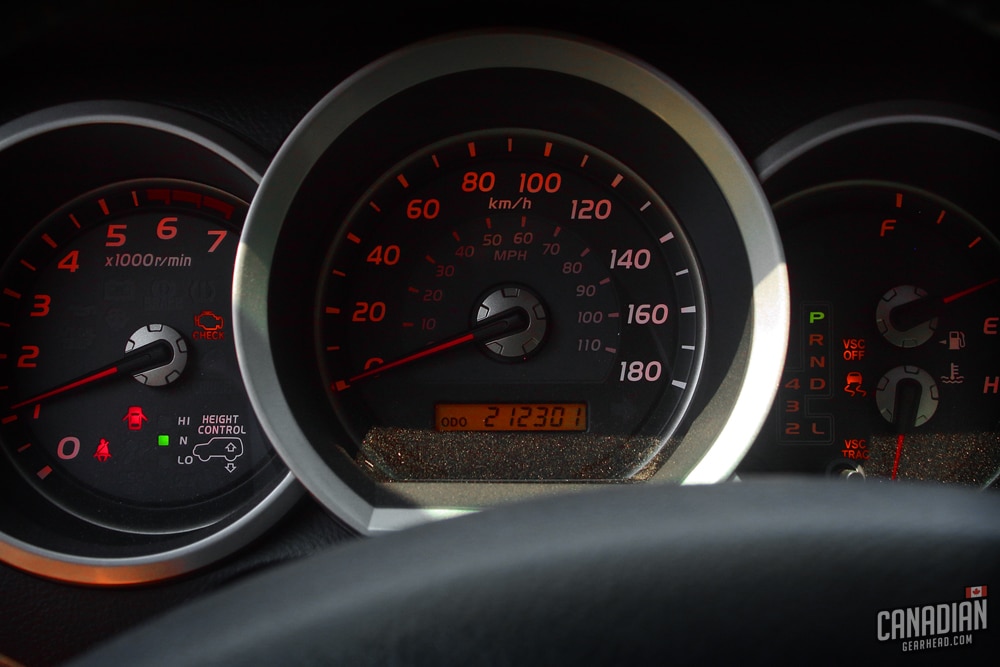
“VSC Off” and “VSC TRAC” lights will often come on when an error code triggers the Check Engine light. It doesn’t necessarily mean there is an issue with those systems. If they all showed up at the same time, it’s likely that diagnosing the cause for the Check Engine light will fix them all.
Modern OBD2 vehicles can be very sensitive to minor problems and that’s especially the case with the 4runner. Something as simple as a loose gas cap is a common reason for these 4runners to act like the end of the world is near.
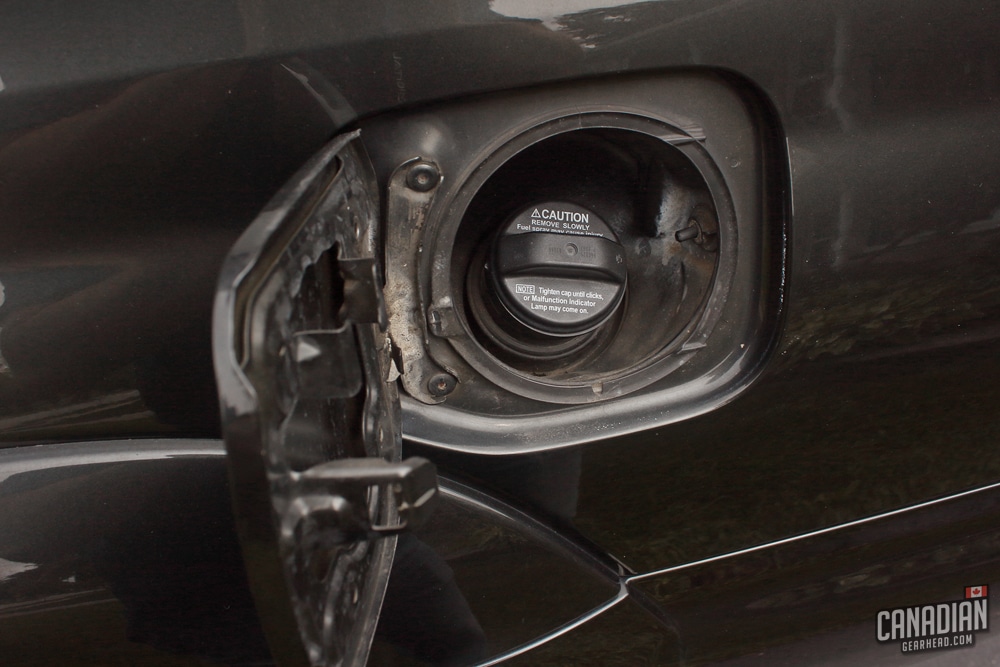
In my case, I remembered that it was late at night the last time I filled up, and I was fumbling with the tether chord on the gas cap. It was highly likely that I didn’t get the cap to click properly. This was the last straw for that stupid chord, and I’ve since chopped it off. My gut told me that was the issue, but I needed to be sure.
Investigating the reason for your check engine light
It’s so easy to throw a bunch of money down the drain by replacing parts you think are the problem. Searching the internet will turn up tons of results saying that a new gas cap will turn your check engine light off.
The reality is, it won’t do a thing if your check engine light is on because you need a new O2 sensor (or any other problem). You need to pull the diagnostic trouble codes from your computer to figure out what’s causing that dreaded light to be on.
The great thing about modern vehicles (1996 and newer) is that they’ll tell you what’s wrong if you ask them. When your check engine light (or CEL for short) is illuminated, your car’s computer will store any diagnostic trouble codes.
Some vehicles will actually have tricky procedures to make these codes show up in the odometer readout. Many Chrysler cars and trucks will do that by turning the ignition on and off a certain number of times at specific intervals.
But in general, your best bet is to purchase a code reader. You’ll probably need it again in the future, and they’re much easier to use.
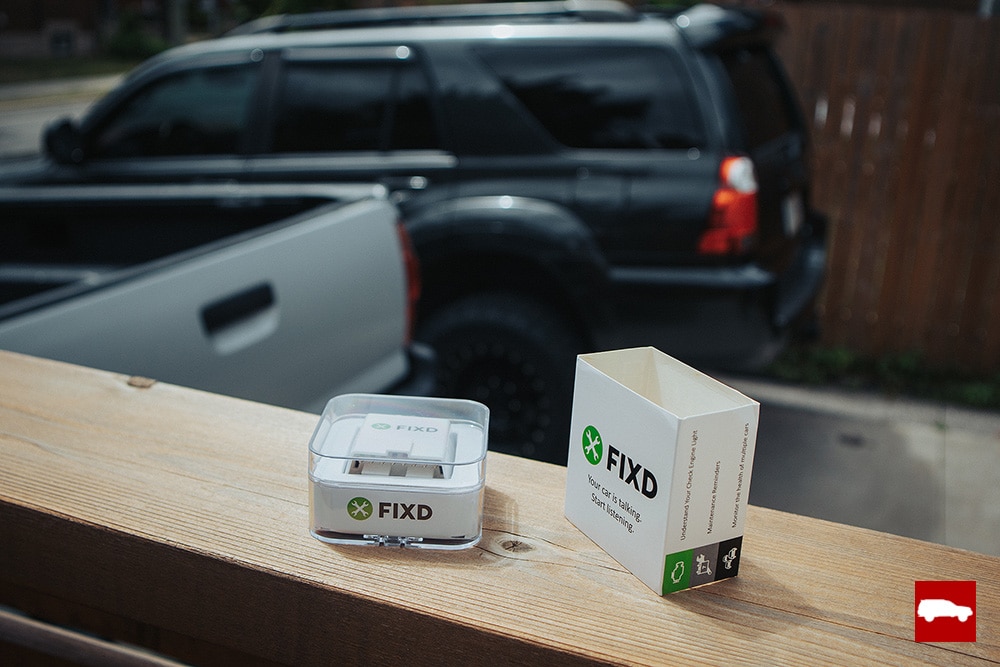
My code reader of choice is this OBD2 sensor from FIXD. It connects your vehicle’s diagnostic system to your phone via Bluetooth. After downloading the app on your phone, you can scan over 7,000 diagnostic trouble codes, clear your check engine light, and even set up separate accounts for different vehicles.
Scanning my 4runner revealed 3 trouble codes: P0455, P0441, and C1201. I searched the forums at T4r.org to break down what each of these meant.
P0455:
Evaporative Emission Control System Leak Detected (no purge flow or large leak)
P0441:
Evaporative Emission Control System Incorrect Purge Flow
C1201:
Engine Control System Malfunction
The two P0 codes point to a leak in the emissions system. Technically it could be in the filler neck, or the line to the charcoal canister, but the majority of the time it’s simply a leaky gas cap. Either an improperly installed cap or a worn out one.
The C1201 code is the one that tells the vehicle to turn on the check engine light and disable the traction and VSC. Basically, when the other two codes pop up, this one is in charge of letting you know there’s a problem. Fixing the other codes should also fix this one since they’re the ones that caused it.
How to fix the problem
Again, I can’t stress this enough – if you have different trouble codes than the ones I mentioned, a new gas cap probably won’t fix your problem. You’ll need to figure out what yours mean and repair that problem.
There seems to be a myth going around the internet that a new gas cap is an easy way to trick your vehicle into turning the check engine light off. It’s not – unless it was the problem in the first place.
My thought process for how I was going to fix this consisted of starting from the cheapest and easiest solution, then working my way up to other options until it was fixed.
Fix #1: Tighten the gas cap
My first plan was to make sure that I wasn’t the problem. Since I recalled fumbling with the cap the last time I fueled up, I wanted to check to see if the cap just wasn’t clicked tight. I tightened it up and cleared the codes.
They came back approximately 4-5 restarts later.
Fix #2: Clean and grease the gas cap’s seal
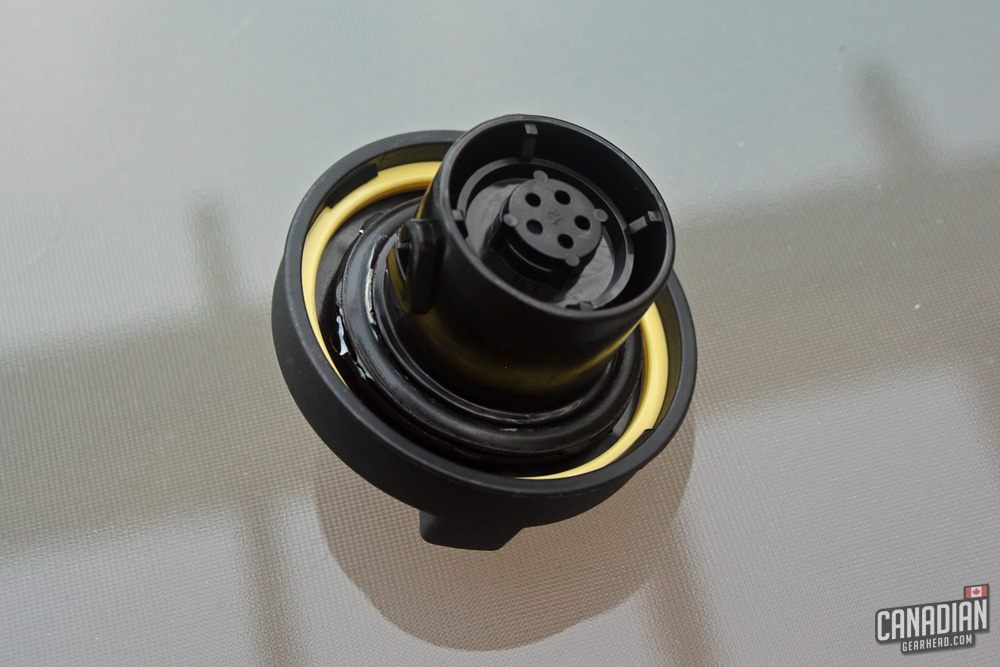
My next idea was that the cap was leaking, but maybe just slightly. The rubber seal on the cap looked pretty dry and worn, so I cleaned it and applied a bit of grease to soften it up. I tested the function of the cap itself by lightly tapping it in the direction to loosen it to see how much resistance it had. It seemed to still have plenty of spring tension, so I figured the cap itself wasn’t damaged… just leaking.
The result was the same as Fix #1
Fix #3: Purchase an aftermarket gas cap
My free fixes didn’t work, so next up was to replace the cap. I had seen people on the forums mention that the OEM Toyota caps weren’t very expensive to get from the dealership. Clearly, these users were American.
For some reason, here in Canada, we have to pay much more than just the exchange rate difference when buying parts from dealerships. I priced a cap out at Toyota and it would have been nearly $50 with tax.
If I knew that was the only way to fix the issue, I would have just paid the money. But curiousity got the best of me, and I wanted to give an aftermarket cap a try first. So I went over to the nearest parts store (in the MR2 of course, because the 4runner was in Time-out due to bad behavior)
I scored an aftermarket gas cap for $15. I know what you’re thinking. It’s common knowledge that these caps are junk compared to the Toyota ones. I wanted to see for myself before shelling out for the real deal.
Confirmed: They’re junk. You can tell immediately that the aftermarket cap has a “one size fits most” type of universal feel that they sell for multiple vehicles. I repeated my test from Fix #2 and it had barely any spring tension at all. It was bad enough that vibration from driving could have loosened it. One tap and it practically fell off.
I tried it anyway, and although it lasted a few days longer, my lights and codes still came back. I wasn’t really surprised.
Fix #4: Put the seal from the new cap on the original Toyota cap
Before I bit the bullet on a Toyota gas cap, I had one more thing I wanted to try. My original cap itself seemed to not only still function properly but was even better than the brand new aftermarket one. I just needed to fix the seal.
It just so happened that the garbage aftermarket cap had a brand new rubber seal on it. I pried the seals off both the old and new caps to compare them. Sure enough, the original was crushed to the point where it was about half as thick. It also felt hard and brittle compared to the new one.
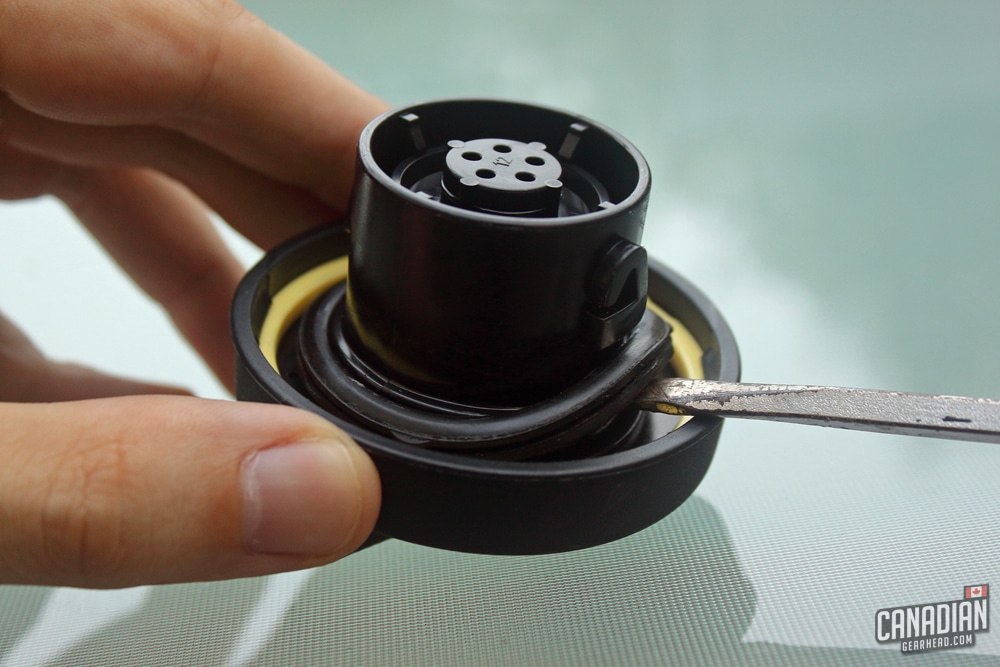
So I swapped the new seal onto the original cap and voila! Problem solved and I passed my emissions test easily. I now have the proper spring tension of the original Toyota cap with a brand new rubber seal. I don’t feel that a brand new cap from Toyota would be any more effective than this fix.
After any of these fixes, you’ll need to clear the codes from the computer. You can either use your code reader to do this the easy way, or disconnect your battery for 10 minutes or so.
Keep in mind, that will also knock out your vehicle’s memory of other things like your clock, radio presets and you may even need to reset the sunroof and rear window settings. With the FIXD scanner, your codes are gone and your lights are off with the push of a button.
What if none of these fixes work?
Unfortunately, then it’s time to look at the rest of the system. This is where things might get expensive. It might be best to take it to a shop that’s capable of testing it for leaks. Areas of concern would be the fuel filler neck, charcoal canister, VSV valve, or the lines running to the canister near the exhaust.
A note about passing Ontario’s Drive Clean emissions test:
Drive Clean has two different types of tests. For 1995 and older vehicles, they’ll perform a sniffer test by putting a sensor in your exhaust pipe. They take separate readings at idle and roughly 2500 rpm. If your readings are within their acceptable parameters, you pass. If you’re outside of them, even by a little bit, you fail.
For newer OBD2 vehicles, the test is much simpler. All they do is plug their machine into the same diagnostic port we talked about earlier in this post. They’re checking for two things: any pending or existing trouble codes, and the readiness of your computer’s monitors. Basically, if your vehicle has no current problems affecting the computer, you’ll pass with flying colors.
Some people are lead to believe that they’ll pass as long as they don’t have a Check Engine Light on. That’s not true. Anyone with a code reader can clear their codes in the parking lot of the testing facility to turn any warning lights off. The government is too smart to fall for that trick. It’ll still fail. So how do you pass the Drive Clean test?
The monitors of your computer need to show up as “ready”. In order to do that, the vehicle needs to have been driven through multiple drive cycles. Most mechanics recommend driving it for a week after you fixed a problem and cleared the codes.
When you first clear your trouble codes, your monitors will switch back to “not ready”. The computer needs to be able to run tests on itself to make sure certain functions are working properly. Once it’s had the chance to do so and there are no new trouble codes, each monitor will switch to “ready”. Luckily, Ontario’s Drive Clean allows you to pass with 1 monitor not ready.
In my case, the monitor for my Evap system was being stubborn and I couldn’t get it in ready mode for the life of me. My 4runner still passed because all the others were good to go.
The recipe for a clear pass: no check engine light, no trouble codes, and all but 1 of your monitors in ready mode.
The lesson here is that it’s possible for you to fix any problems and turn all the warning lights off, yet still fail a Drive Clean test. All that means is that you shouldn’t procrastinate in fixing any problems that would affect your test results. Your vehicle needs to be driven for a bit after fixing it in order to be ready to pass the test.
If you have any doubts about whether your vehicle is going to pass the test, a code reader can act as your own crystal ball into the future. If you scan it ahead of time and see that there are no diagnostic codes stored and all the monitors are in ready mode, you know that you’ll pass the test easily. Gambling on it can cost you time and money (remember, the Drive Clean test is only free for the first time – you’ll have to pay for any retests!
Conclusion
If these lights have shown up on your Toyota 4runner and it’s in otherwise good condition, you probably don’t need to worry. But contrary to the advice the internet might give you, a new gas cap isn’t guaranteed to fix it.
Check your trouble codes (or have them checked by someone) first to give you a better idea of what’s actually going on. Hopefully, your issue is as simple as mine and your fix for check engine and VSC lights only costs $15!


Tim is the creator of Canadian Gearhead. His experience with auto detailing and working for Toyota shows through all of the articles posted here. He runs the Canadian Gearhead site and YouTube channel full-time now and currently owns a 2007 4runner, 2006 Tacoma, and 1991 MR2. Read more about Tim:


Leave a Reply