You’ve decided to turn your car wash game up to eleven and purchase a foam cannon, but where do you start? I’ve been passionate about having the cleanest cars and motorcycles for a while now, but I was totally overwhelmed when I stepped outside what was available at the local parts store. The selection of products available can be daunting and choosing a foam cannon is no different.
Buying a Foam Cannon
In my opinion, the best way to start is to establish your budget and then understand the differences between the options available in your price range. The good news is that you can get a cannon for about $20! Pricier options will have more metal parts and less plastic meaning they should last longer.
Some manufacturers substitute stainless steel for brass which users say is less susceptible to hard water buildup that could hinder its functionality. I’ve also noticed that some premium cannons have spare parts available should you lose, wear out, or break something on yours.
Foam cannons usually have the quick release included allowing you to just snap it onto the end of your pressure washer wand. I’m seeing more manufacturers offer a shorter gun with the cannon which will prevent you from struggling with the long, unwieldy wand. This should make spraying foam a one-handed operation keeping your other hand free for dragging the hose around the vehicle.
Make sure you check the pressure and flow specifications when selecting a foam cannon. If you already have a pressure washer you plan to use, you’re going to want to make sure it’ll play nice with your cannon.
Pressure Washer Requirements
The foam cannon isn’t going to know if it’s electric or gas power feeding it with water, but you will need to be aware of two things when determining compatibility: flow rate and pressure. Flow rate is provided as a minimum requirement whereas pressure will be given as a range.
Typically, for flow rate, you’re only going to need around 1.8 GPM (gallons per minute). I have found some of the more expensive cannons with big promises asking for as much as 5.3 GPM. As for pressure, 1,000 to 3,000 psi is usually the norm, although some are claiming to use as little as 800psi.
A lot of people are swapping out the orifice in their cannon for a smaller one to make the most of less powerful pressure washers. The orifice upgrade can also be advantageous to making better foam with any setup. Only some of the very high-end cannons can tolerate the higher pressures (approaching 5,000psi) that a commercial grade pressure washer would generate.
Foam cannons will attach to your pressure washer with the same quick connect fitting that is already on the end of your wand. If for some reason yours doesn’t have these, they are readily available for only a few dollars.
Choosing a Soap for a Foam Cannon
The soap that you choose to use with your foam cannon is critical to getting a thick, sticky foam that will cling to the vehicle. Thicker foam is going to carry more dirt off and give you more time to come back with your wash mitt to remove those more stubborn contaminants.
While you can simply put your normal shampoo in the bottle and start spraying, it’s probably not going to give you the results you were expecting. Sure, you’ll have soapy water on your car, but it’s not going to stick as well (or look as cool) compared to using the right supplies.
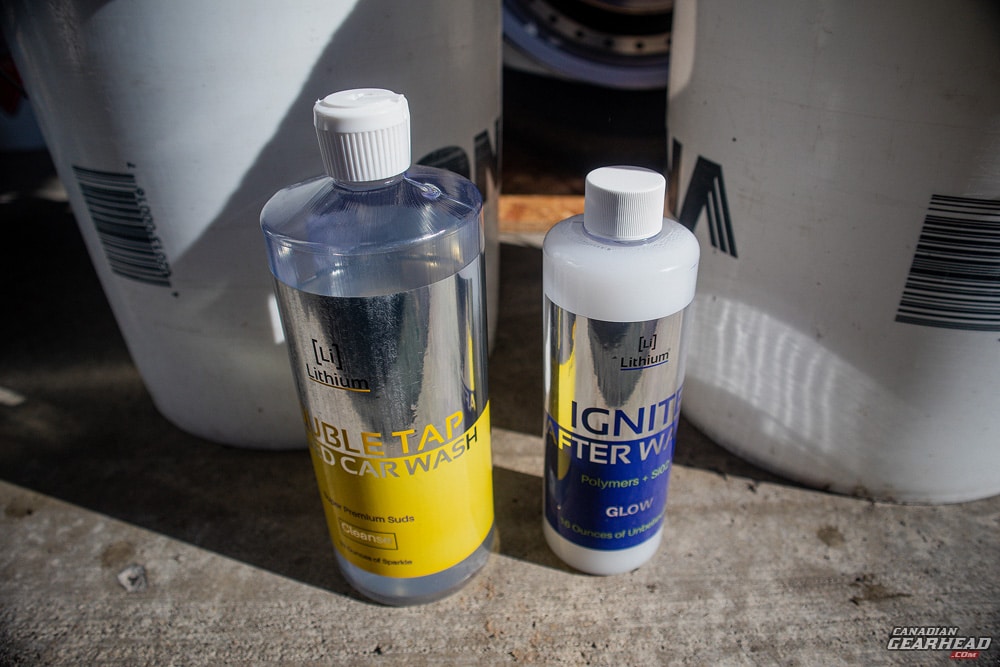
Soaps designed specifically for use in foam cannons will give you the creamy, sticky foam that you’re after. A quality soap will produce foam that clings to the paint longer and pulls more dirt away with it.
When foaming your car there are three main factors in the equation: the cannon, the pressure washer, and the soap. Of the three, soap is the area where you want to invest in a quality product because it will make or break how effectively you can spray foam.
You don’t need to spend a ton, but I recommend sticking with a major name brand. Personally, I like the Chemical Guys products and have been using their Mr. Pink soap for my experimentation.
Foam Cannon Dilution and Adjustment Settings
The bottle on your cannon should have graduations for accurately mixing your shampoo. I usually do a 10:1 mix of water and soap and recommend that as your starting point. I’ve doubled it up before and honestly, didn’t notice any better performance – save your soap as you might be able to operate on an even leaner mixture.
Use hot water to improve the foaming action but fill it slowly to prevent suds from forming in the bottle; a little swirling is all you need to get it mixed evenly.
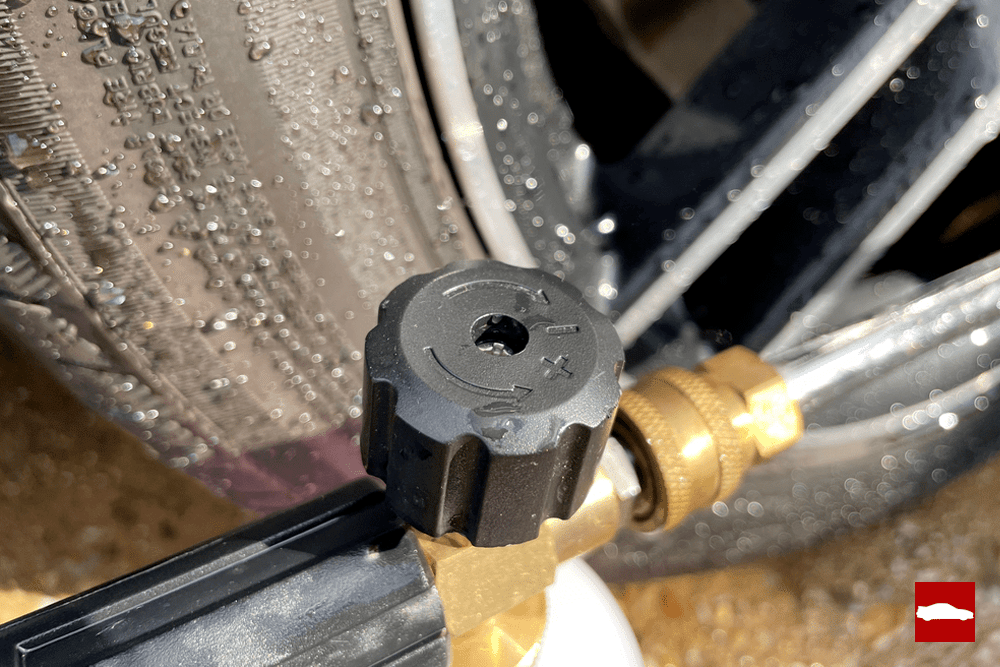
The cannon itself has two adjustments that you can play with as you’re using it. The knob on top is your foam control. This seems self-explanatory as it lets you increase or decrease the amount of soap mix it uses. However, on my cheap gun, you turn it towards the minus sign for more foam so maybe read the instructions and play around with the adjustment to see where it works best for you.
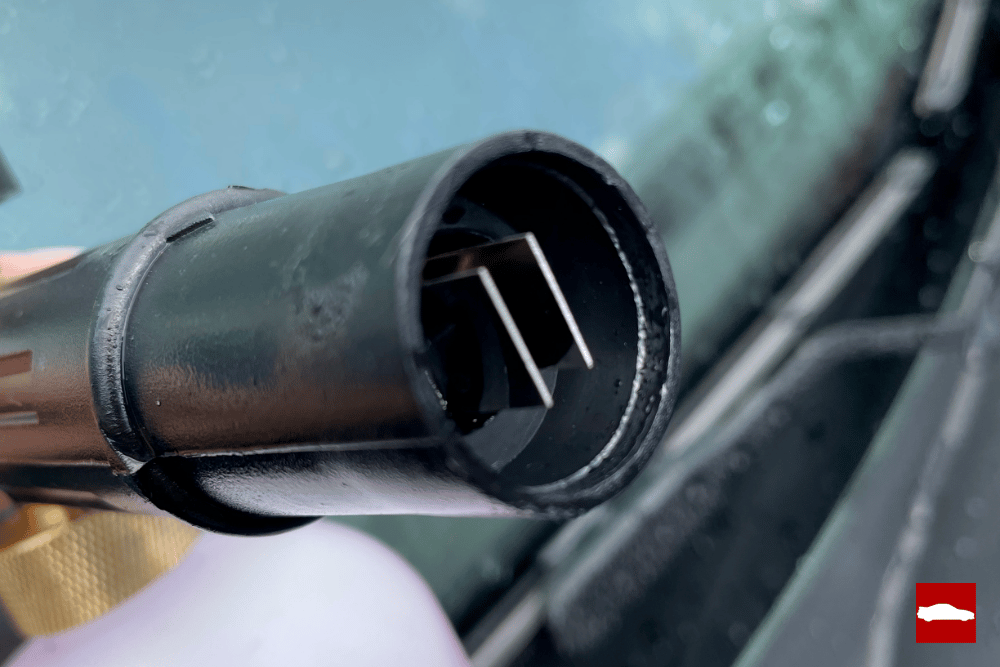
The other adjustment on the cannon will be for the fan pattern. You can see the plates come together inside the nozzle as you rotate the end of the nozzle. Closer together will give you a wider spray pattern and further apart will concentrate the spray.
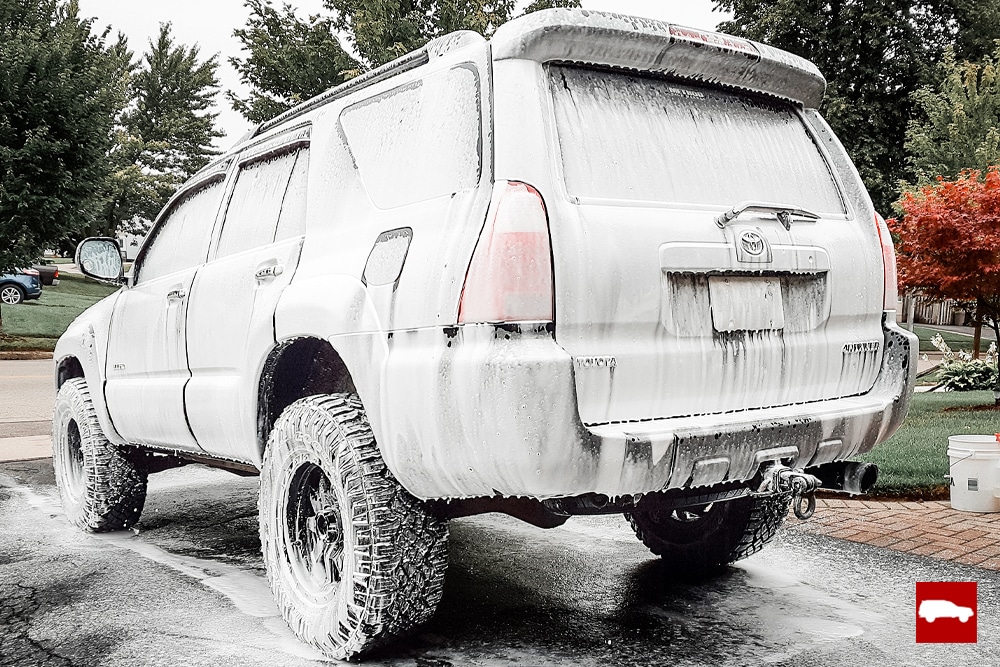
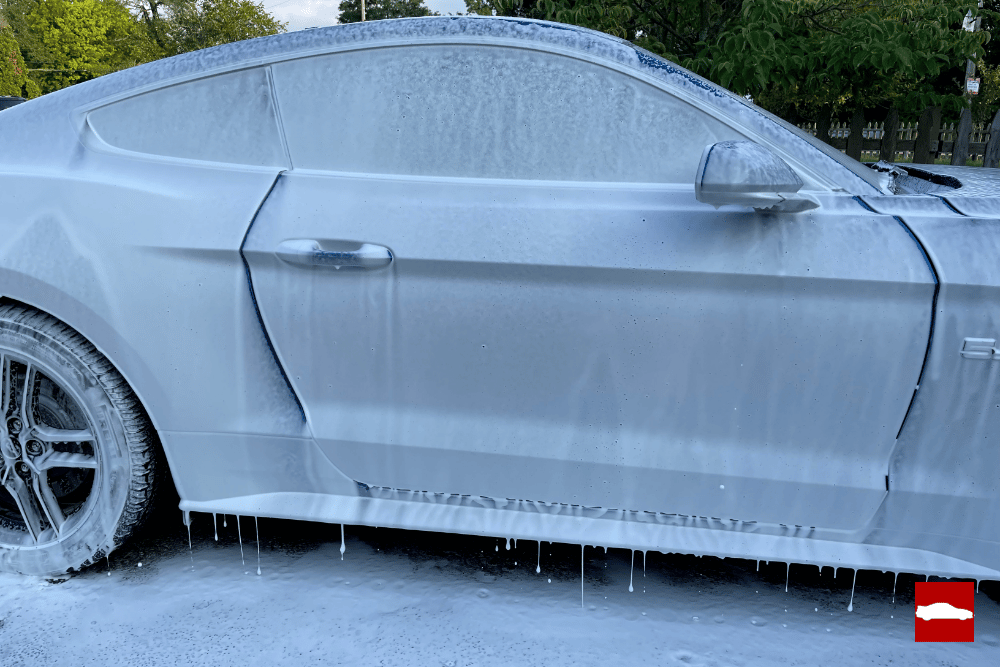
My strategy is to go heavy with the first coat of foam, moving the gun slowly to allow it to build up enough that gravity starts to let the foam sag and pull the dirt down with it. After rinsing, I take a second faster pass that way more foam will still be stuck to the paint by the time I come back with a wash mitt.
Some cannons offer the ability to rotate the nozzle for a horizontal spray instead of vertical, but this doesn’t seem to be common.
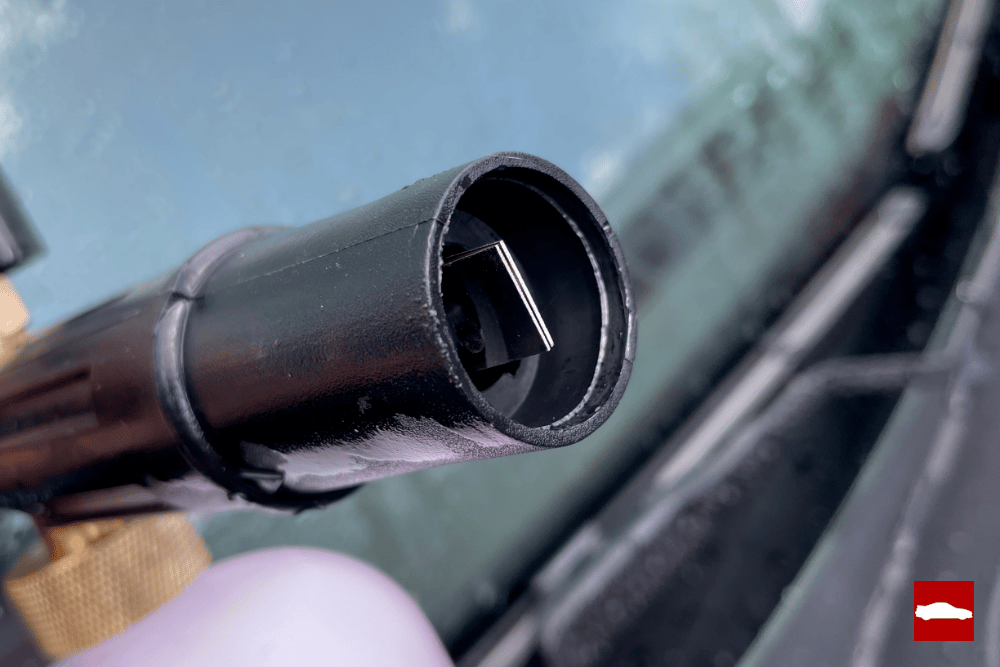
I’ve come across more than a couple of YouTubers claiming the secret to thicker foam is as easy as swapping out the orifice at the back of the device. It’s a very easy modification: simply unscrew the quick connect fitting with a wrench and remove the original orifice with a screwdriver. I purchased the 1.1mm orifice, which seems to be the most commonly recommended.
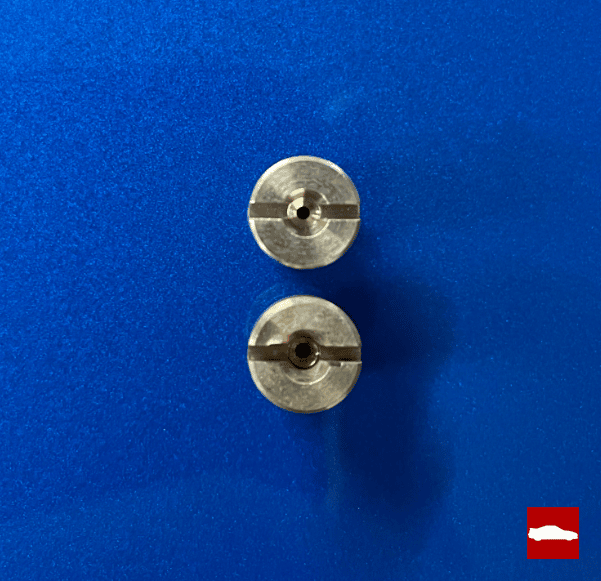
Here you can see the difference in diameter between the two. I didn’t have any gauge pins sitting around my garage to measure the original, but there is a significant difference.
Of course, I had to do a test run to see if the improvement was noticeable. There was only minor dust and a little bit of dirty rainwater spotting on my vehicle. That initial condition of the paint might have affected how well the foam stuck as most anything wants to slide off the ceramic coating, especially when clean.
This tweak doesn’t seem to be the game-changer that others had promised in their click-bait videos. The foam seemed to stick a little better, with more foam hanging on when I was coming back around with my wash mitt. However, for literally just a couple of dollars and a minute or two of your time to swap it, I would say it’s worth giving it a shot.
This is what I got shooting through the original orifice:

And this is the same soap and dilution ratio through the 1.1mm:
Should You Pre-Rinse Before Spraying Foam?
YES! Definitely rinse before letting loose with the foam cannon. Our goal is to get the vehicle clean without damaging the paint and if we can remove some of the dirt and bugs with just water, we can reduce that risk. Since you’re setting up to use a cannon, you already have a pressure washer at your disposal which is great for removing a lot of those contaminants.
Be warned though: you can potentially damage your vehicle if you aren’t careful with the distance and spray tip you use. If the paint is starting to flake off the hood of your 1996 Plymouth Neon, too much pressure might just strip the rest of it off.
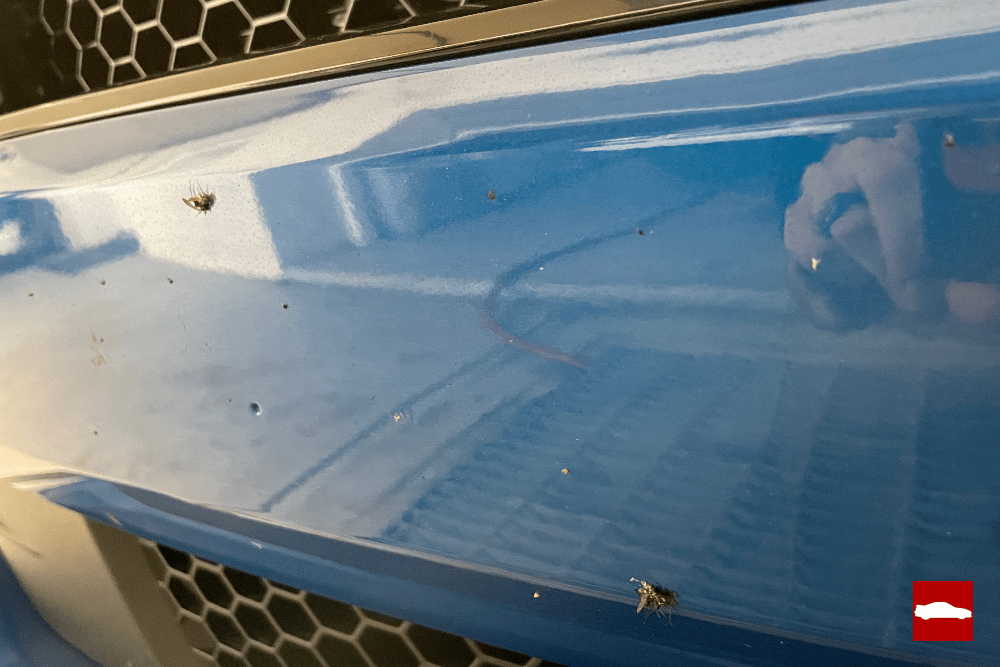
Some moisture will loosen the grip those dead insects have on your paintwork, but a couple of thousand PSI will lift a lot of them off before you even need to touch them. Scrubbing at these stubborn pests increases the risk of marring the finish.
While the pressure washer isn’t capable of removing every dead bug, studies have found that 60% of the time it works every time. These ones on my front bumper didn’t stand a chance:
Do You Have to Scrub When Using a Foam Cannon?
Typically, I have always gone over my car with a wash mitt and two-bucket method after foaming. The foam cannon was something that I added to my wash routine to reduce marring but wasn’t intended to replace a step. I decided for the sake of this article that maybe I should cut straight to rinsing after foaming and see if I was happy with the results.
I really liked the concept, being able to have a touchless car wash right in my own driveway. My car wasn’t super dirty to begin with: it had some bugs pasted on the front from a long highway drive and the lower parts of the doors and fenders were speckled from some driving in the rain. I was able to remove most of the bugs from the front end with a spray from the pressure washer.
This is what I was starting with:

Using my 10:1 mixture, I foamed the car liberally then sprayed it down again with the pressure washer. You’re going to want to thoroughly rinse it as the foam cannon drives the soap into your door jambs and around the trim, grille etc. I hate when I start to dry the vehicle with the leaf blower and find soap shooting out from crevices and then need to go back to rinse again.
I could tell when I was rinsing that my DIY touchless car wash didn’t really meet my expectations. The water just wasn’t beading up as nice or running off those dirty areas down low. Some of the bug gut smears were still visible on the mirrors and front end. The car looked noticeably cleaner and was presentable at a short distance away, but I wasn’t pleased with the results.
Note the difference here between the water bead on the right versus the speckles on the left. The muddy water spotting is gone, but I’m not confident that the surface is pristine.

I would not feel comfortable putting a microfiber on it to dry it at this level of cleanliness. A leaf blower is my go-to for getting most of the water off, making it possible to do a totally touchless wash…. with mediocre results, just like a real touchless car wash. If I’m going to put in the effort to wash it, I will spend another five minutes going over it with a wash mitt to be positive it’s clean.
I recommend hitting it with the cannon once to let the foam carry away some of the dirt, rinsing, then foaming again and going over it with a wash mitt. The two-bucket method should still be used (of course), it doesn’t add any additional time or effort to the process.
If the vehicle has already been protected with a coating or wax that will let the water roll off, use a garden hose without the nozzle for the final rinse. Be sure to let lots of water run down around the door jambs, lights, grille, and other trim.
The foam has a way of getting into all of those crevices, which is beneficial and part of the appeal for me but does require some extra attention to ensure all of it has been removed.
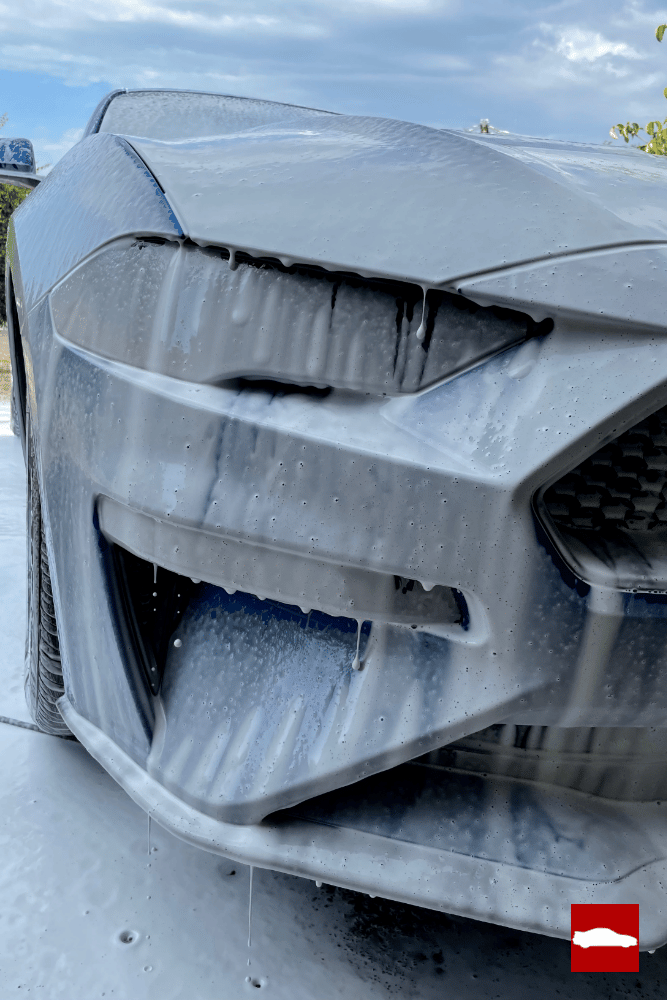
The S550 Mustang’s front end has lots of areas for foam to hide:
Conclusion
Adding a foam cannon to your detailing arsenal can make washing your car lots of fun. If you’re shopping for a pressure washer to use with it, make sure it hits those minimum requirements of 1.8 GPM and 1,000 PSI. Or, if you already own one, double check that it has the proper specs or you’ll be shopping again.
Remember, using a foam cannon isn’t necessarily going to get your car cleaner than without one. It will add lubrication to reduce the risk of scratches though, and let’s face it – your neighbors will be impressed!

Tim is the creator of Canadian Gearhead. His experience with auto detailing and working for Toyota shows through all of the articles posted here. He runs the Canadian Gearhead site and YouTube channel full-time now and currently owns a 2007 4runner, 2006 Tacoma, and 1991 MR2. Read more about Tim:


Leave a Reply