Sure, ceramic coatings are great when used for their intended purpose. But I maintain my opinion that paint sealants and waxes are still worthwhile products. The problem is that paint sealants are often cast away as “yesterday’s news” and they’re constantly living in the shadows of their newer, stronger, and fancier younger brother – the ceramic coating.
The thing is, paint sealants have done a great job of protecting our vehicles for the last few decades. Just because an exciting new option has hit the market, doesn’t mean that they stopped working the way they always have. They still make your paint slick and shiny. They still make your car easier to clean. And they still bead water like they always have.
One of the biggest downsides when comparing a sealant to a coating is how long they last. Without going into too much detail, here’s a general way to sum it up: waxes last for weeks, sealants last for months, and coatings last for years. That extra protection comes at a cost though, and it’s usually a big one. Part of the high cost of a ceramic coating is the product itself, but most of it is due to the labor it takes to apply it.
That tells us that prep work plays a very big role when it comes to using your protective product of choice. A common myth about ceramic coatings is that they give your paint a deeper, shinier appearance. They don’t.
The prep work done beforehand (from a minor to complete paint correction) is what makes your paint shine. This is a necessary step when applying a semi-permanent coating because you don’t want to lock paint in underneath that isn’t perfect. It’s also one of the reasons why using a wax or sealant is much more convenient, because the prep work isn’t required.
Let me ask you this: Even if we’re only going to apply a paint sealant, what happens if we prep it the same way we would if we were applying a coating? The short answer is that we’ll get the ultimate performance from our sealant.
The long answer is that we’ve made sure the surface is completely clean and free of any possible contamination. We’ve brought the natural gloss and depth out of the paint by polishing it with oils and abrasives. We’ve leveled the surface, which gives the sealant the best chance of bonding to the paint. And when it’s all said and done, we’re going to wash and maintain it as if we’ve spent over $1,000 on a ceramic coating.
Except we haven’t. That $40 bottle of sealant will easily last you the lifetime of your car. Depending on what you’re already equipped with in your detailing arsenal, your only real expense will likely be a dual action polisher and some pads. That’ll add up to a couple hundred dollars. The great thing is that you’ll be able to do it again and again once you have these things. Not comfortable with shelling $200 out of your own pocket just to wax your car? That’s ok.
Once your buddy sees how great yours looks, he’ll be happy to pay you $200 to make his look the same… and you already have everything you need to repeat the process! He gets a makeover for his car, you get your expenses covered. You’ll both be happier than pigs in, well, you know.
If you’re not familiar with the ceramic coating process, this might seem a bit over your head. Don’t worry, I’ll explain everything below. The point of this whole thing is that treating this like a ceramic coating application will make your paint sealant last longer. Much longer.
The cool thing is that these extra steps are completely optional. Don’t have a machine polisher? Go ahead and skip that step. Too lazy to use a clay bar? No worries, move on to the next. Just know that each of these steps will have an effect (either big or small) in how your paint sealant behaves and how long it lasts.
The Ultimate Paint Sealant Application Process:
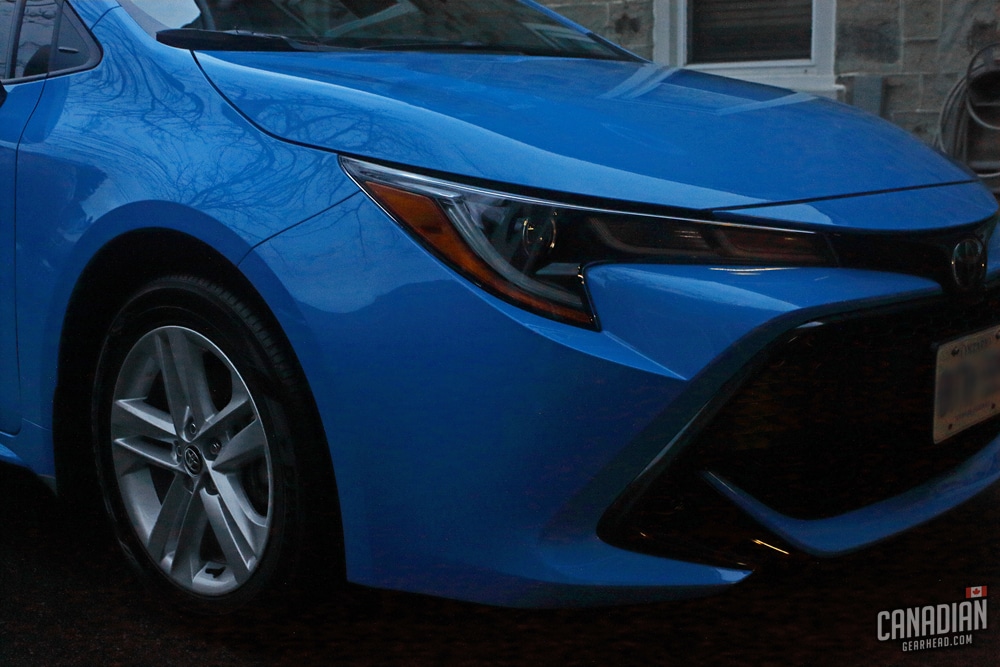
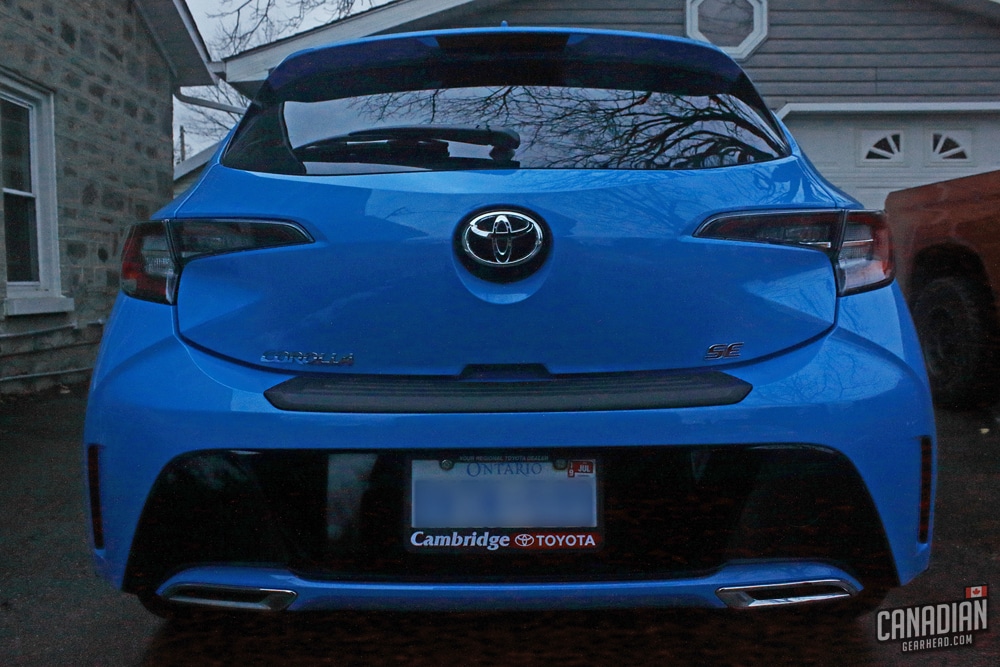
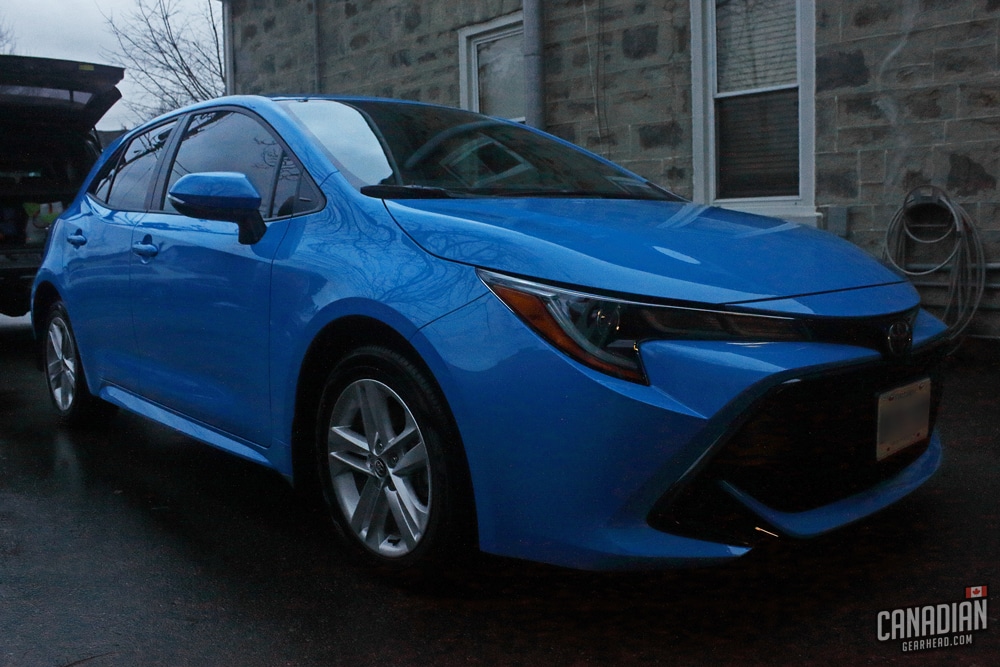
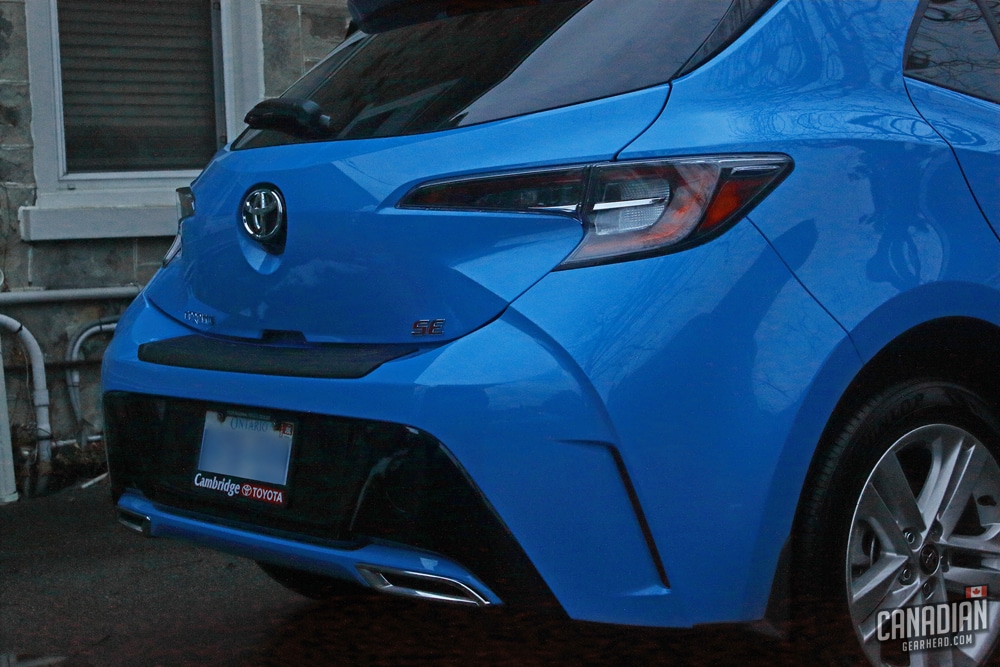
I’m going to be using a nearly brand new Corolla Hatchback for this article. The owner isn’t too concerned with having a show quality paint job at all times, she just wants to protect it while it’s still new. I won’t be doing any significant paint correction on this. Every vehicle is different though, so it’s up to you to decide how far you want to take this.
Washing
Of course, the first thing you’ll need to do is wash your vehicle thoroughly. You can use a pressure washer and foam cannon if you wish, but they aren’t necessary (and really won’t make much difference). If your paint is in great shape to begin with, keeping it that way by using the 2-bucket method is a good idea.
If you own any soaps that are intended to “strip” the paint, now is the time to use them. This is one case where we want to remove any wax or sealant that happens to still be on the paint. You can also use an all-purpose cleaner in addition to your regular soap to do the job as well.
Drying (*Blow-dry optional*)
There’s a reason why I have this listed as a separate step from the wash phase. Having a completely dry vehicle is important when applying a product like a paint sealant. Most companies recommend waiting for a period of at least a few hours after application before you get the vehicle wet. That’s after the job is done… so imagine how much a drop of water running down a panel during application will affect your paint sealant!
Some form of compressed air is the best way to make sure you won’t have any water inviting itself to your party. I explain why I’m a big fan of using a leaf blower to dry vehicles in this post.
Blowing your car dry is an optional step. If you want to roll the dice by just using a towel to dry it, feel free. If you’re going to go that route, make sure you’re careful of where you touch it when applying the sealant. Pushing on a light or a piece of trim at the wrong time can release a bunch of water and that’s just not fun to deal with.
Decontamination
The use of a clay bar or similar alternative is one of the best ways to ensure your paint sealant lasts as long as it’s supposed to. These remove any bonded contaminants from your paint. The reason this is important is because anything standing between the paint and the sealant will compromise its longevity. Also, if you’d like to use some sort of iron and fallout remover, now would be a good time to do so.
As time goes on, I find myself reaching for these clay blocks over a traditional clay bar more and more. They’re much quicker and easier to use, and any marring they might cause will be eliminated as soon as we polish the car.
Quick machine polish (*optional*)
It’s totally up to you to decide how far you want to go with this, or if you’ll do it at all. This step could even be considered overkill. I get that.
You won’t see many others recommend that you do this for something as simple as applying a paint sealant. But remember, we’re trying to mimic the application process of a ceramic coating. Polishing the paint helps to level the surface, making sure the paint is completely bare. It also brings extra gloss and depth out of it that you’ll be thankful for later.
My biggest reason for doing a quick machine polish is to get rid of any marring that may have been caused by washing, or more than likely, the clay bar process. I go further into detail about my thoughts on using a clay bar without polishing in this article.
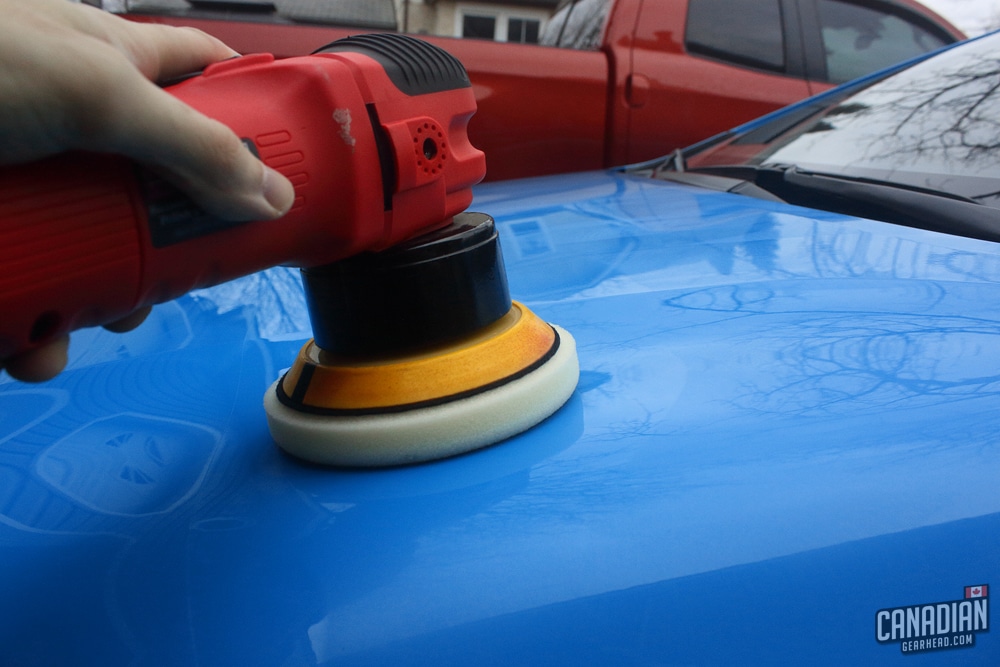
I’m not concerned with doing any paint correction in this case. Even a one-step correction would require a lot of extra time and effort. You can feel free to go that route if you wish, but that’s not my intention here. Even though I’m using the same tools and products as I would for a job like that, I’m not actually chasing imperfections or scratches.
Just a quick, light pass with a dual action polisher, a polishing pad, and a finishing polish is all that I’m doing. That’ll be enough to remove any marring and pull a bit of extra life out of the paint.
After I don’t know how many hundreds of hours of using this polisher, I’m confident it’s the best tool for the job. You don’t need to spend $400+ on a long throw buffer if you’re only looking after your own vehicles.
The key here is to use medium machine speed, light pressure, and fairly quick arm speed. Remember, we aren’t trying to dig out scratches with this. If this is your first time using a polisher, it’ll be a great, safe way to introduce yourself to machine polishing. Doing it this way eliminates nearly any risk of burning through or damaging your paint. This can serve as a stepping stone towards your first paint correction job by helping you get comfortable with the machine in your hands.
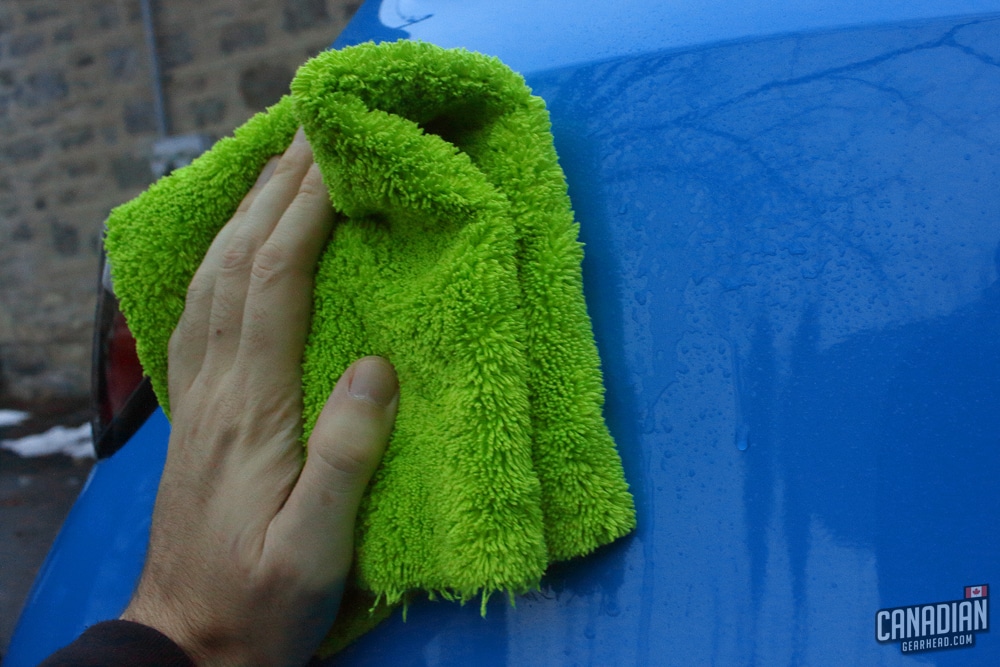
Final wipe down
It’s a good idea to wipe your paint down with a mix of isopropyl alcohol and water (50:50), a body solvent, or paint prep like Gtechniq Panel Wipe. This will remove any leftover oils, soap residue, or detail spray from your clay bar step. It’ll also make sure there aren’t any oils or fillers left from your polishing step. The paint sealant is designed to bond directly to your paint, so even a thin layer of oils or lubricants could significantly compromise your sealant.
Paint sealant application
Now that the surface is properly and thoroughly prepped, it’s time to lay down some protection. Thanks to the quick polishing step above, you won’t be relying on any wax, sealant or coating to add shine and gloss. Your paint naturally looks that way on its own now!
Applying a paint sealant is quite literally a matter of “wax on, wax off”. Unlike ceramic coatings, we don’t need to worry about precise flashing times or high spots. We don’t need infrared lights or a surgically clean operating room to work in. It simply goes on and buffs off like a wax. There are a few things to pay attention to though.
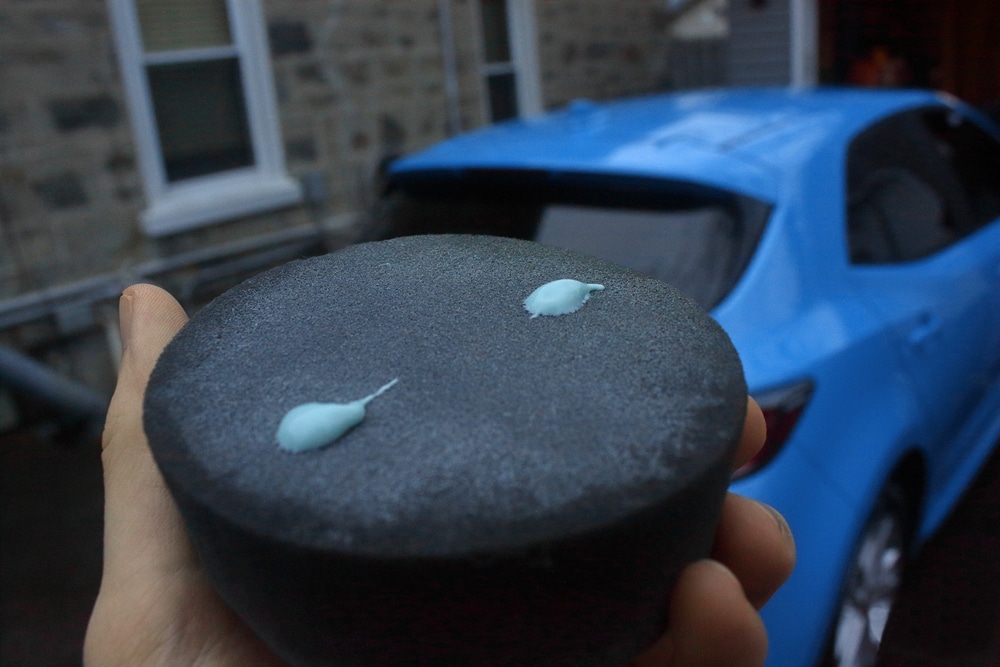
In general, paint sealants like to be applied in a thin layer. Less is more. By putting a thick layer on, you aren’t getting more protection – all that will do is make it more difficult to buff off, and can leave a more muted looking finish to the paint. It might feel like you aren’t using enough, but a thin layer is definitely the way to go.
You can either apply a sealant by hand with a foam applicator, or with your dual action polisher using a soft finishing pad. I typically like to do it by hand because I find I can get into tighter areas easier. But if you own something like a large SUV or pickup truck, applying it with a machine can really save you time and energy. Just make sure no dirt or dust has fallen onto the panel, or you run the risk of scratching your paint with your buffing pad. I recommend a quick wipe before starting each panel just to be safe.
How long does it take for a paint sealant to dry? It’s always a good idea to follow the specific directions on the bottle of the sealant of your choice. They’ll normally recommend waiting at least 30 minutes after applying it before you buff off the excess. This usually means you can start on one end of the car, and take your time working all the way around. By the time you’re done, it’ll be ready to be buffed off where you originally started.
The classic “finger swipe” test works just as well with paint sealants as it does with carnauba waxes. Lightly swipe your finger on a spot of a hazy panel, and take a look at the paint where your finger mark is. If it’s smeared but still there, the sealant isn’t ready to be removed yet. If the product is removed, leaving bare paint, it’s ready to be buffed off.
Temperature and humidity will affect how long it takes for your sealant to flash. It’ll be ready to buff off much quicker during a hot, dry day than a cold, wet one.
Allow the sealant to cure
In order for your paint sealant to last as long as possible, you need to let it cure completely before it gets wet. Basically, you don’t want to drive your car in the rain immediately after application. Most companies will recommend you wait at least 10 hours before the paint is allowed to get wet, just to be safe. If you have access to a garage, park it inside overnight. If not, you might want to factor in the weather forecast when you plan to apply your sealant.
You can take it one step further if you want to be a crazy person like myself. Sometimes I’ll apply the sealant and leave it on long after it’s ready to be buffed off – usually overnight! The next morning, I’ll buff the excess off, then start the 10 hour countdown from that point. Whether this makes a scientific difference or not, I can’t say for sure.
I’ve also only tried this technique using Wolfgang sealant. Other products might not play well with this idea. The worst case is that it’ll be more difficult to buff off the excess in the morning. A quick shot of spray wax should loosen it up and help with that though. I have to credit Larry Kosilla with AmmoNYC for this idea, as I think I saw this in one of his older videos (which I highly recommend for DIY detailers!)
Top the sealant with a wax (*optional*)
Can you put wax over sealant? Yes, you absolutely can. As a matter of fact, I recommend it. Many ceramic coatings are applied in two separate layers. The top coat is considered a sacrificial layer that adds extra shine and protection to the base coating. We can mimic this same concept by putting a layer of wax on top of the paint sealant.
It’s a good idea to wait until your sealant has fully cured before waxing over top of it. You’ll also want to make sure that you aren’t using a cleaner wax of any type because that will actually remove the sealant underneath. A nice thin layer of carnauba wax will add extra gloss, water beading, and protection for the sealant. Think of it as one more layer of defense standing in front of your paint.
A lot of people like to put a layer of Collinite 845 over top of Jescar Powerlock+ paint sealant. This is really becoming popular. There are even quite a few people that have experience with ceramic coatings that keep coming back to this combo because it looks so good and is so easy to apply.
Use spray wax with every wash
Ceramic coating companies recommend that you use an Si02 detail spray often as a way of boosting the protection of the coating. There’s no reason why we can’t use this same concept for our paint sealant. A high-quality spray wax like this one works very well as either a drying aid when washing or by itself as an extra (albeit minor) layer of protection.
The idea behind layering products is to protect your paint sealant. Every time you wash your car, you’re going to remove a tiny amount of it. Now having a layer of carnauba wax and spray wax on top means you’ll essentially be digging into them first before you even touch the sealant. Any degrading will happen to the sacrificial layers rather than the paint sealant itself, meaning your sealant will last longer.
What’s the best paint sealant to use?
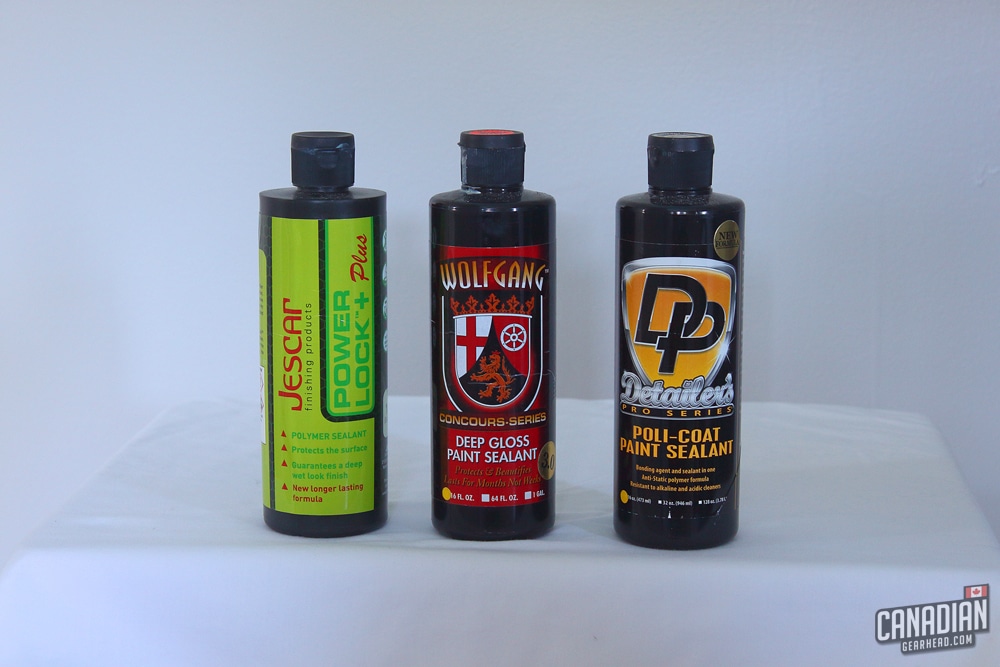
There are so many great paint sealants available these days, that there really is no “best” product. My personal favorites are Wolfgang Deep Gloss 3.0 and Jescar Powerlock+. I like these two because they’re both easy to apply, have the closest appearance to a carnauba wax, and I’ve personally had both of these last up to a year in certain situations. That’s unheard of for a sealant, but again, the prep work and the way we care for them afterward really matters.
Honestly, you can’t go wrong with a paint sealant from any of the high-quality manufacturers. Optimum, McKee’s 37, Blackfire, 3D, P&S, and Griot’s Garage are all going to be great. You don’t have to over think the product itself, just find one that’s available to you in your budget.
How long will paint sealant last?
Once you’ve worked your way through these steps, you’ll have a clean, shiny, and well-protected paint job. This will give your paint sealant the absolute best chance of lasting a long time.
This varies with every product, but most manufacturers expect their paint sealant to last up to 6 months if cared for correctly. I’ve validated this claim many, many times in the real world. In some extreme cases, I’ve had paint sealants last around 1 full year on a daily driver, and multiple years on garage queens. That isn’t something you’ll hear about often, but I’ve been able to produce these results by using this method.
These aren’t common results at all, though. Far from it. Your expectations for longevity should be whatever the manufacturer says – anything extra is a bonus. Doing everything I mention in this article will give you the best chance of having one of these extreme cases be your experience as well.
Maintaining your paint sealant
If you’ve gone to the bother of doing everything in this article, it’s important that you care for your paint sealant properly. You wouldn’t want to undo all that hard work, would you? There are a few things we need to keep in mind when it comes to caring for a paint sealant:
1. Paint sealants are NOT scratch proof or even scratch resistant. In my experience, ceramic coatings don’t even offer much in terms of scratch resistance, and a paint sealant will do far, far less than that. So be careful with how you treat your car. You can read my advice when it comes to avoiding scratches in your paint in this article.
2. Avoid harsh chemicals. Strong soaps, all-purpose cleaners, degreasers, isopropyl alcohol, gasoline, and many other chemicals will degrade and possibly even remove your paint sealant. I’m mentioning this because these are all common things that we use on other areas of our vehicles.
Stick with PH-neutral soaps when washing, and be careful not to spill when pumping gas! Another thing worth noting is that touch-free car washes typically use some form of acid in order to clean your car without touching it. When done often, this can absolutely strip the paint sealant off your car. A traditional hand wash or rinseless wash will always be the safest option.
3. Try to keep it clean. Yes, the whole reason for using a paint sealant is to protect your paint. But certain things can eat through it if you leave them on there for long enough. Hard water stains and bird droppings are the most common ones. If you leave them long enough, these things will eat through your wax and sealant, and end up etching into your clear coat. I’ve personally had this happen, and it’s not pretty.
The moral of the story is that a clean car is a happy car. A lightly dirty car is also much easier to clean than one that’s been neglected. Easier to clean means you can use a gentle soap, in turn giving your sealant the best chance of survival.
The best part about paint sealants is that if the absolute worst case happens and you strip it off by accident, you can always reapply it. This is one situation where paint sealants are actually better than ceramic coatings in my opinion.
Is your truck covered in mud? Use all of the strong cleaners you want in an effort to get it clean. Then spend the hour to apply a fresh layer of sealant. You’ll still have 95% left in your bottle, so you can feel free to do this whenever you have any doubts. Try doing that with a $1,000 ceramic coating!
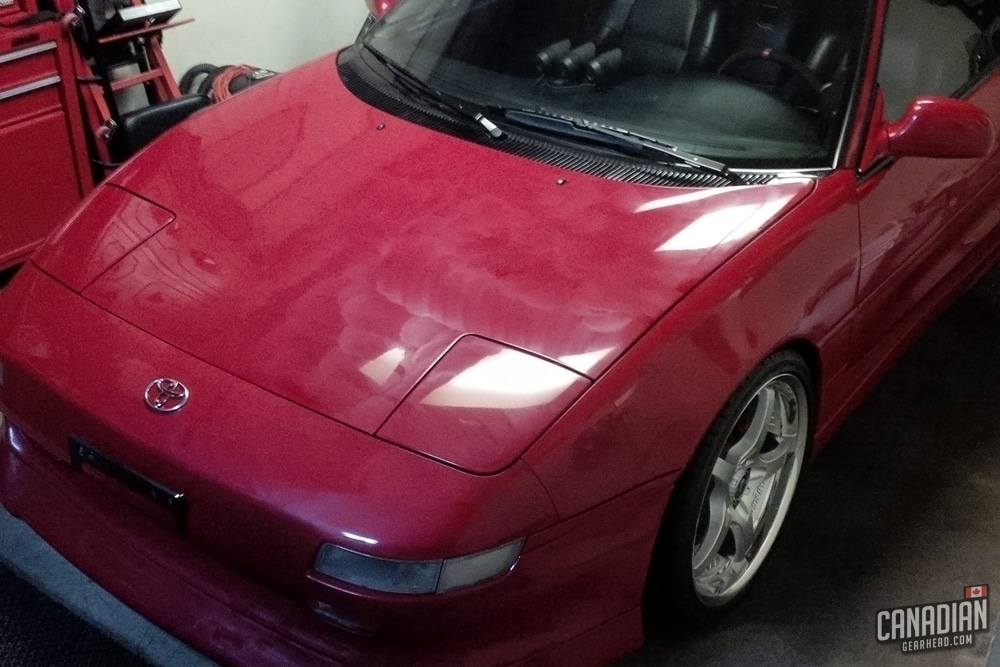
Now I want to be very clear. Following these steps will not make your paint sealant behave like a ceramic coating. If you want that level of protection, you’re going to have to pay for it. Think of this method as a way to put your paint sealant on steroids. Maybe it’ll ensure that your sealant lasts as long as it’s supposed to. Or maybe you’ll end up with a freak situation like mine, where a sealant lasted over 3 years on my MR2!
With all this said, if you want ceramic coating performance, you’ll need a ceramic coating. There’s no way around that. But for those of you that can’t afford or justify the cost of a coating (and I think there are a lot), this might be just what the doctor ordered.
If you enjoyed this post, I want to hear from you! Tag me on Facebook, Instagram, Twitter, or leave a comment below.

Tim is the creator of Canadian Gearhead. His experience with auto detailing and working for Toyota shows through all of the articles posted here. He runs the Canadian Gearhead site and YouTube channel full-time now and currently owns a 2007 4runner, 2006 Tacoma, and 1991 MR2. Read more about Tim:
Leave a Reply